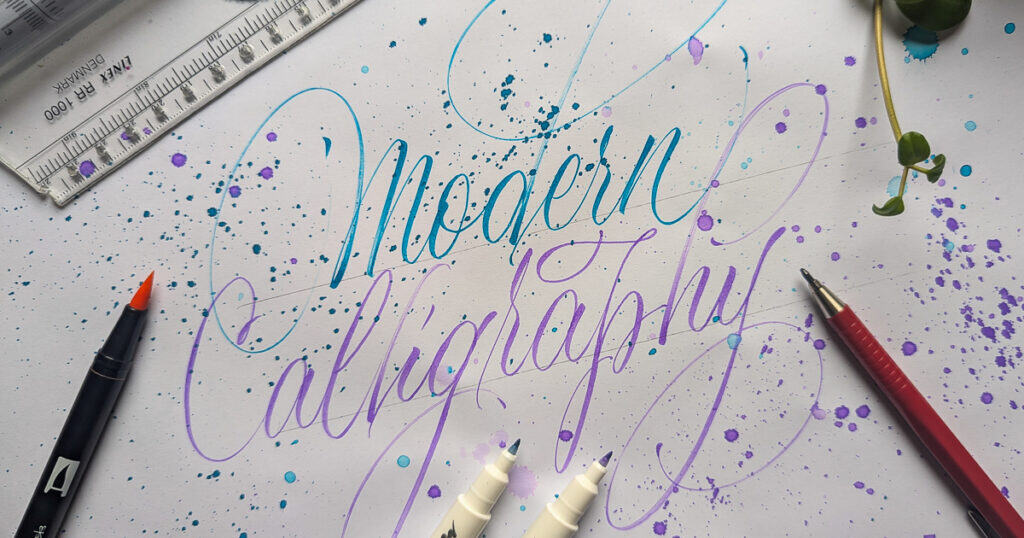
People often think that for modern calligraphy you need to have nice handwriting or some special talent, but take my word for it—by the time you get to the end of this tutorial, you’ll see that anyone can do this.
The secret isn’t in your talent; it’s in the building blocks. Forget everything you know about cursive. We’re going to demystify the process using a simple 4-step roadmap.
The 4-Step Modern Calligraphy Roadmap
- Master the Basic Strokes: The 8 shapes that form every letter.
- Build Your Alphabet: Connecting strokes into letters.
- Master the Joins: Turning letters into flowing words.
- Create Sentences: Rhythm, spacing, and personal style.
Need the gear? [Essential calligraphy tools]
Need the guides? [Download Free Tracing Sheets]
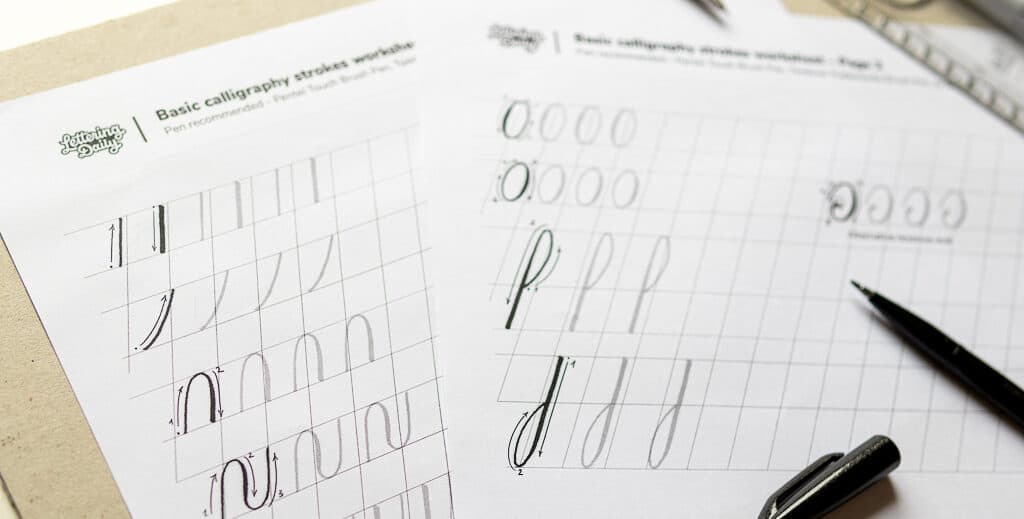
Download the worksheet and follow along with the tutorial.
What is modern calligraphy?
Modern calligraphy combines the elegance of traditional calligraphy with a contemporary twist. It’s less about following rigid rules and more about creative expression, making it accessible to beginners and adaptable to personal styles. With its roots in traditional scripts, modern calligraphy is a broad term that could be applied to a wide variety of different styles and writing tools.

Let’s have a quick overview of the differences between traditional and modern calligraphy:
Traditional vs. Modern Calligraphy
|
Traditional calligraphy |
Modern calligraphy |
|---|---|
|
Focuses on strict letterforms |
Emphasizes creativity |
|
Requires specific tools |
Flexible with tools |
|
Formal and rule-bound |
Fluid and free-form |
Step 01: The Basic Strokes (The DNA)
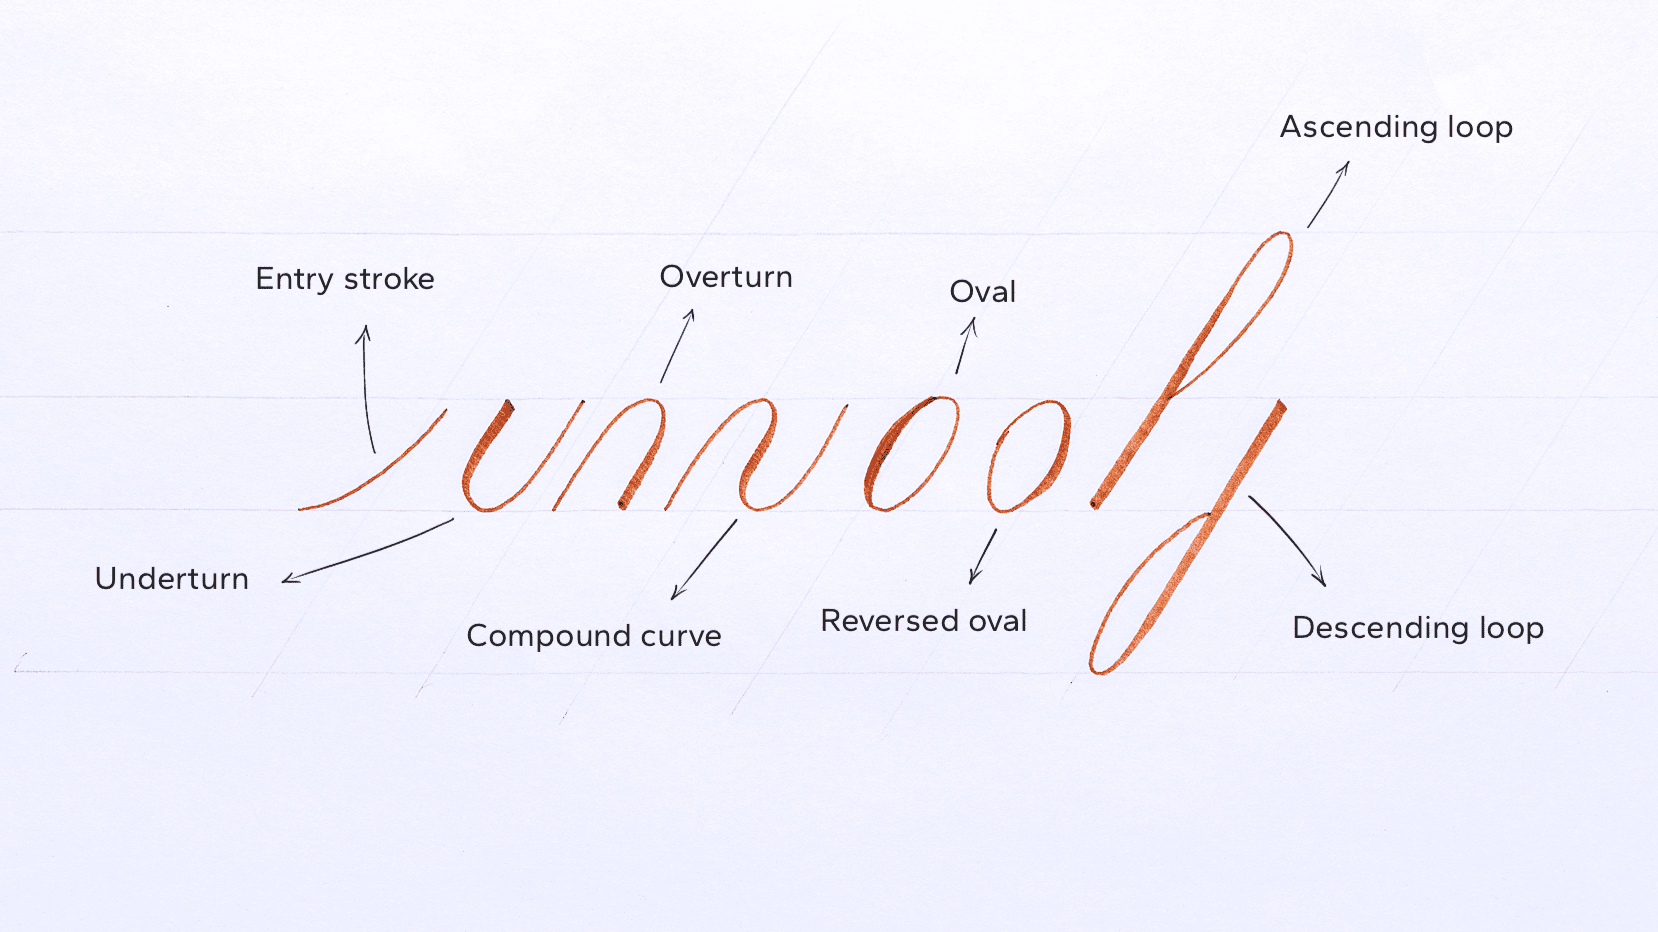
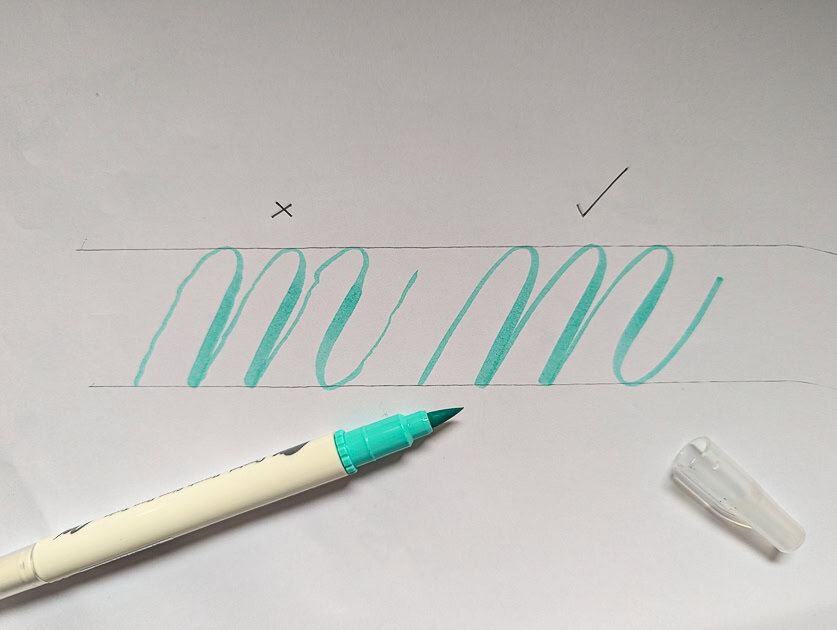
Calligraphy is all about contrast: thin upstrokes and thick downstrokes. Before you write a single word, you must master the 8 basic strokes of calligraphy.
- The Downstroke: Apply pressure.
- The Upstroke: Release pressure (be light as a feather).
- The Oval: The hardest shape, but the most important.
- The Underturn: Combining the downstroke with an upstroke in a single motion.
- The Overturn: Like the underturn, just reversed.
- The Compound Curve: Things get spicy here by combining a thin, thick, and thin stroke.
- The Ascending Loop: Essential for h, l, k, and other tall letters.
- The Descending Loop: Used for g, y, and j.
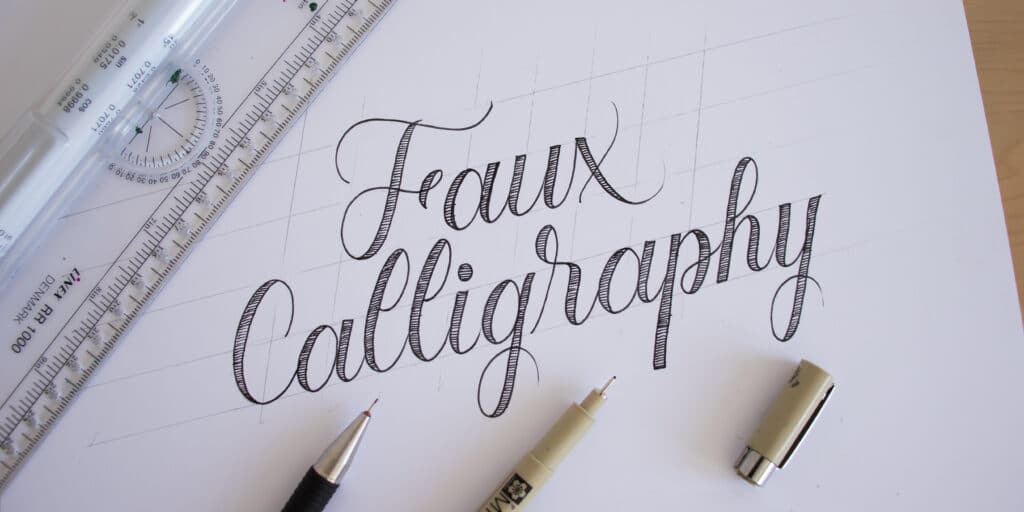
Don’t have a brush pen yet? You can practice these exact movements with a Pencil or try Faux Calligraphy using a standard ballpoint pen.
Pro Tip: You know you’re ready for the next step once you can complete 5 of each stroke consistently. This builds the muscle memory needed before creating full letters.
Step 02: Turning Strokes into Letters
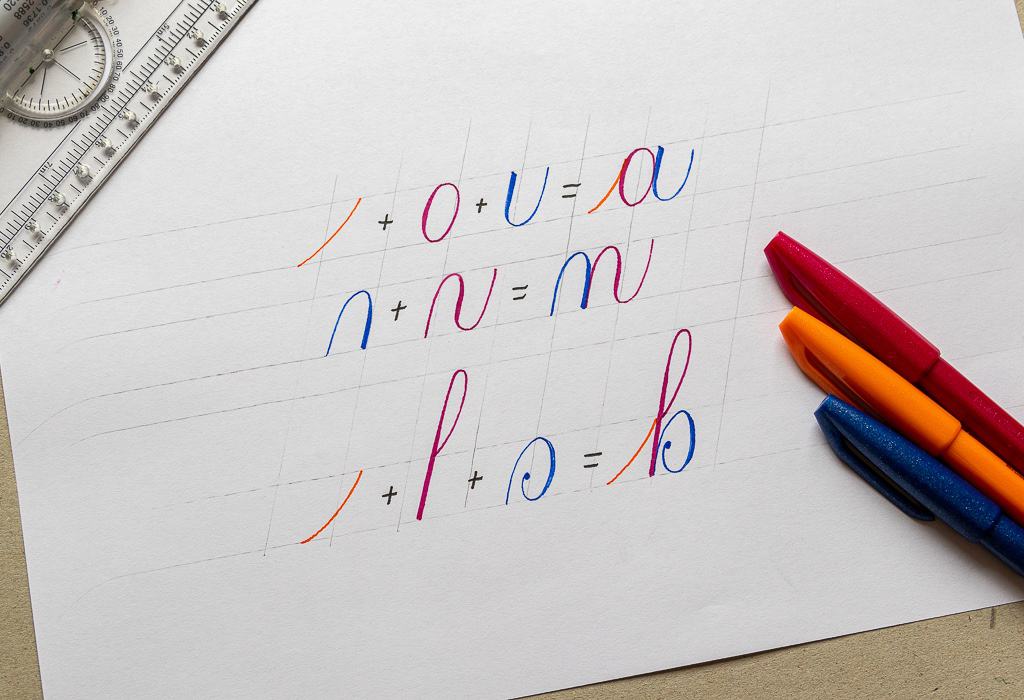
Now we play “Lego.” We take those strokes from Step 1 and snap them together to build the alphabet.
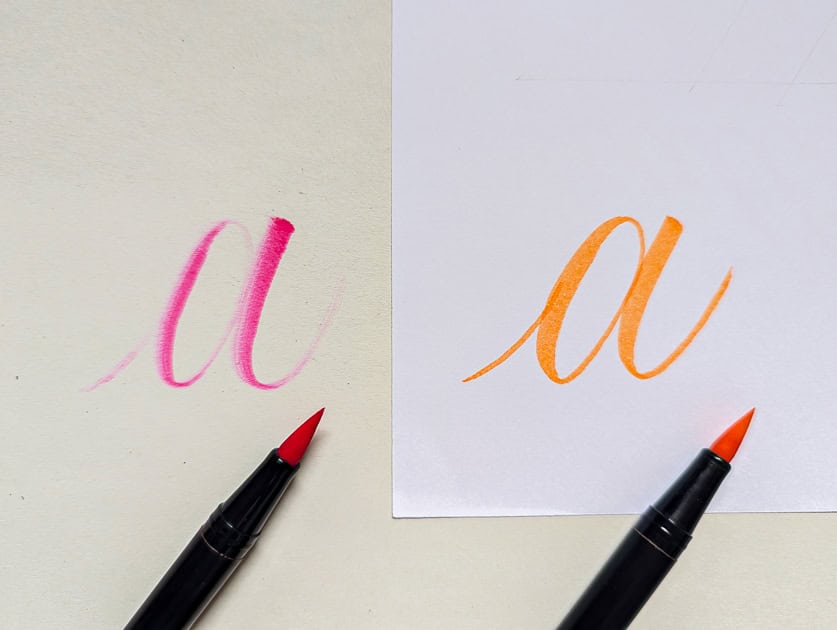
- The letter “a” combines a thin entry stroke, an oval and an underturn.
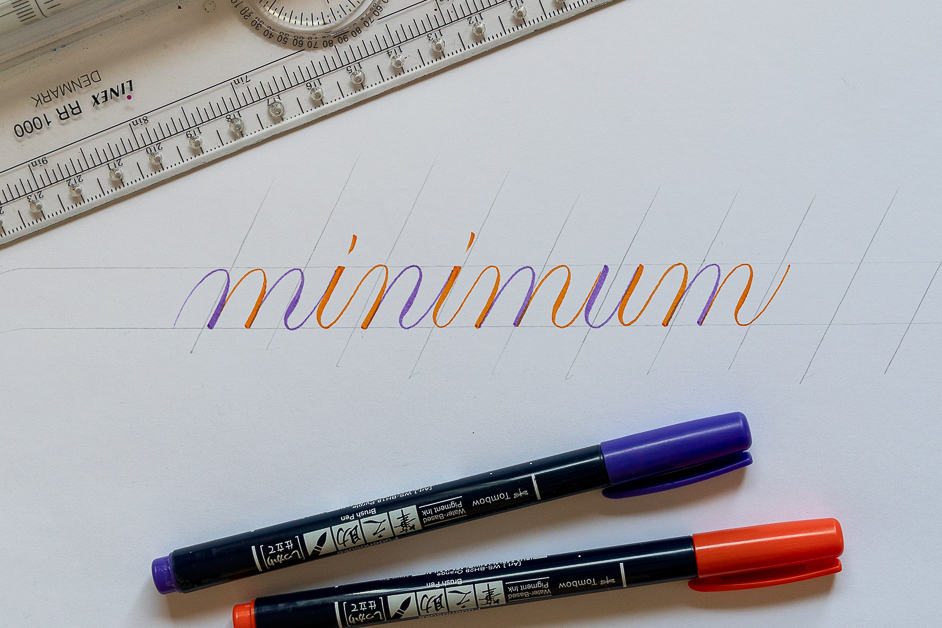
- The letter “n” includes an overturn and a compound curve.
- The letter “b” is made from an entry stroke, an ascending loop, and a reversed oval.
Pro Tip: Stop trying to write the letter in one continuous movement. Lift your pen between every single stroke.
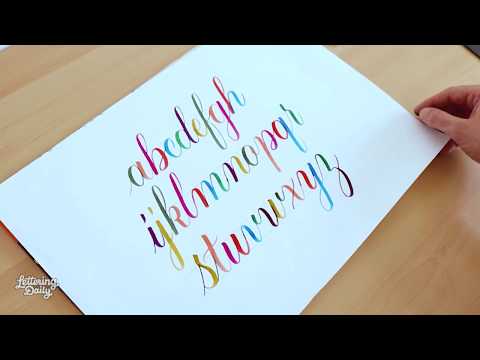
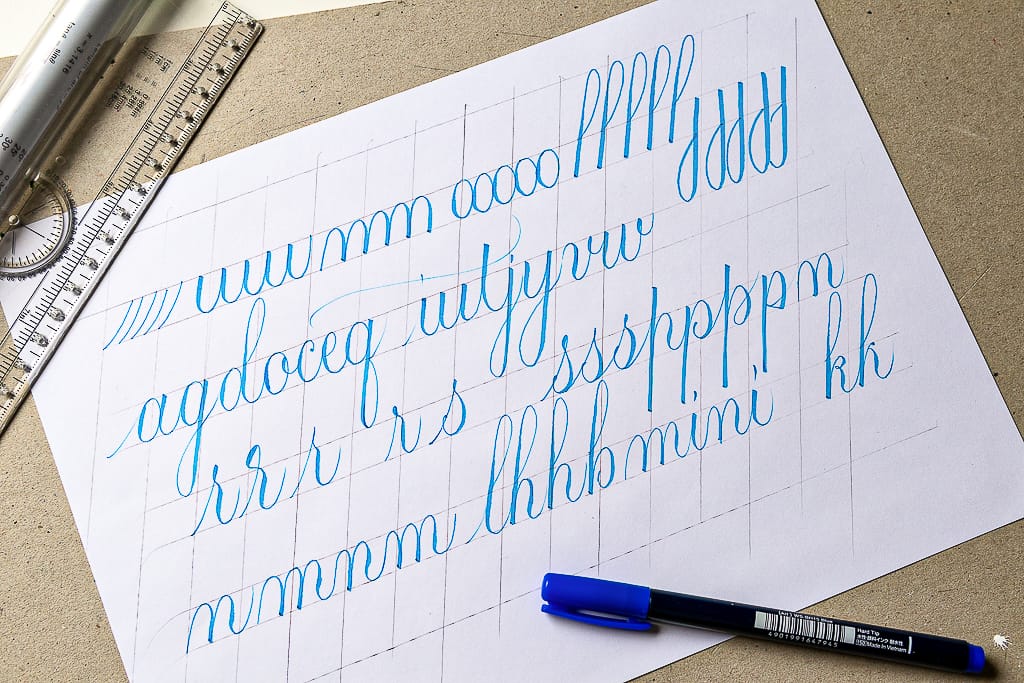
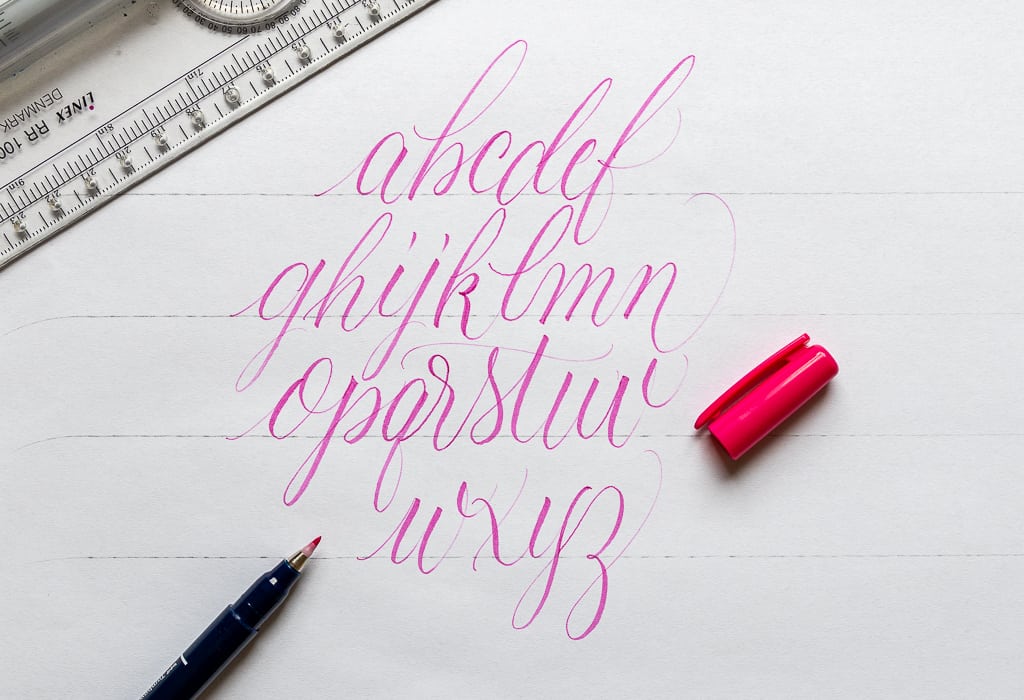
Watch how every letter in this alphabet is built stroke-by-stroke. Notice how I lift the pen after every shape—this is the secret to clean Modern Calligraphy.
Step 03: The Secret to Smooth Transitions (Words)
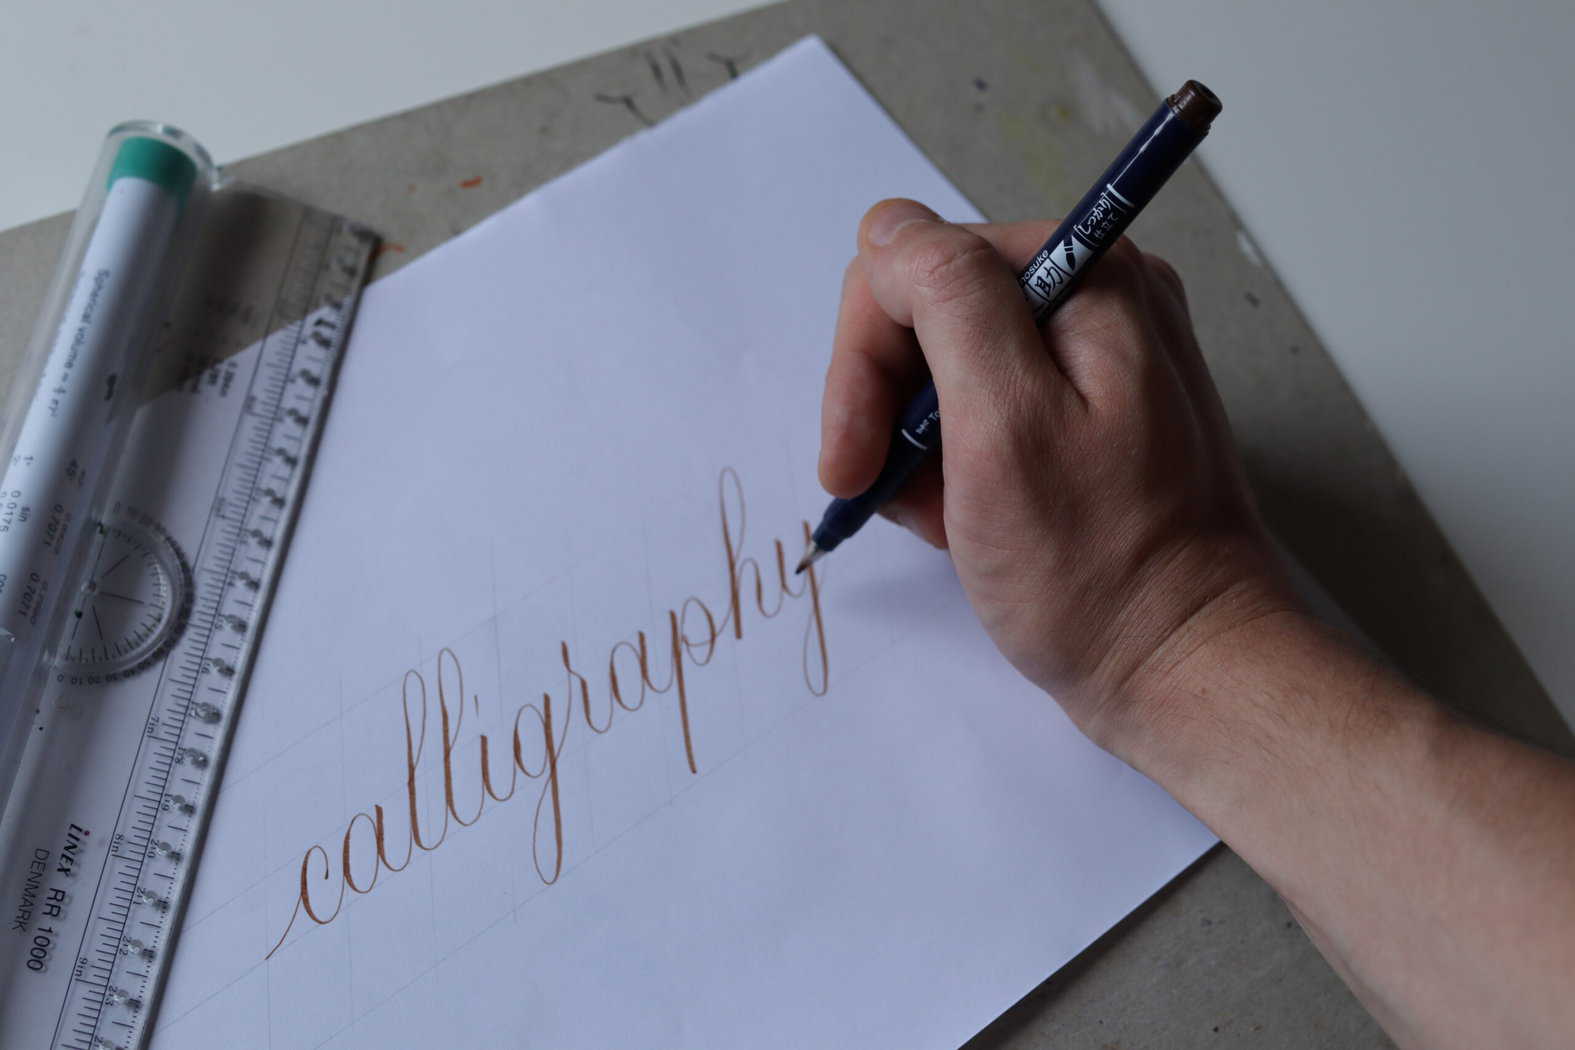
The #1 mistake beginners make is jumping straight to full sentences. Stick to short words first. Try out as many different combinations as possible to get familiar with the entry and exit strokes of each letter pair.
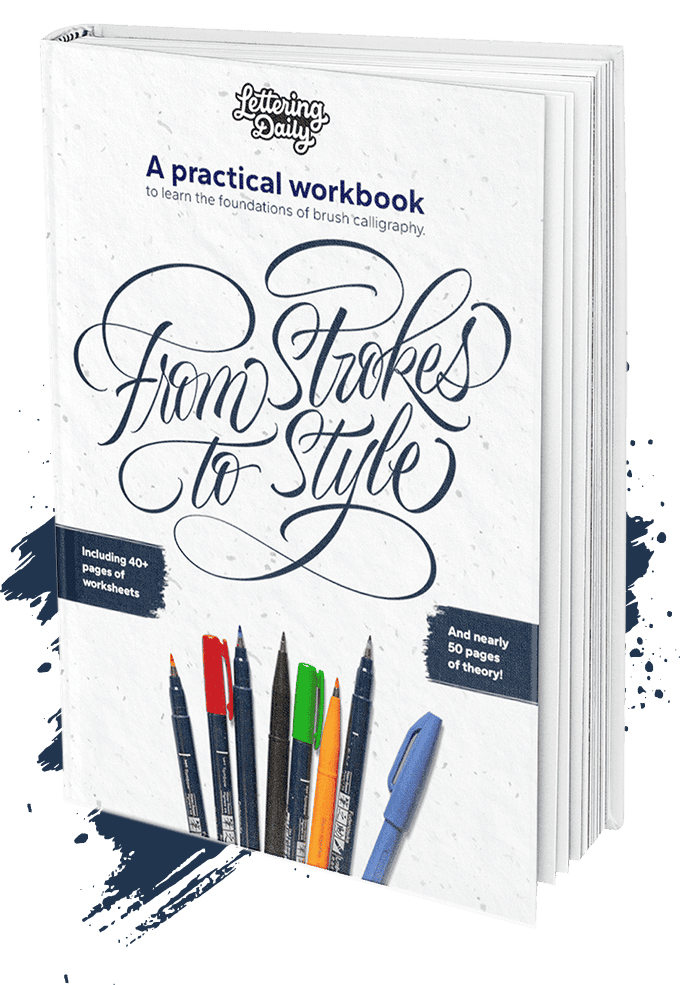
Mastering the “join” is what creates that professional flow. This is something I cover more in-depth in my workbook, [From Strokes to Style], where we break down every tricky connection.
Master Brush Calligraphy
One Stroke at a Time
This 100+ page workbook walks
you step-by-step through brush
calligraphy basics to full style
development – no experience needed.
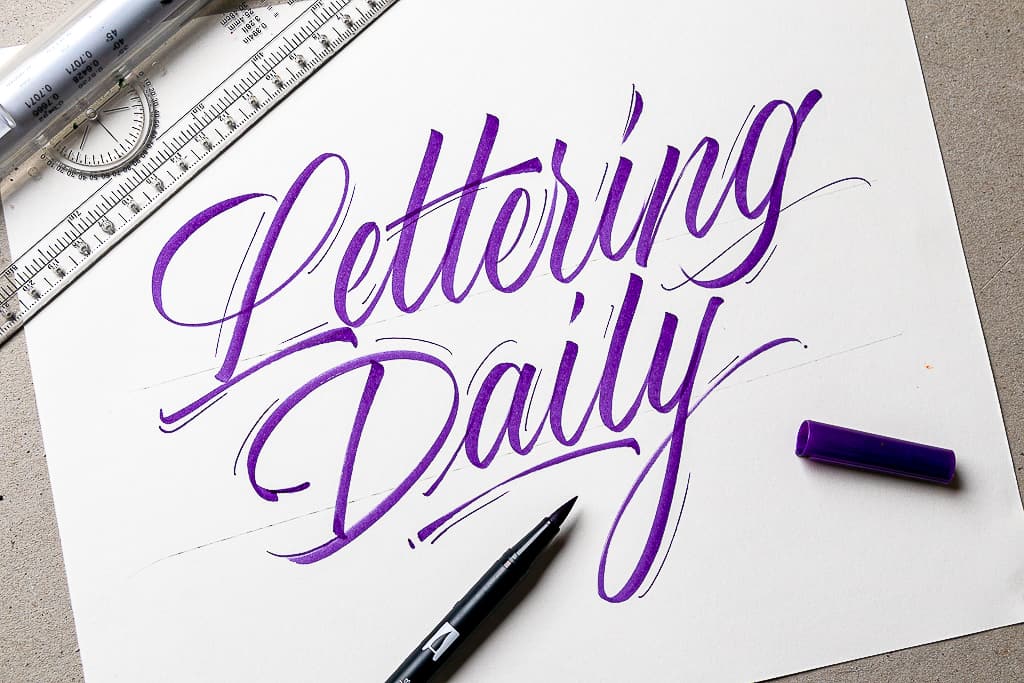
Step 04: Developing Your Personal Style (Sentences)
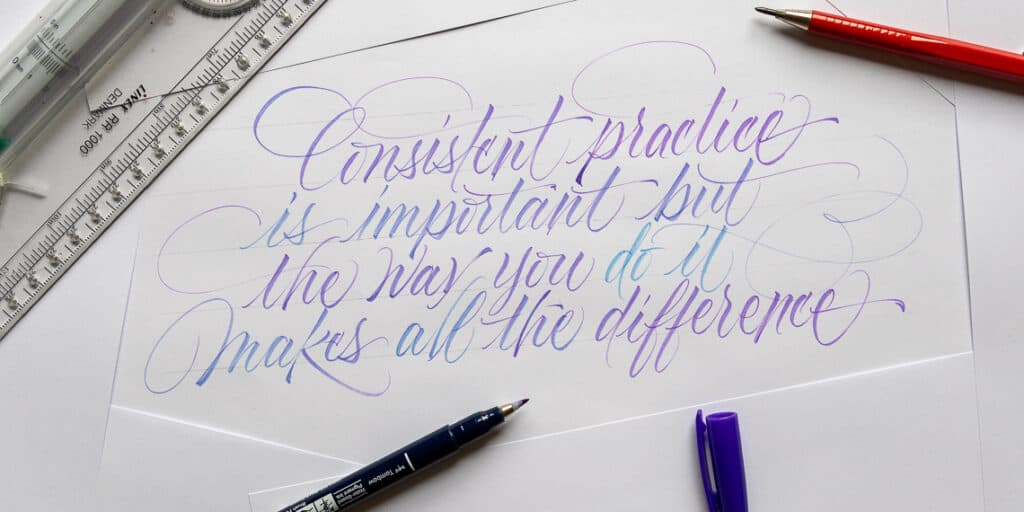
One of the best ways to practice is to work with pangrams—sentences that contain every letter of the alphabet (e.g., “The quick brown fox jumps over the lazy dog”). This lets you practice rhythm and letter variety at the same time.
Pro Tip: Start with 2 rows and add more as you go. Be mindful of ascending and descending letters so they don’t clash with one another.
You’ll find this tutorial — and many more like it — inside the Calligraphy Hub, where I’ve organized everything to support your calligraphy journey.
Essential Tools for Beginners
You don’t need a $100 kit. Start with these three calligraphy essentials:
- The Brush Pen: Use a Tombow Dual Brush Pen, a Pentel Touch or a Tombow Fudenosuke. If not, a pencil or regular pen for Faux Calligraphy works great for learning the shapes. For more on brush pens, check out my top 10 best brush pens for calligraphy.
- The Paper: HP Premium 32lb or Rhodia. Avoid cheap printer paper; the rough fibers will ruin your brush nibs. Check my calligraphy paper guide for more.
Rolling Ruler: Guidelines are essential, and a rolling ruler is your best friend for creating them quickly. See my guide on how to create calligraphy guidelines.
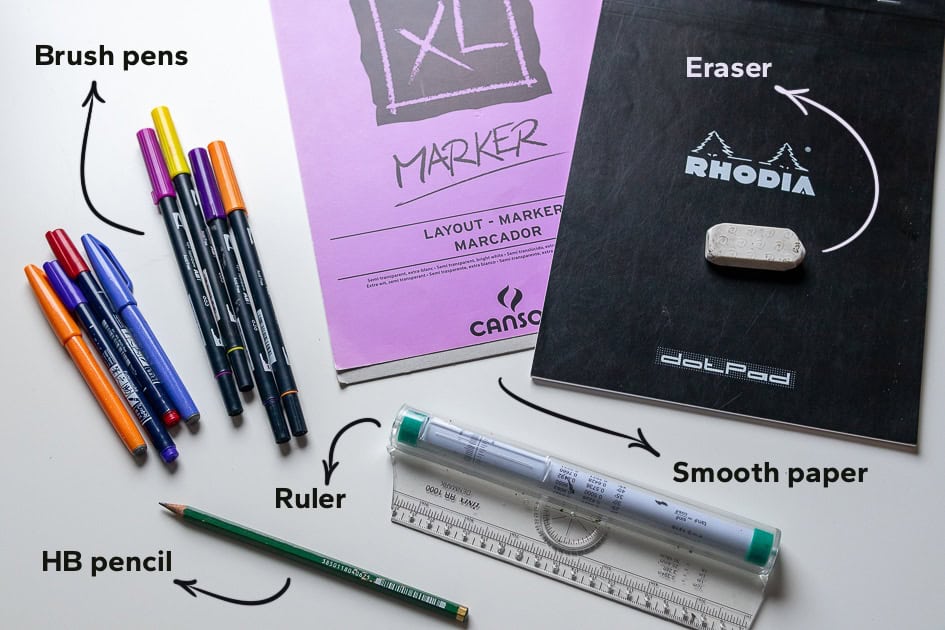
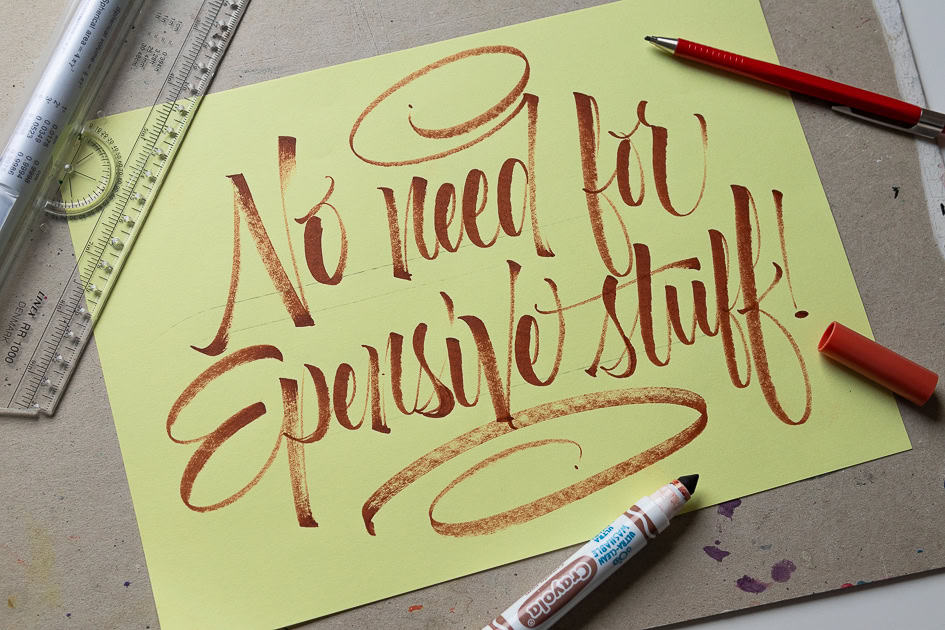
Pro Tip: Remember that more expensive tools won’t help you do better calligraphy. You can start right away with pencil calligraphy or a ball point pen and do faux calligraphy.
Common Mistakes (and How to Fix Them)
Over the years of teaching, I’ve seen people making certain mistakes more often than others. Here is a quick overview of frequent mistakes when working with a brush pen.
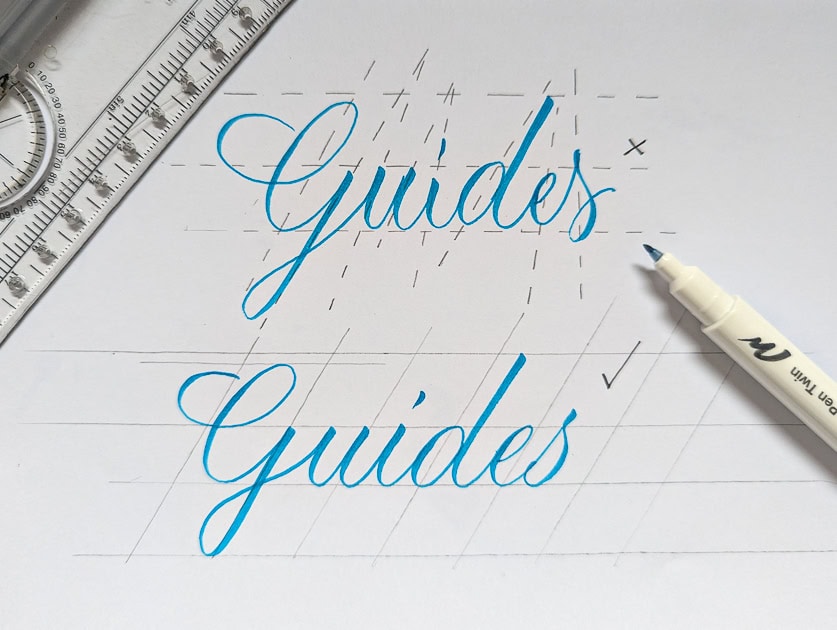
1. Not using calligraphy guidelines
Beginners often don’t know how to create them and why they matter. To fix this, check out my article on how to make calligraphy guidelines.
2. Messy thick & thin transitions
Releasing/applying pressure too quickly. It takes consistent practice to get thick/thin transitions properly and consistently.

3. Shaky Strokes
Lack of control, rushing, wrong type of arm movement can lead to wobbly lines.
4. Frayed Strokes
Using the wrong type of paper causes brush tips to fray and lines to bleed. To learn more about paper, check out my guide for the best calligraphy papers.
5. Skipping Warm-Ups
Many people dive straight into writing without practicing basic drills or even warming up.
6. Holding the Pen Incorrectly
Incorrect grip can lead to discomfort, uneven strokes and it limits your range of motion.
Want to Dive Deeper? Check Out My Ebook!
Once you get a solid grip on writing individual letters you can start forming words, sentences and other intricate compositions. All that and so much more is what I teach in my workbook “From Strokes to Style: A Beginner’s Guide to Brush Calligraphy.”
It is packed with:
- Over 50 pages of in-depth theory
- 50+ pages of printable worksheets
- Everything you need to master the basics of brush calligraphy
Master Brush Calligraphy
One Stroke at a Time
This 100+ page workbook walks
you step-by-step through brush
calligraphy basics to full style
development – no experience needed.
Popular Styles of Modern Calligraphy
Modern calligraphy is incredibly versatile, with a variety of styles to explore. Each style has its own unique characteristics and creative possibilities. Here’s a gallery showcasing some of the most popular styles to give you an idea of the things you can create with a brush pen.
1. Brush Calligraphy
Brush calligraphy uses flexible brush pens to create bold downstrokes and delicate upstrokes. It’s the most versatile and beginner-friendly style.
2. Faux Calligraphy
Don’t have brush pens? Faux calligraphy mimics the look of traditional calligraphy using any regular pen. Simply draw over your downstrokes to thicken them. To learn more about it, check out my full guide on Faux calligraphy.
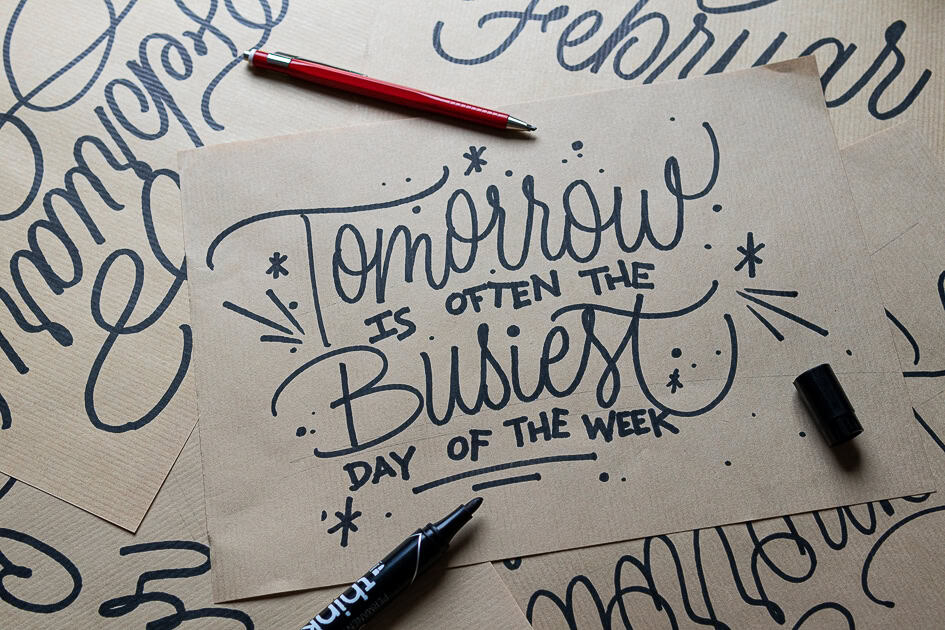
3. Bounce Lettering
Bounce lettering is all about breaking alignment rules to create a fun, dynamic effect. Letters dip and rise off the baseline for a whimsical look. As the name says it, the letters are bouncing up and down the base line.
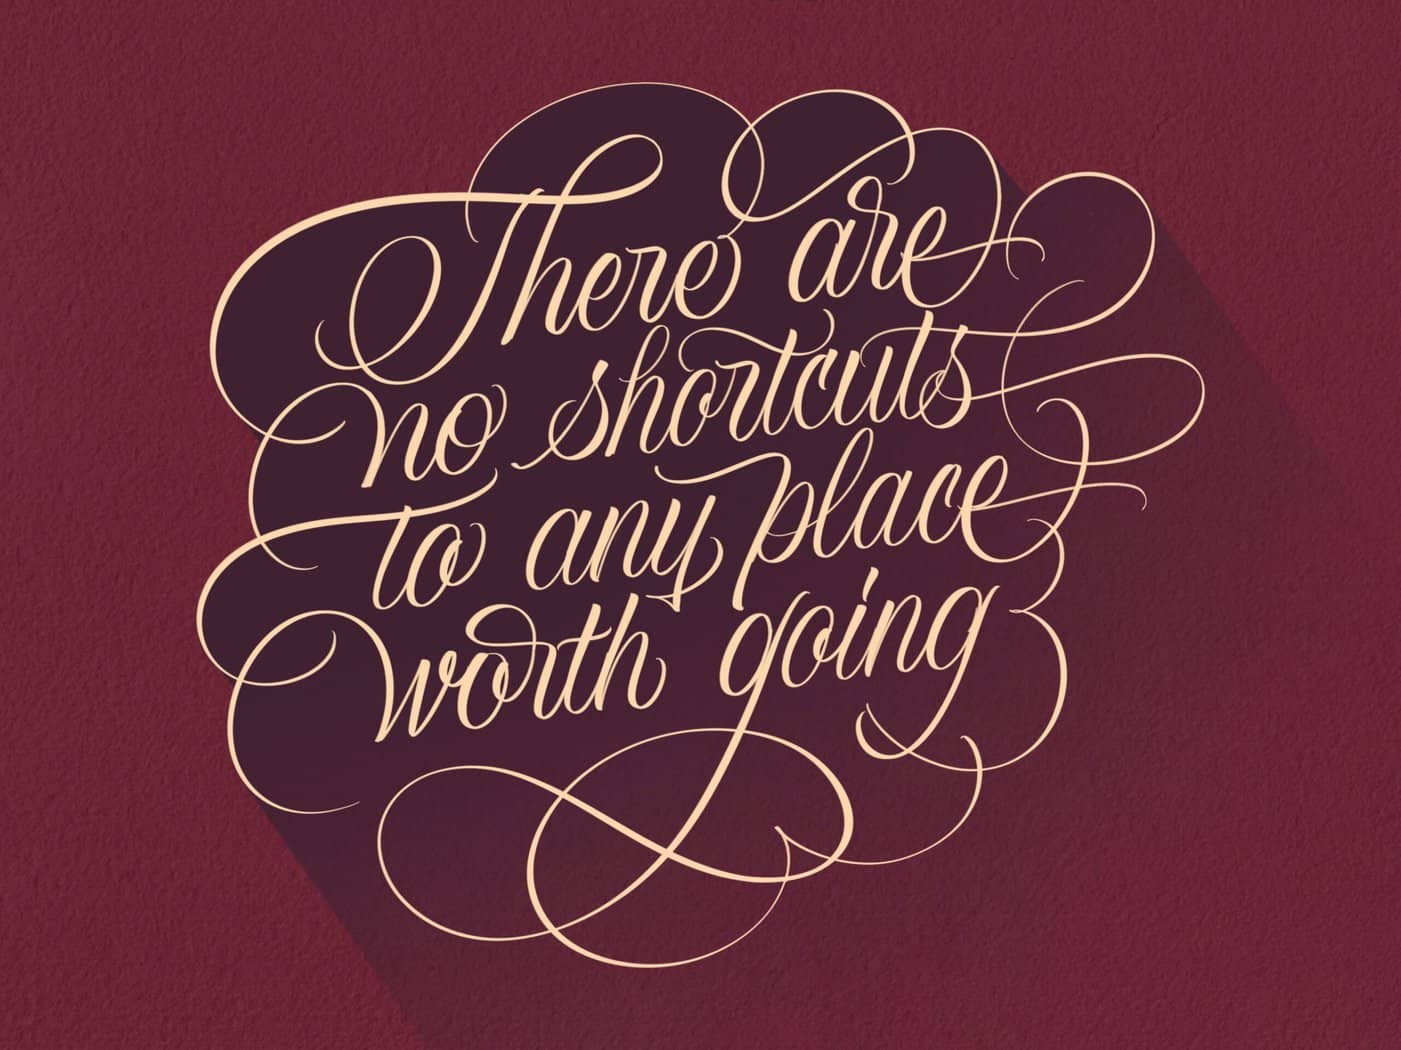
4. Flourished Calligraphy
This decorative style incorporates loops and swirls (aka flourishes) to add elegance and drama. It’s perfect for formal projects and special occasions. Not suited for beginners as it requires a deeper knowledge and understanding of movement as well as a ton of practice. In case you feel ready, check out this tutorial on how to do calligraphy flourishing.
5. Monoline Calligraphy
Monoline calligraphy focuses on uniform line thickness, creating a minimalist and modern look. It’s a great style to start with for practicing consistent strokes.
6. Digital Calligraphy
Digital calligraphy takes traditional techniques into the digital realm, offering endless customization options. Using software like Procreate, you can create stunning designs with minimal mess.
FAQs About Modern Calligraphy
Ready to Start Your Journey?
You now have the roadmap; all that’s left is to pick up the pen. Remember: Consistency beats talent every single time. Don’t worry about being perfect today—just focus on making your upstrokes thin and your downstrokes thick.
Your Next Steps:
- Join the Lettering Crate for your free practice sheets.
- Tag me on social media so I can see your basic strokes!
- Still have questions? Drop a comment below and I’ll help you troubleshoot.

Stay updated with my tutorials and get instant access to the Lettering Crate –
A growing library of free lettering & calligraphy resources that includes –
Pin me!

About the author

Hey, I’m Max Juric, and I’m deeply passionate about calligraphy and hand lettering.
I’ve spent years honing my skills in the art of lettering, working with hundreds of clients from all over the world on design projects such as logotypes, branding, custom lettering, murals, and more.
But my journey doesn’t end there. I’ve also dedicated myself to sharing my knowledge and expertise with others, creating a wealth of resources including tutorials, articles, and podcasts.
It’s been incredibly rewarding to see thousands of people engaging with my content each month. Knowing that I’m helping fellow enthusiasts grow and develop their skills makes me really happy.
Welcome to Lettering Daily, your hub for all things lettering and calligraphy. Whether you’re a seasoned pro or just starting out, I’m here to inspire and guide you on your lettering journey. Stick around, and let’s explore the world of letters together!


Pingback: Top Hobbies You Can Try at Home This Summer! | RHXO Tips – Rosemary Helen XO
Thank you for the very useful information
I would love to get the free pages to practice on. I would like to learn the art of calligraphy.
Does anyone know the source or the artist on that pink flourishing work from the article photo? I don’t find that photo anywhere in the actual article or worksheets. Thanks!
Which pink flourishing?
I like your suggestion to much But there are some things that neither avalibale in our area I use only 605 marker Hashim from Pakistan
How can I get question paper for calligraphy
Can you rephrase the question? Im not sure I understand.
Thank you so much for sharing a very details tutorial. I like learn more about calligraphy. May I have you to share the lettering practice sheets. Thank you.
The worksheets are all in the Lettering Crate 🙂 Thank you for the kind comment.
Hello there! This blog post could not be written any better!
Looking through this article reminds me of my previous roommate!
He constantly kept talking about this. I most certainly will send this information to him.
Fairly certain he’ll have a very good read. Thanks for sharing!
For a second, I thought you were my ex-roommate 😀 hahah Thanks!
Hai 😊i already given my email id but i didn’t receive the practice sheet can you please help with practice sheets
Shoot me an email with you address and ill fix it right away.
Lovely tutorial. I think it is one of the best explanations for any tutorial for that matter.
Thanks!
Thank you so much! Im soon updating this whole post, and if you have any ideas, wishes and suggestions, please make sure to let me know.
I’ve stumbled across this post while researching different calligraphy styles. I’m thrilled. Everything is so clearly explained. Now I understand why modern calligraphy differs from traditonal. This is definitely a post I’ll keep refering to. Thank you so much. I can’t wait to start practicing drills and finally enjoy calligraphy for what it is. Thank you.
Thank you so much for the kind words 🙂 Makes me really happy to hear that.
Thanks a lot for this, now I can improve my callig <3
cheers! 🙂
Do you have any uppercase worksheets for Modern Calligraphy? I’ve gotten a lot out of the lowercase worksheets but I can’t figure out how to do the uppercase letters nicely! Thanks for this great resource 🙂
Hey Nora, no unfortunately I don’t. However, I’ll make sure to include them in the next update 🙂
I can’t take part in the discussion right now – I’m very busy. But I’ll be free – I will definitely write what I think on this issue.
On what issue?
Hi Lettering-daily team, just discover your website looking for inspiration to our spanish portal and I found one of the best Lettering sources of true, a great quality and perfect content for benginers and experts; I can’t stop reading your site ¡¡¡¡
I’m very happy, thanks a lot to sharing with us ¡¡¡
a big hug from Barcelona rockie lettering school ^^
https://lettering-barcelona.com
Thank you, Mireia! I really appreciate the kind words, and I’m happy to hear that you enjoy the content from my website 🙂
Thank you for the very useful and well structured content on calligraphy . I am a beginner , and after reading this I am so much motivated to keep on practicing . Thank you n God bless youuu.
Im really happy to hear that. Thank you for the super kind comment! 🙂
Thanks for the tutorial. I really appreciate
Please I’ll need the worksheets.
Thanks for the kind words! You can find all the worksheets inside the Lettering Crate 🙂
OMG Thank you sooooo much! I have tried to write this on my own, but it just looked crooked and the letters were uneven. After practicing like this for just a week, I feel like I made a huge improvement!
WOW! Love reading comments like these. Thank you so much for the kind words, Charis. Im glad to hear that 🙂
Hi Laura,
This is so helpful, thanks for the info. I’m a wedding celebrant and want to be able to do modern calligraphy on peoples wedding certificates.
Could you please email me your practice sheets?
Thanks in advance
Renee <3
[email protected]
Check the lettering Crate for the practice sheets and other Goodies
– Kyle
Thank you, Kyle! 🙂
veery nice introduction to modern calligraphy! thank you for sharing it! I’m gonna check out other articles as well!
Thank you, Paulina! It really means a lot! Let me know if there are things you are struggling with. Those could be extremely helpful for upcoming updates! 🙂
It’s hard to say
Calligraphy is my passion. I have done many worksheets for my college and some for my work.
I have to admit it. This is so clearly explained. What if I want to collaborate with you and share some of my works, how to approach you?
Thank you for your kind words. I have created a Facebook group specifically with this in mind. Be sure to check it out, over there you can share your work, ask questions, and meet other fellow artists 🙂
I just found your website, I love it your content is great, the articles are easy to read and understand with the video and the links. I love it thqnk you again
Thank you so much, Linda, it really means a lot 🙂
Incredible ( you are doing good job)
?
The tutorial is show. It’s estimulate to practice. Thanks
hahah thank you so much! 🙂
Great tutorial. How did you get the splatter look? Did I miss it? Thanks.
Oh, no I didn’t explain that part. I’ll make a note to include it in the next update. But basically, you just dip a brush in a bit of ink and using your finger you just splatter a bit of ink around it 😀
This is an incredibly useful tutorial. I am in awe.
Thank you very much for the kind comment! I am glad to hear that 🙂
Wow! Your tutorial just broke down calligraphy into pieces for easy understanding. Now, I fully understand where to start from. I’m gonna start practising.
Super happy to hear that! 🙂
Very useful ?
Yep.
This was so helpful & encouraging. I actually printed the practice sheets & have been using the guidelines just a day or so and they’re helping me more than I believed they would. Thank you so much.
Reading comments like these make me so freaking happy! Keep working on it, and if you ever need any help with your practice – just let me know 🙂
Frankly,Mr Max, this is soo…mind blowing and well explained. Thank you for your shared knowledge and encouraging words, I feel like an expert already when the reverse is the case ?. Anticipating for more tutorials in future ?.
Yaay! 😀 Thank you, Ifenna! I am truly happy to hear that this was helpful for you. And don’t worry, new content is always coming 🙂
This was a really informative and and somewhat detailed article. I really appreciate the efforts you have put to spread skill and knowledge. Would be more than happy to receive worksheets. I am just starting. Budget constraints have made me start with a pencil. Will buy myself a calligraphy kit for my birthday. I am really excited to start and develop! ??
Thank you Shiny for the kind words! When you say ”somewhat” detailed article, what do you mean exactly? Do you have any constructive feedback on how to make it better? I would really appreciate it 🙂 Starting with a pencil is a great idea! Cheap and effective 🙂
Cheers! 🙂
Thank you ! I’ve wanted to do calligraphy for many years. You have provided the best instructions I’ve seen to date. I am so excited to make this happen! During these stressful times, calligraphy has provided a calm escape! Sincere thanks!
Thank you, Laura! I am really happy to hear that. I appreciate the kind words 🙂
After reading a good number of other good resources and having been practicing for a few days now, I find that yours summarizes, explains and equips me the best for success. Thanks so much for this and your Facebook group.
You have no idea how happy I am to read this! Thank you! I’ve put a lot of effort into this and I constantly try to make it better. If you ever have some suggestions, ideas or constructive feedback, please let me know! Cheers! 🙂
Hey…..this was awesome!As I had already completed the beginner’s course,I was searching for something more advanced.Here,I found exactly what I was looking for…thank you so much!
Thank you, Riya super happy to hear this! 🙂
Hey….this was of great help to me!As I had already completed the basic course,I was looking for something more advanced.Here,I found exactly what I wanted…thank you so much for the help!
please send me the free practice sheets you mentioned. thanks.
Hello Glenda, the practice sheets are to be found in the Lettering Crate, and in order to get access to them you need to sign up to the newsletter. Let me know if you need help with that.
This is a very good tutorial. I would love to receive the download-able practice sheets, especially the Faux Calligraphy sheets. Thank you.
Hey Trudy, all the sheets are available inside the Lettering Crate. Just sign up for the newsletter and you will get instant access to it 🙂
thanks for tips i got as a beginner,please i would need some practicable sheets yo work on ,thanks
Hey Pat, absolutely! You just need to sign up for the newsletter in order to access the Lettering Crate. Let me know if you need help with that. But basically you have a sign up form in every article of the website.
Thank you. Thank you. Exactly what I was looking for.
You are welcome, Elinor 🙂
Thank you for the really good info and explanation. Now let’s run
Thank you for the kind comment 🙂
Hi,your article is awesome! You have made it very clear and interesting in a sorted out,step by step manner.I am totally motivated and want to try it out today itself??
Hehe, thank you, Tanya! Happy to hear that! Cheers 🙂
I would like to purchase the rolling ruler featured in the video, but the site rollnruler.mov seems to have some problems, at least from the UK. Any suggestions?
Hey Jim, thank you for your comment. If you just scroll up where i mention the rolling ruler, you will see that there is a link. Just hit the link and you will be redirected to Amazon.
Thank you for talking about how when you work with a dip pen, you need to hold it at an angle that will work better and that takes a little bit of time to learn. I really want to become better at calligraphy, and I love crafting and making cute signs and things. I should look into purchasing all these materials to make sure I will be more successful in my attempts.
Thank you for your comment, Fay. Please let me know if you need any help or if you have any questions 🙂
Thank you very helpful
You are super welcome! 🙂
Thank you for your help
You are welcome! It’s a pleasure 🙂
Hi. Thanks a lot for this really clear guide for lettering!
I would like to receive the practice worksheets if you do not mind.
Sincerely Yours
M.K. Chiani
Thank you for your comment! In order to get the practice sheets, you need to sign up for the Lettering Crate. Once you do that you will have full access to all the freebies that we offer on the website 🙂
Thanks for this clear explanation of modern techniques!
You are very welcome Chris!
thank you!
You are super welcome!
Great article! What is the font called in the practice sheets?
Thank you Eric! It’s not a font. Fonts are what computers use. This is a modern adaptation of the Copperplate script – that’s really the closest thing I could call it.
Thanks a lot for this really clear guide for lettering for starters!
I would like to receive the practice worksheets if you do not mind.
Thanks again,
Silvina
Thank you, Silvina!
Be sure to join the mailing list in order to get access to the Lettering Crate! 🙂
Truly amazing. I am a beginner and I thought that calligraphy might be that easy, but actually,,,,, IT’S NOT ?
when I looked upon your tutorial I think it act like a teacher!!!
Thank you LETTERING DAILY for such a innovative and easyyyy ways of modern calligraphy. I loved the fact that you mentioned the requirements with respective videos and images.
(☺ —— ?)
You are super welcome! Happy you found it useful 🙂
Thank you for providing such clear instructions in your tutorials. I just began practicing calligraphy and I have found it to be a lot more difficult than I ever thought it would be! But I love the challenge! I’m grateful that you are posting some very helpful information!
Sincerely,
Linda
Thank you! The beginnings are always hard, just stick to it and you will see progress 🙂
Your tutorials are so clear–thank you! I’m a beginner and a little intimidated! I am having trouble finding the practice sheets, for this one and the faux caligraphy lesson. I did enter my email (again) where indicated, but have not received an email with the practice sheets. Have I loverlooked something? What do I need to do to get them?
Hey Kate, thank you so much for the kind words. We are really happy to hear that you found the tutorials to be helpful. Once you enter your email, you should receive a confirmation email (to confirm the subscription) and then you get an email that contains the link and the password to our Lettering Vault (resource library), where all of the free downloadable content is located. This second welcome email, sometimes tends to end up in the spam folder – have you checked there? In case you are unable to find it, please reach out via email and I will personally send you over the access to our Lettering Vault 🙂
Cheers!
The tutorial is amazing….I am a beginner and did not know where to start but now everything seems so crystal clear…thanks
You are very welcome 🙂 Now it’s all about consistent practice!
Thats good. Would like to learn more…
Modern calligraphy that is done well and is legible does follow rules. You MUST learn the rules to break the rules!
Ok. I have to admit it. Your tutorials actually inspire to practice. ☺️?. And I mean print out the practice sheets and use guidelines type of practice. You make everything straight forward and easy to understand. ?
hahah! Thank you Stephanie 🙂 Im really glad it has that effect on you – that was exactly the point!
Keep practicing and be sure to share some of your work on our forum. Once a week we share our favorites on our Instagram feed 🙂
I like learn more about calligraphy if you more info or if you have lettering practice sheet. Suppose you have more lettering style please show me the print out lettering sheet thank yo7
Thank you Lucy,
You can find the practice sheets in this tutorial – they should be somewhere in the middle 🙂