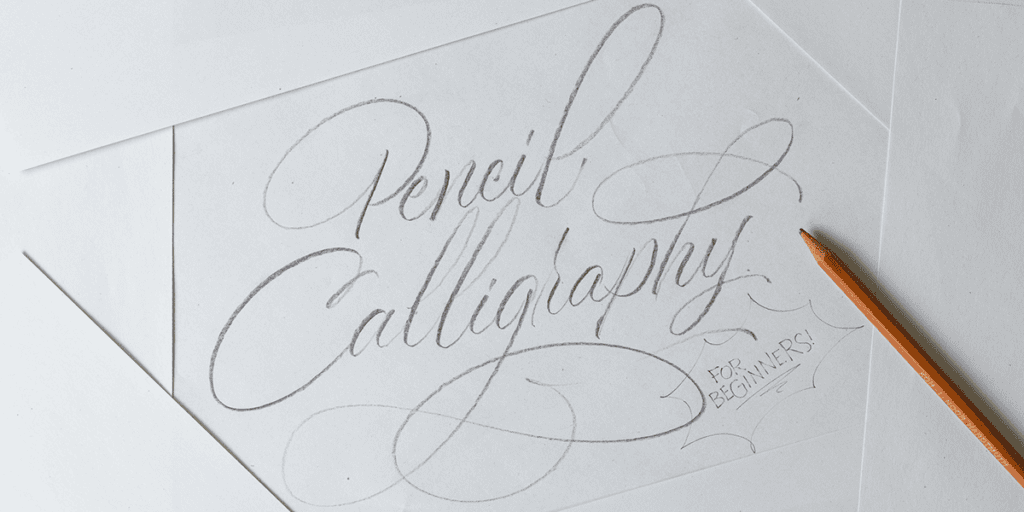
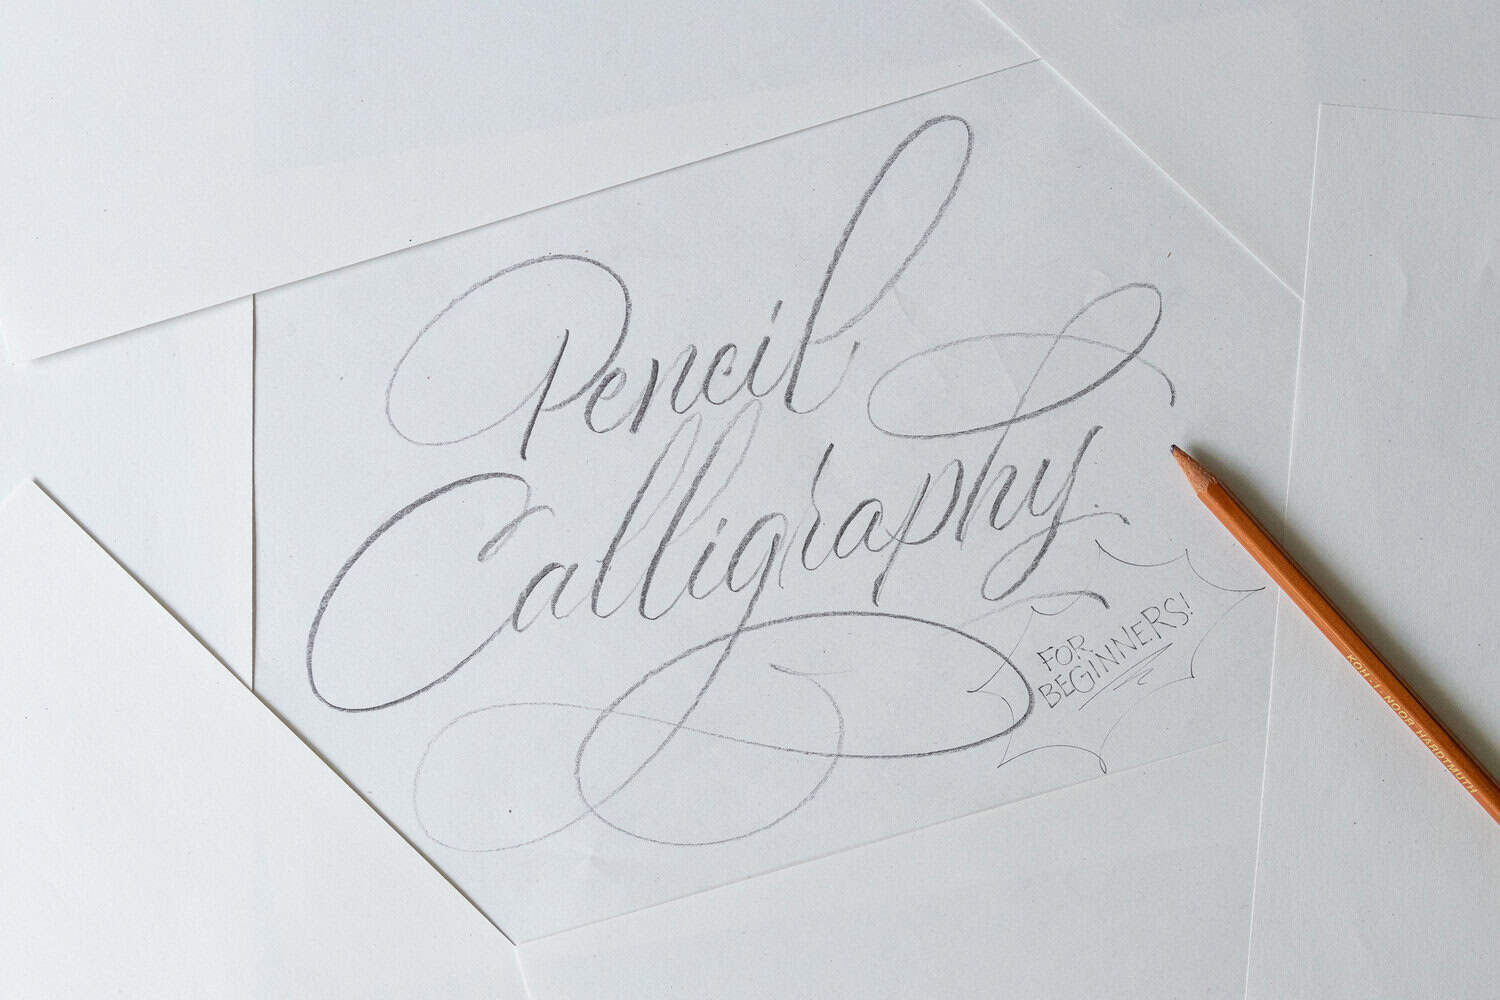
Want to learn calligraphy but don’t have fancy tools? No problem — all you need is a pencil. ✏️
In this beginner-friendly guide, I’ll show you how to use a regular pencil to create beautiful calligraphy. Whether you’re brand new to lettering or just curious about trying something new, this tutorial has everything you need to get started — plus free printable worksheets.
✅ Quick setup
✅ Easy practice
✅ No expensive supplies
This article is part of my Calligraphy Hub, where I’ve gathered foundational guides, tools, and creative inspiration to help you grow your skills.
✏️ Quick Start: Pencil Calligraphy in Under 60 Seconds
Here’s what you need to jump right in:
- 🛠 Tool: Any pencil with a B mark — 2B or softer works best, especially with a slightly dull tip
- ✋ Grip: Hold your pencil at approx. 40° angle to the paper
- 🔽 Pressure:
- Light pressure = thin strokes (upstrokes)
- Heavy pressure = thick strokes (downstrokes)
- 🔤 Practice Letters: Start with basic strokes and work your way into full alphabets

📥 Download the free worksheets PDF to get started immediately

Stay updated with my tutorials and get instant access to the Lettering Crate –
A growing library of free lettering & calligraphy resources that includes –
Why Use a Pencil for Calligraphy?
Pencil calligraphy is the most beginner-friendly way to start lettering:
- ✅ It’s affordable — you probably already have one at home
- ✅ It’s forgiving — you can erase and sketch lightly
- ✅ It builds pressure control — a key skill in calligraphy
- ✅ It works on any paper — no special supplies needed
Whether you’re just starting out or you’ve been practicing for a while, the pencil can be a great writing tool for calligraphy.
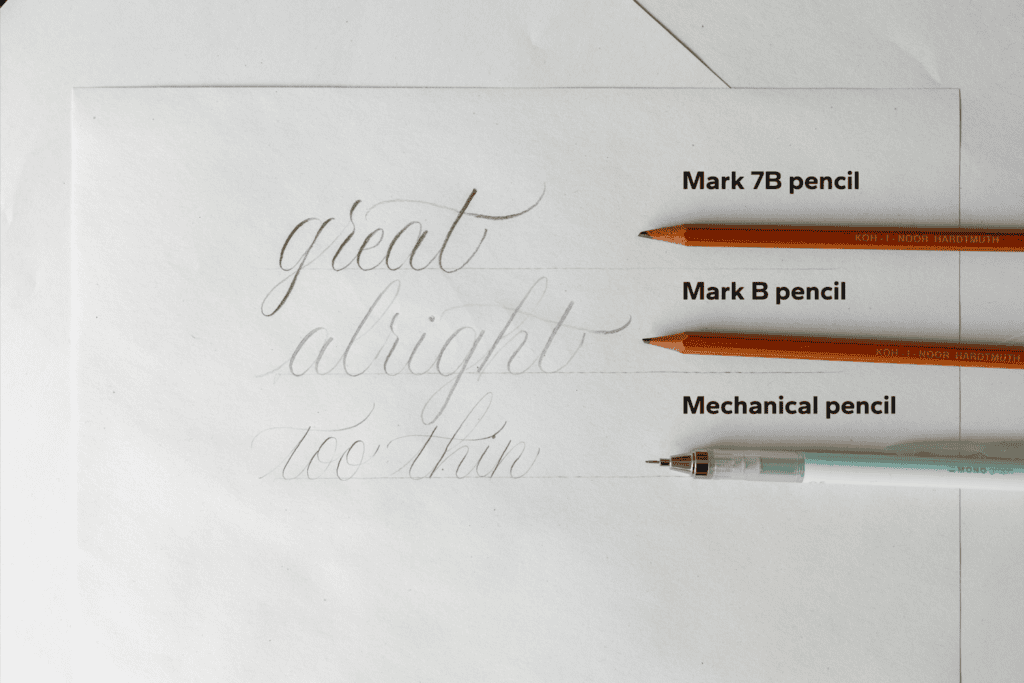
✏️ The Best Calligraphy Pencils (and Why It Matters)
You can use any pencil, but here are some tips:
- 2B, 4B, and higher B mark pencils offer softer graphite and better stroke contrast
- HB pencils are a good baseline but require more pressure on your downstrokes
- Wooden pencils work better than mechanical ones (they allow more pressure variation)
If you’re just starting out, don’t overthink it. Grab a pencil and start practicing.
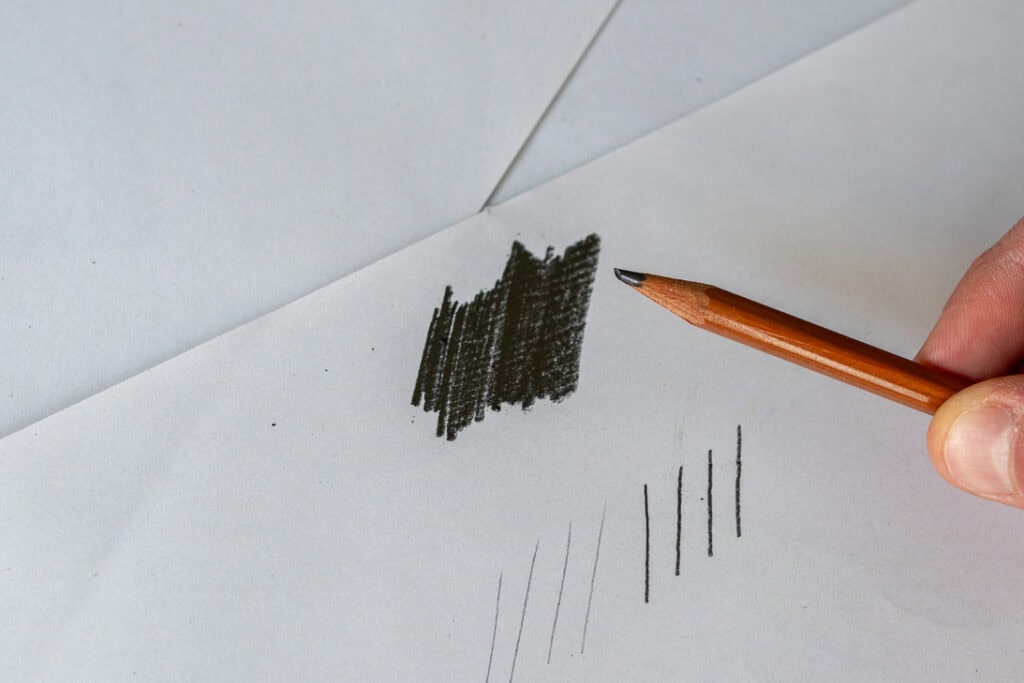
🔧 How to Prepare Your Pencil
Unlike a normal sharp pencil, you want to flatten the tip slightly to help create more contrast.
Here’s how to prep it:
- ✏️ Sharpen your pencil normally
- 📝 Rub the tip against scrap paper only on one side
- ➡️ Create a flat side that will help you get thicker downstrokes
This gives you more control and makes pressure variation easier to manage.
✍️ How to Hold and Use the Pencil
- Hold your pencil at a 45-degree angle to the paper
- Use light pressure on upstrokes and heavier pressure on downstrokes
- Keep your grip relaxed, and let your arm do some of the movement
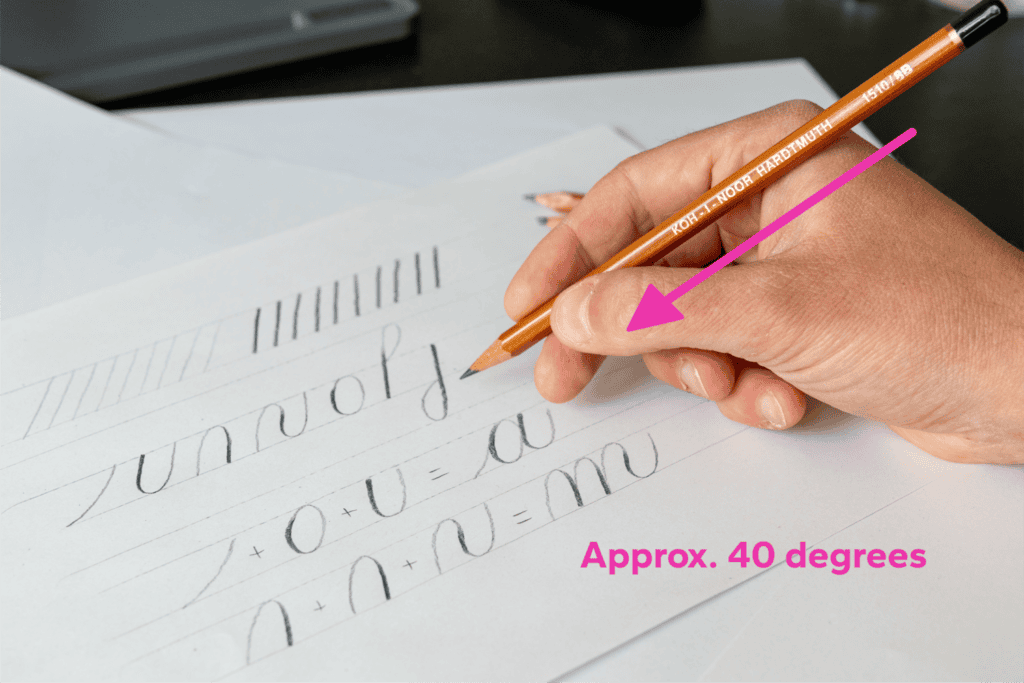
This lets the pencil naturally vary its stroke weight, creating that beautiful thick-and-thin style.
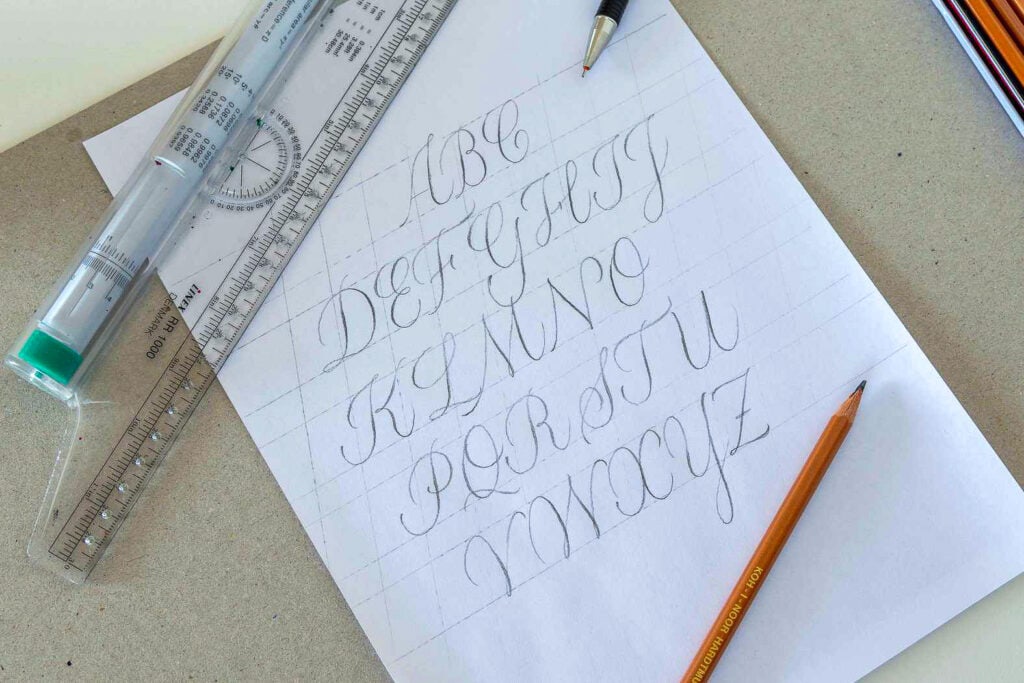
🧱 Practice Strokes and A–Z Alphabet
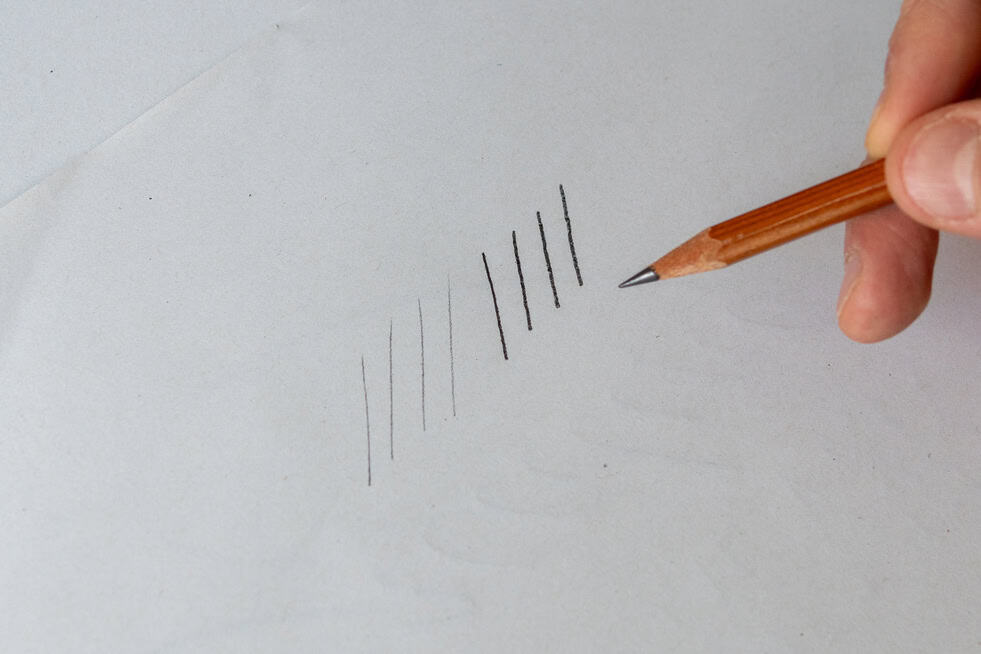
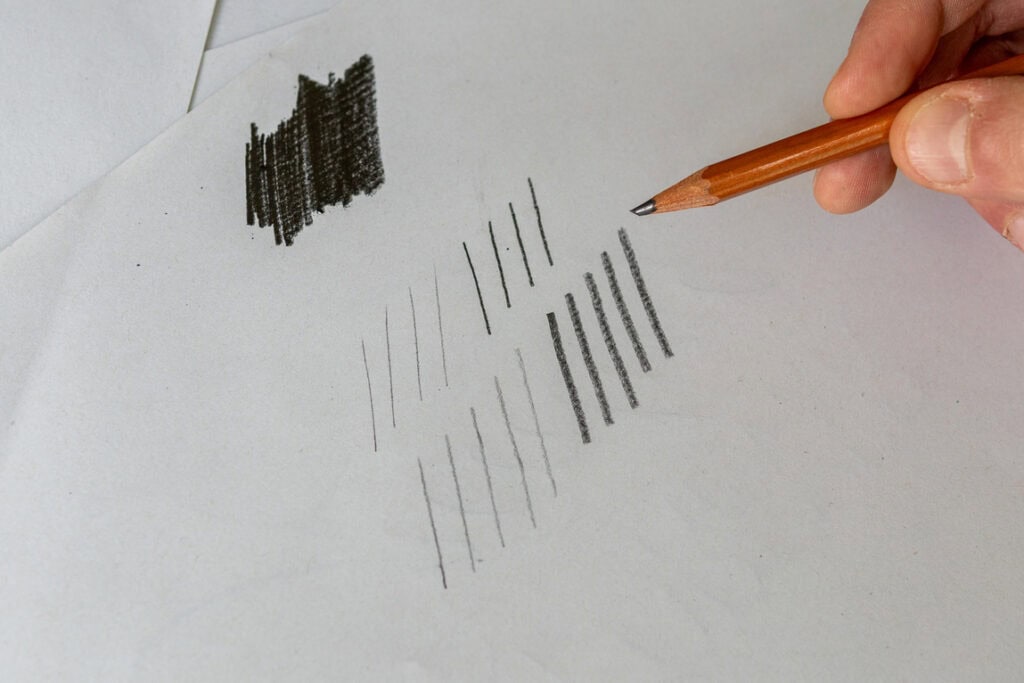
Create the stroke variety by applying or releasing pressure when you write:
- 🟢 Upstrokes = light pressure = thin line
- 🔵 Downstrokes = more pressure = thicker line
- ❌ Don’t press too hard — you’ll lose control and your hand will start to hurt
The best way to learn calligraphy is by starting with the basic calligraphy strokes.
Why Basic Strokes Matter:
- ✅ Improve consistency
- ✅ Focus on individual movements
- ✅ Speed up your learning curve
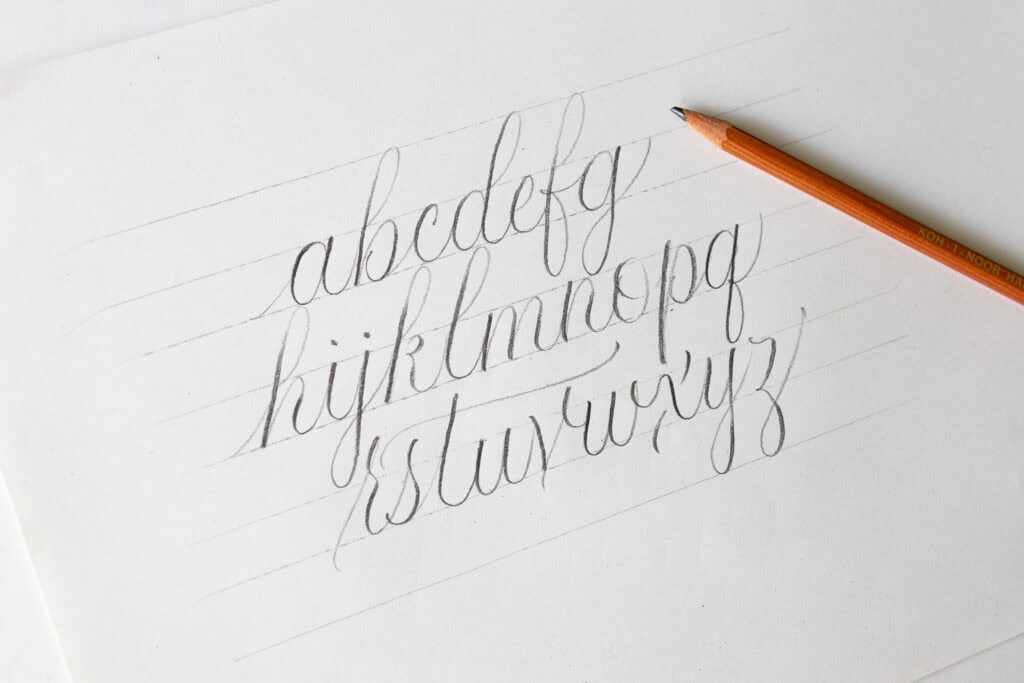
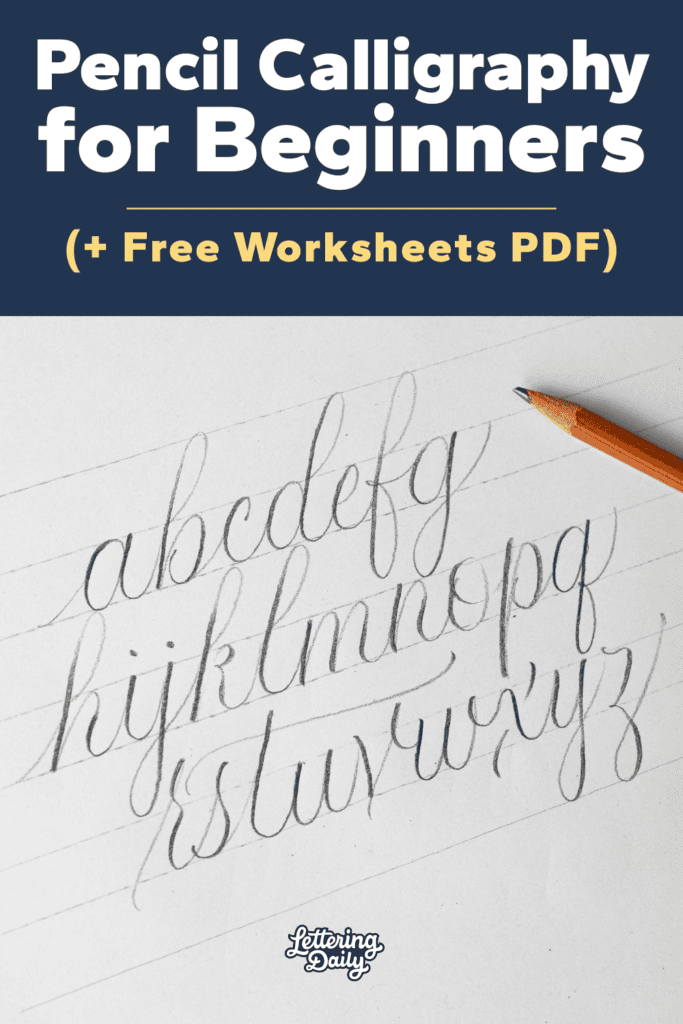
Once you’re comfortable with the basic strokes, move into practicing the lowercase and uppercase alphabets (included in the worksheets).
Focus on:
- ✏️ Stroke consistency
- 📏 Letter spacing
- 🔁 Smooth transitions
- 📏 Don’t forget to use calligraphy guidelines
📄 The worksheets also include example words to help you combine letters confidently.
📥 Pencil Calligraphy Worksheets (Free PDF)
I’ve created free pencil calligraphy worksheets to help you put the theory into practice. You’ll find:
- 🧠 Basic strokes and pressure drills
- 🔠 Full lowercase and uppercase alphabets

👉 Want the worksheets? Just drop your email below and get instant access — plus a growing library of other helpful resources.
Stay updated with my tutorials and get instant access to the Lettering Crate –
A growing library of free lettering & calligraphy resources that includes –
You can print the sheets and use them over and over again for daily practice.
🎨 Inspiration Gallery
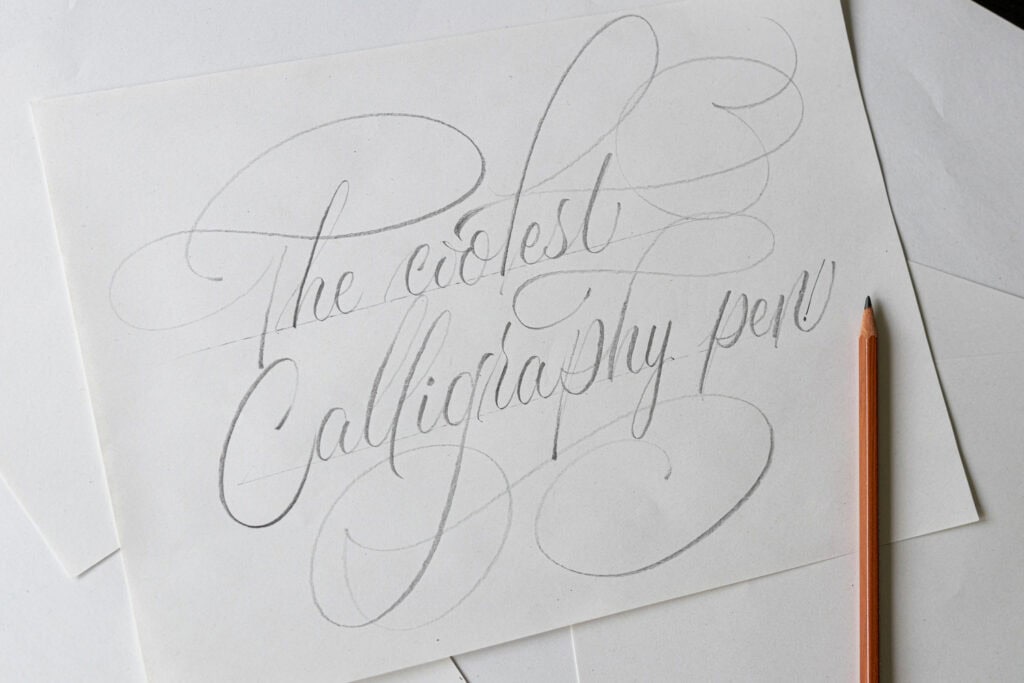
Here’s what pencil calligraphy can look like once you practice consistently:
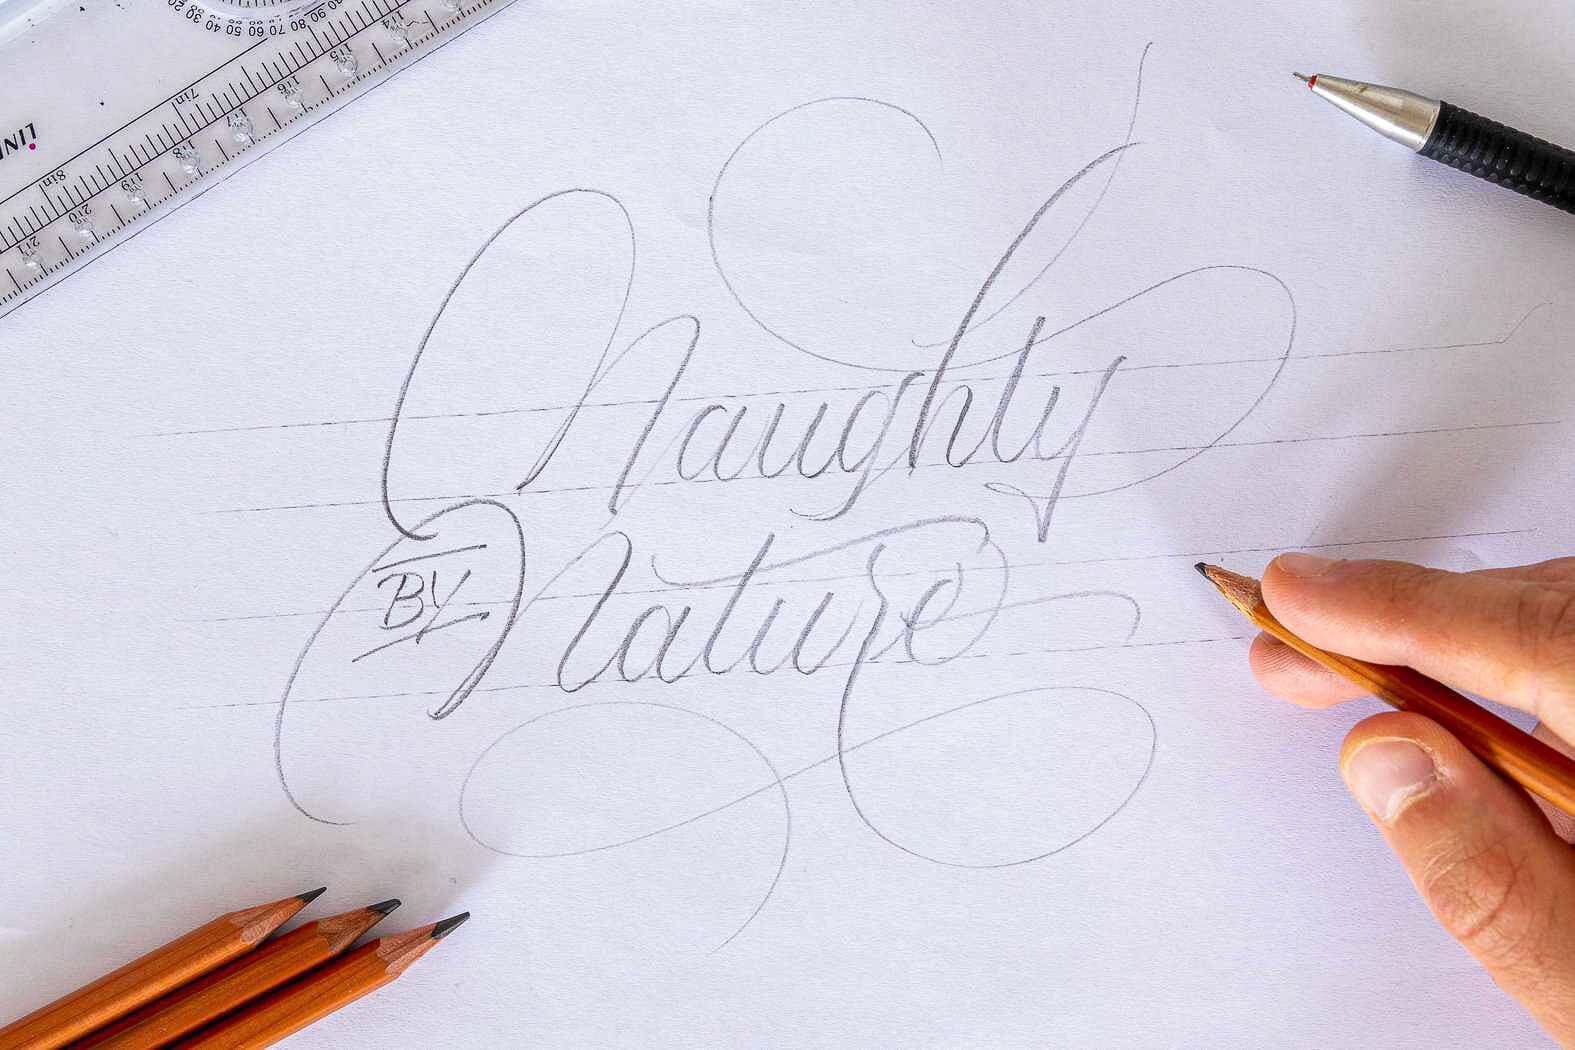

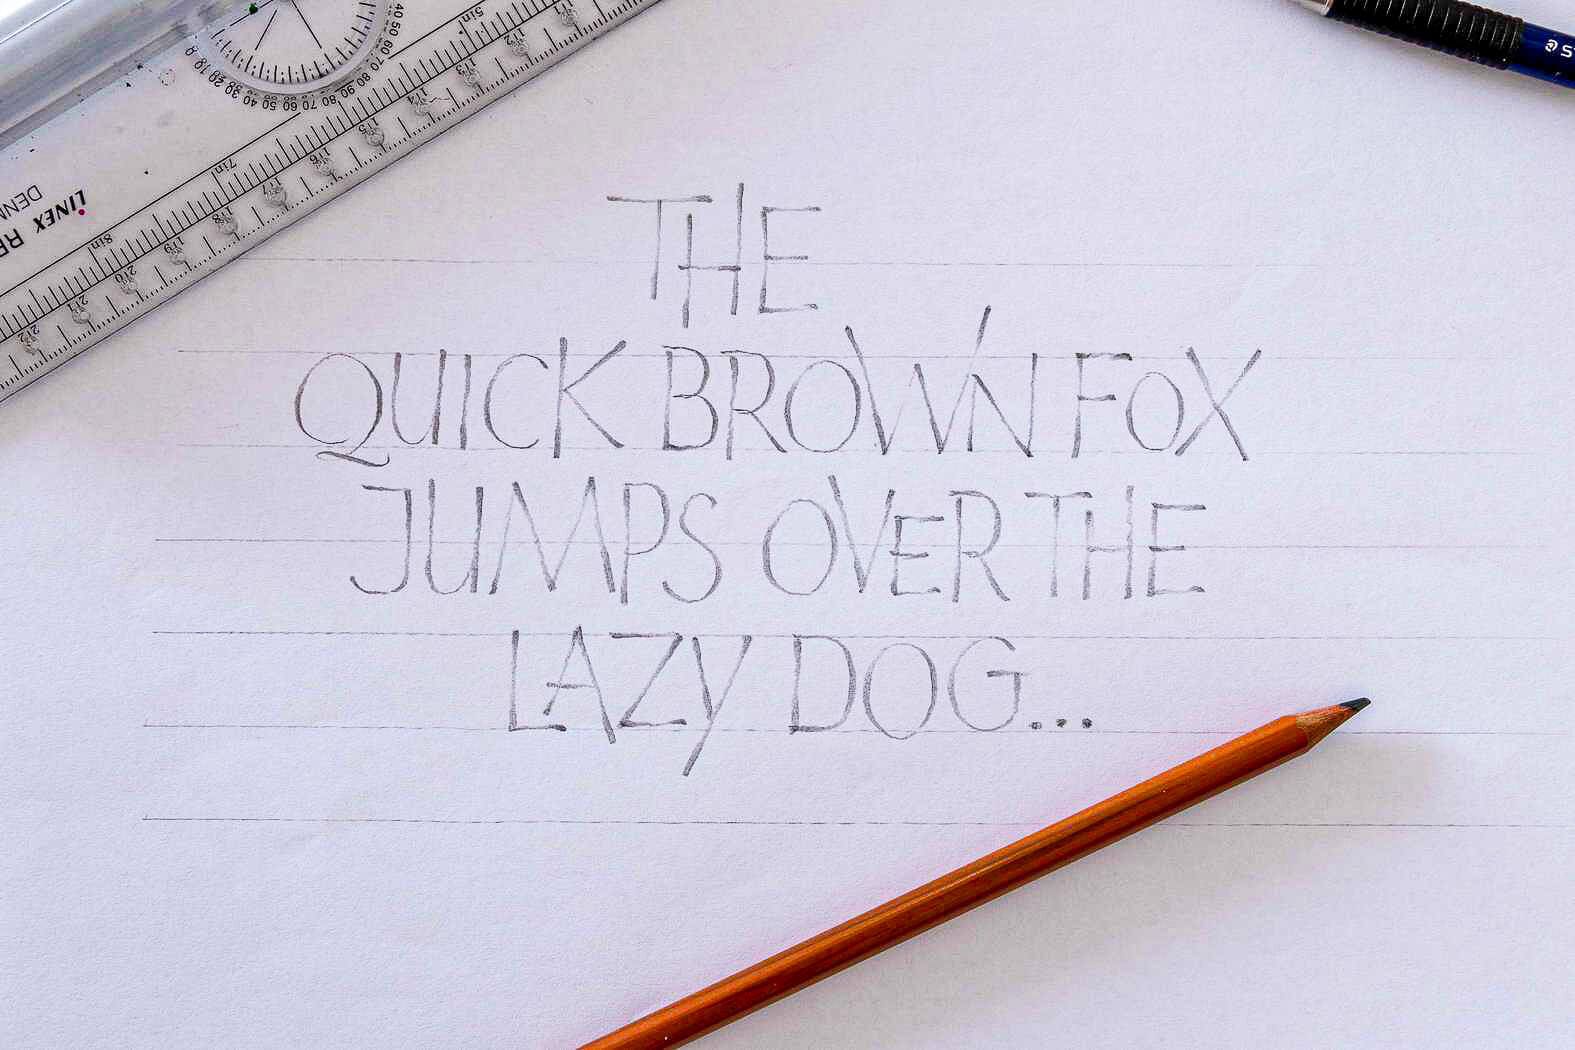
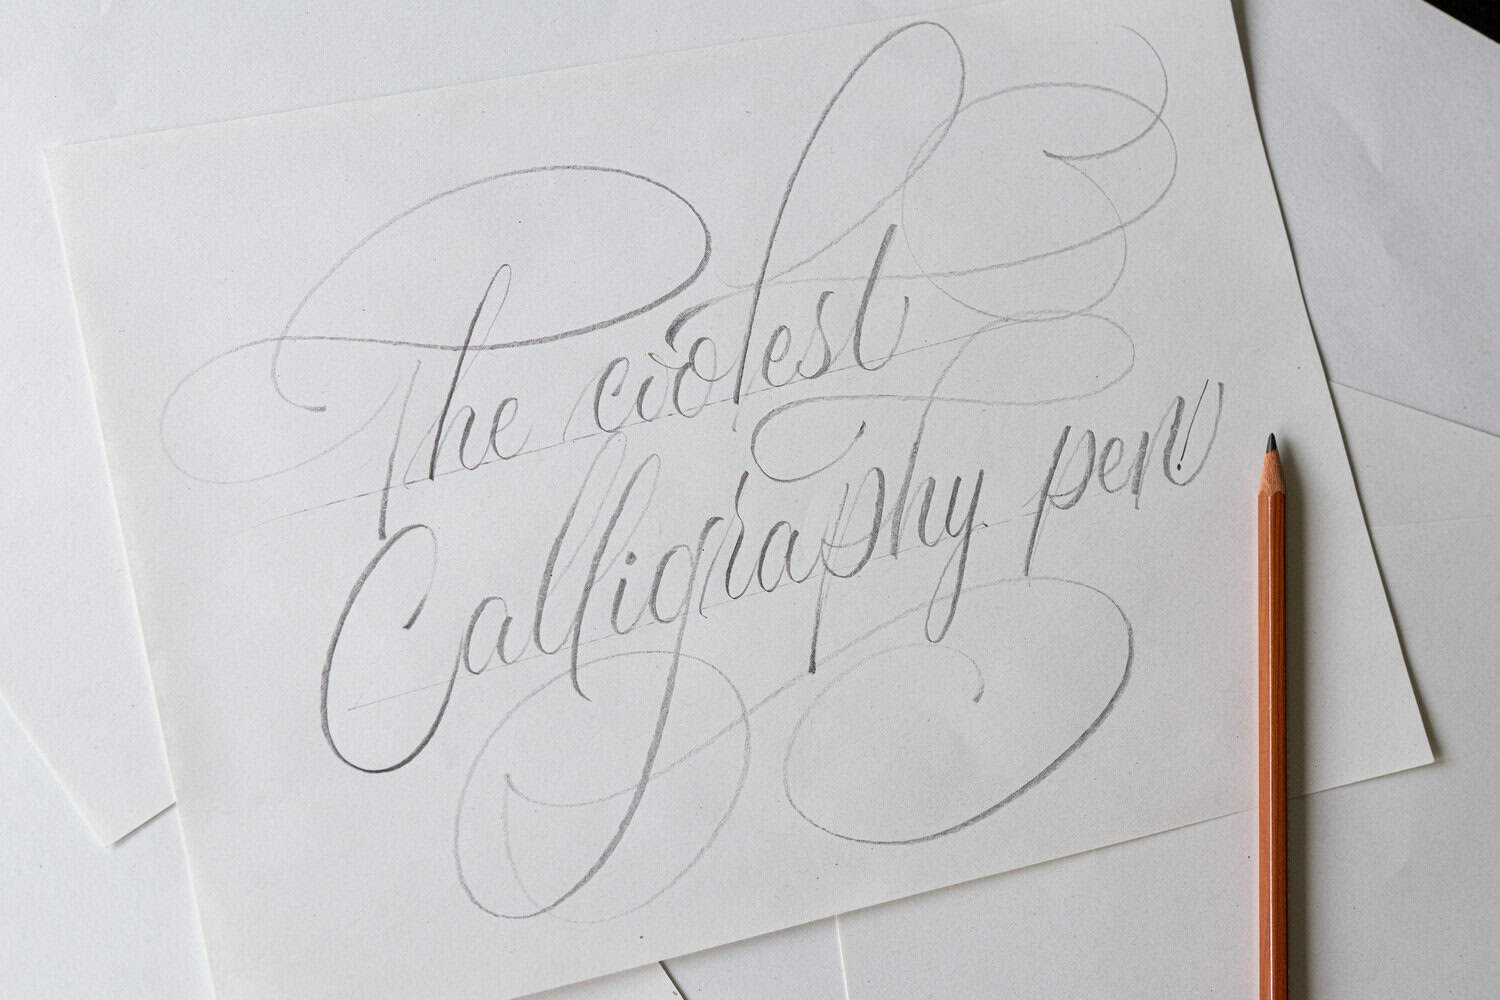
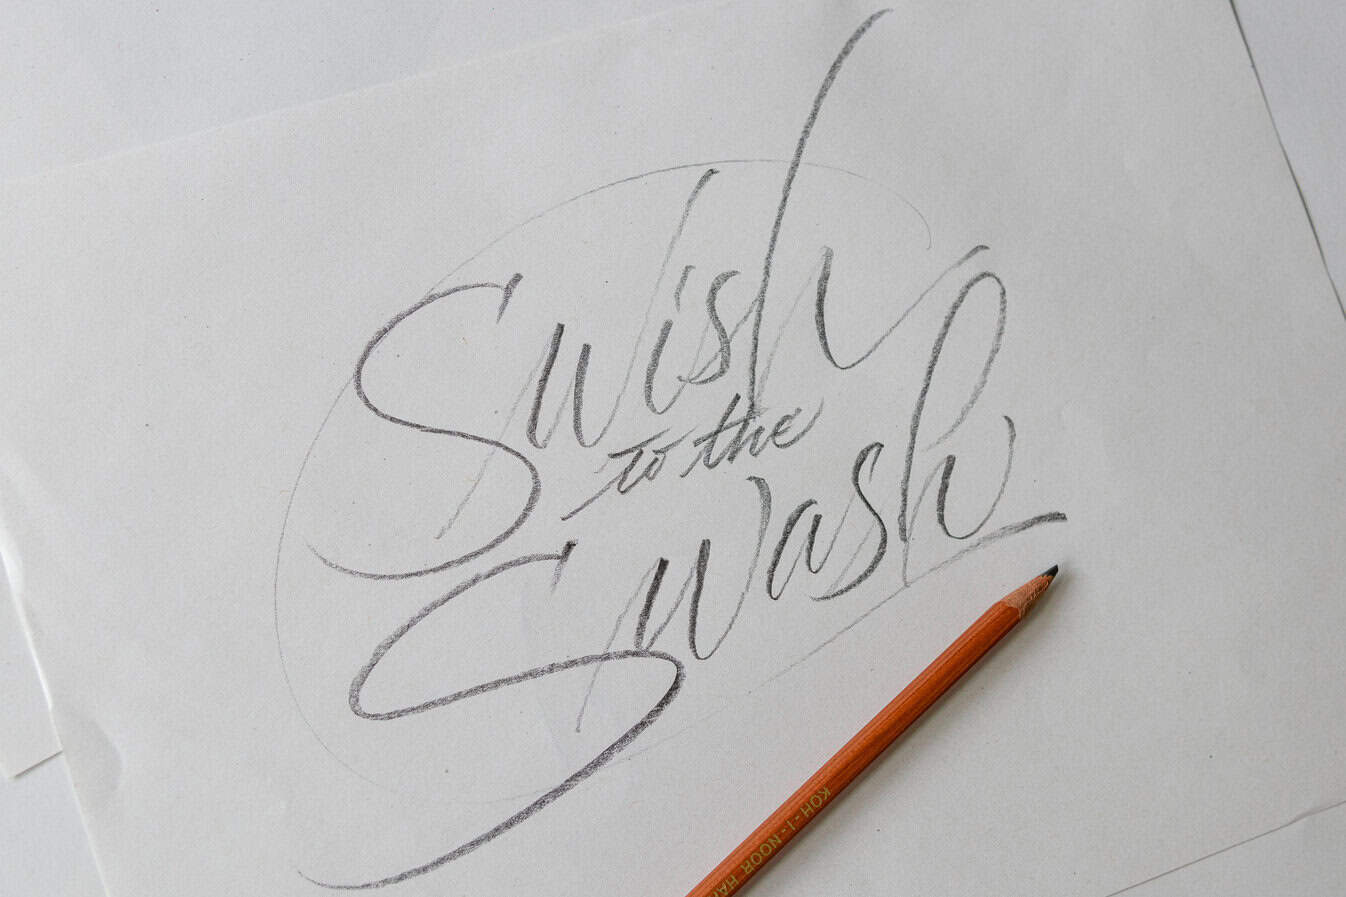
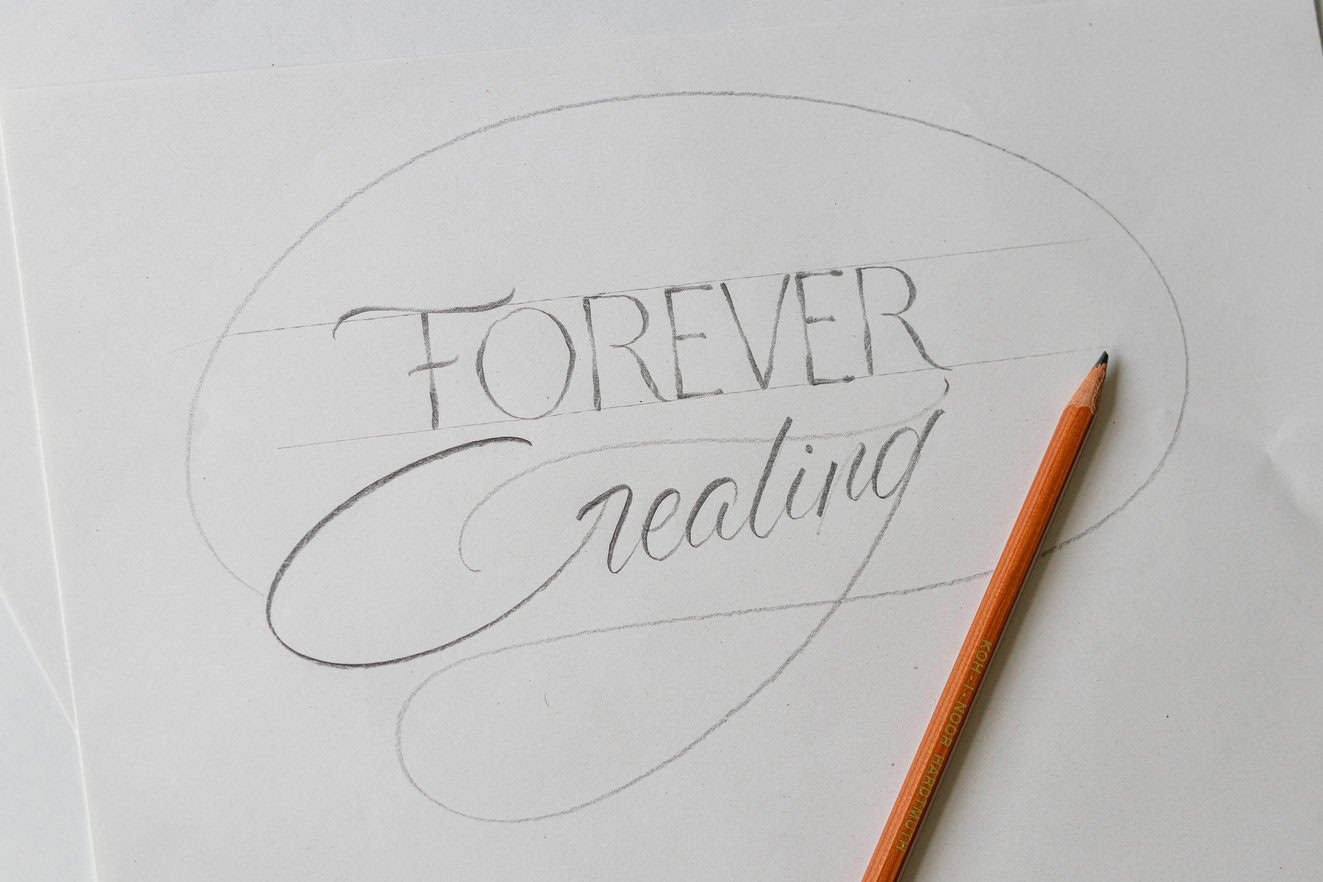
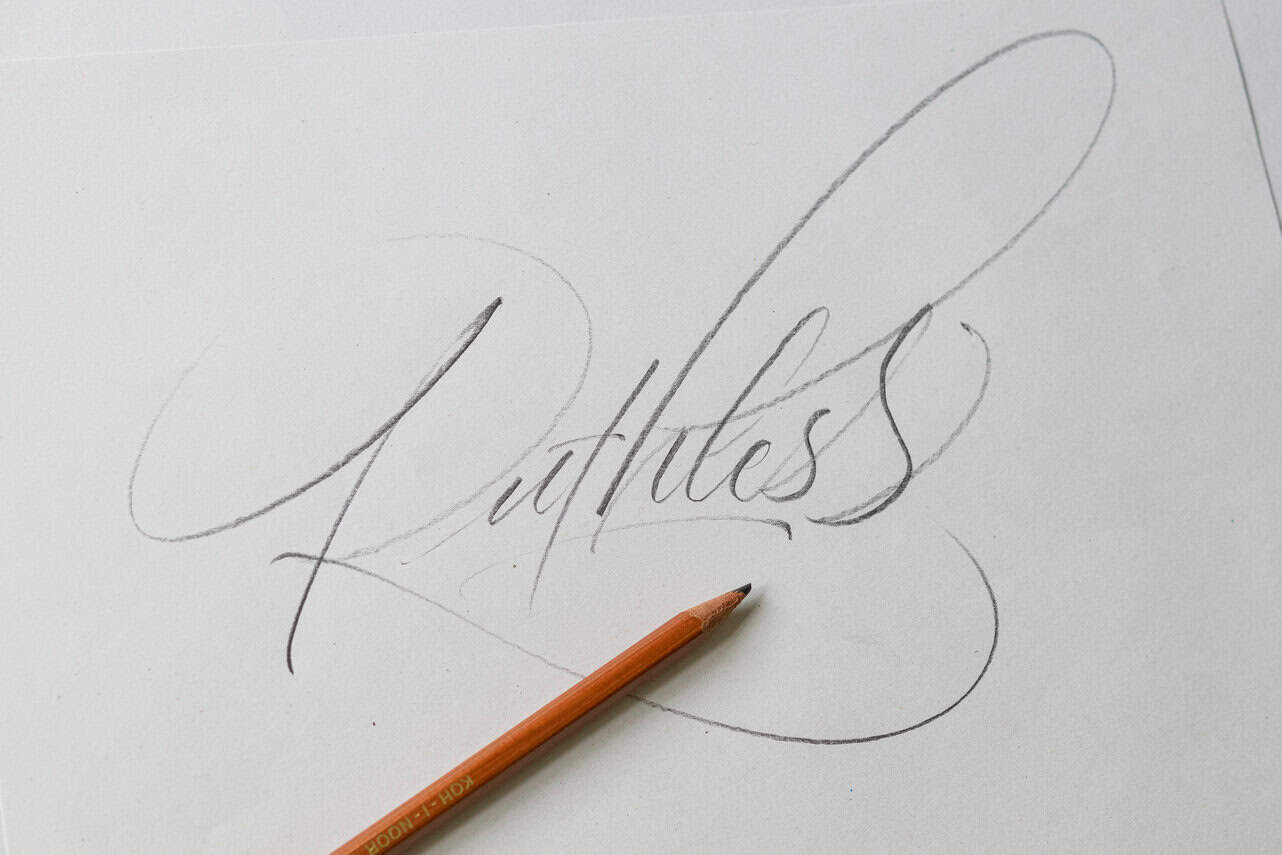
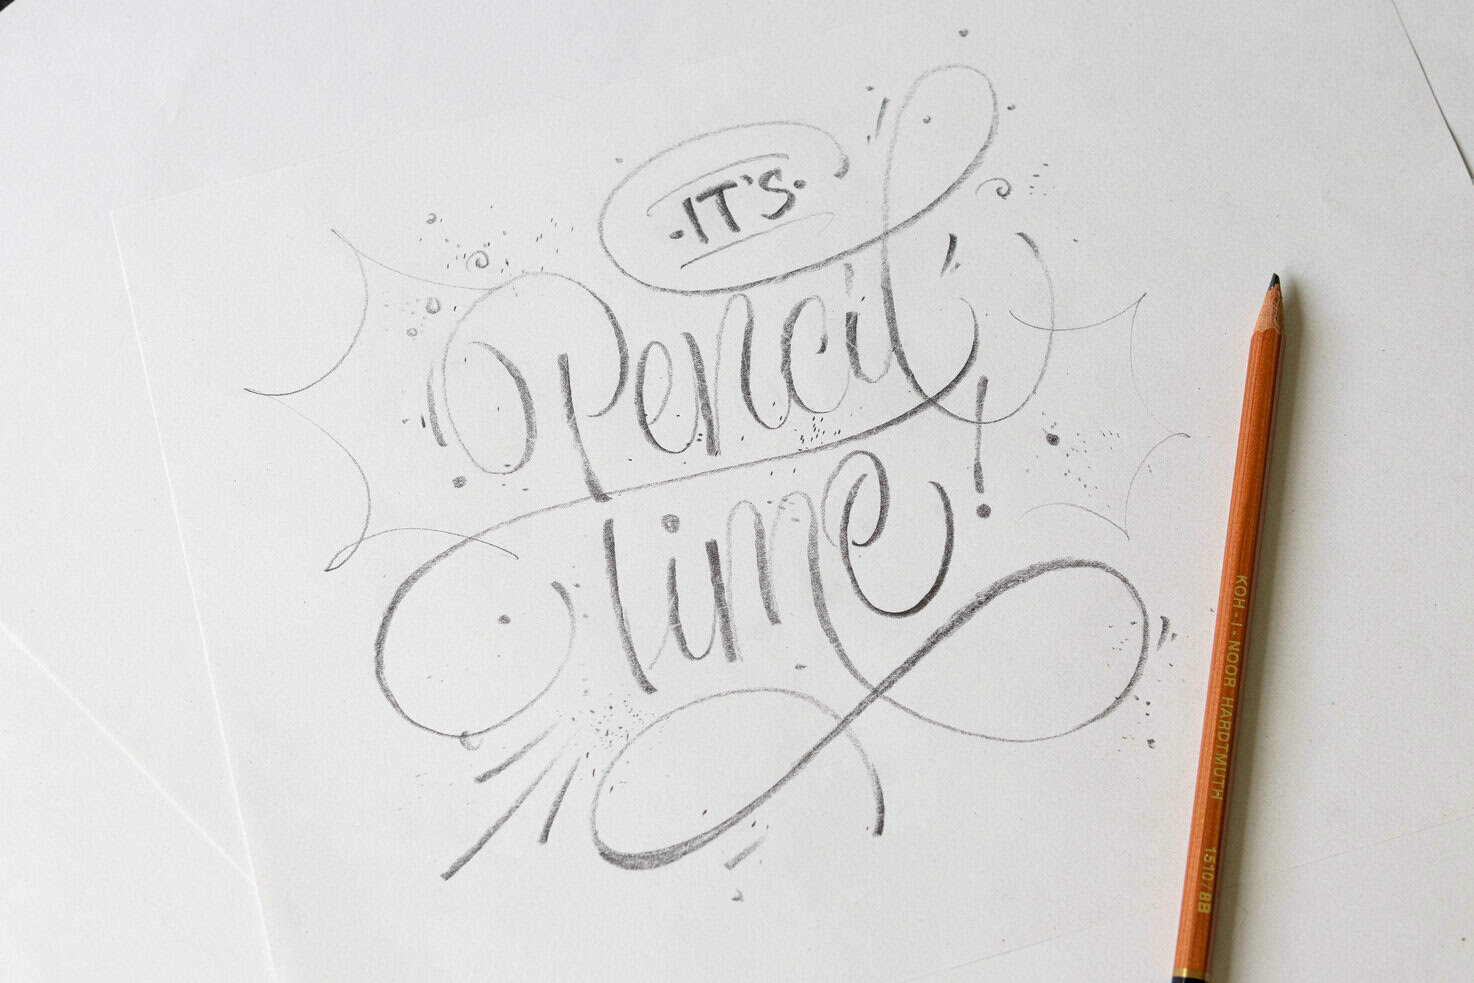
These are all done using just a regular pencil. Simple tools, beautiful results.
📸 Want to share your own pencil lettering? Tag me on Instagram @lettering_daily — I’d love to see it!
✨ Final Thoughts
Pencil calligraphy is one of the easiest and most effective ways to start your lettering journey. It teaches you control, flow, and confidence — and you don’t need to buy a single new tool to begin.
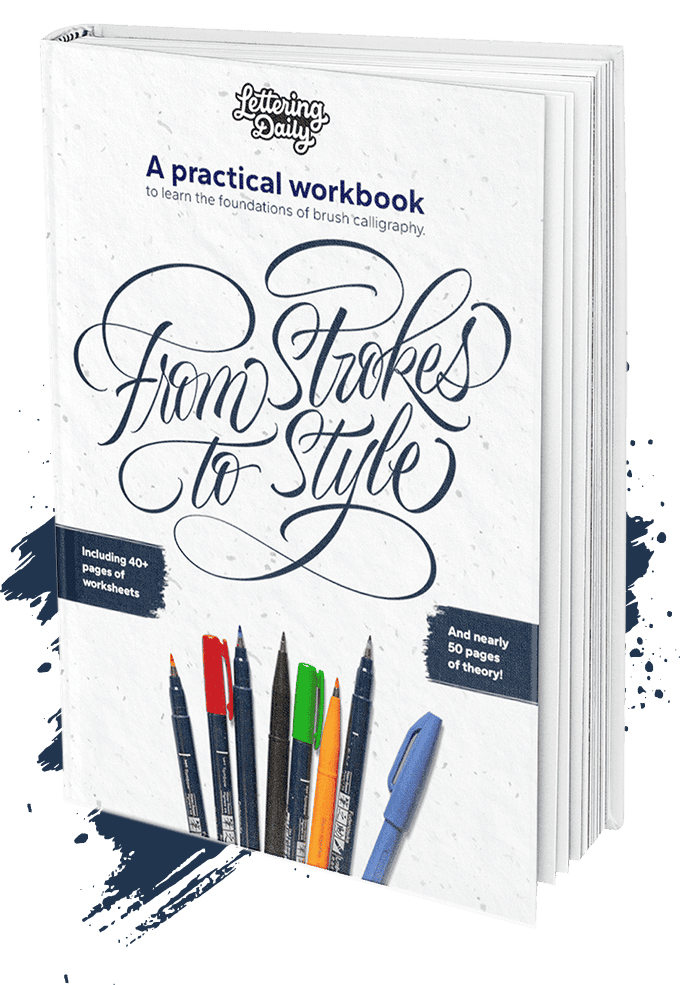
If you want to go even further, check out my full brush calligraphy workbook — From Strokes to Style — packed with 100+ pages of guides, theory, and practice sheets. I created it based on everything I wish I had when I started — it’s perfect if you’re ready to level up.
Master Brush Calligraphy
One Stroke at a Time
This 100+ page workbook walks
you step-by-step through brush
calligraphy basics to full style
development – no experience needed.
Pin me!
About the author

Hey, I’m Max. I’ve been drawing and messing around with letters since 2011. I don’t have a formal art degree—my background is actually in the kitchen as a former chef and on the streets painting graffiti with my friends. Over the last decade, through a ton of trial and error, I somehow turned that obsession into a full-time gig. These days, I design custom logotypes for global brands and paint large-scale murals. I started Lettering Daily just to create the kind of honest, no-BS tutorials I wish I’d had when I was starting out. Stick around, and let’s draw some letters.


What a fabulous online resource you have created here – will definitely buying you a coffee or two…. or more!!!!
Thank you for taking your time to teach myself and others learn calligraphy
Eu quero saber mais, não encontrei a apostila de treino 😃
Thank you, you got me motivated
OMG! This is truly a fantastic tutorial. Thank you so kindly for taking the time. I think I may finally get an understanding to this new hobby.
I am excited to get started.
Very well done.
Cheers.
Great post.
I realy appreciate the spirt behind the tutorial.
Thank you bro!
I want tutorial
Realmente una maravilla tu forma de explicar los pasos para poder iniciar en este arte. Lo haces ver tan fácil que inspira a comenzar a trabajar. Gracias por compartir tus conocimientos,
Thank you so much for the kind words! 🙂
really cool thanks for the tutorial.
Thank you, Carla! Im glad to hear that you enjoyed the tutorial.
Thanks very much, Alex. An excellent tutorial very clearly explained. I appreciate the work you’ve put into this and into the worksheets too.
Thank you, Drew. Im so glad to hear that 🙂