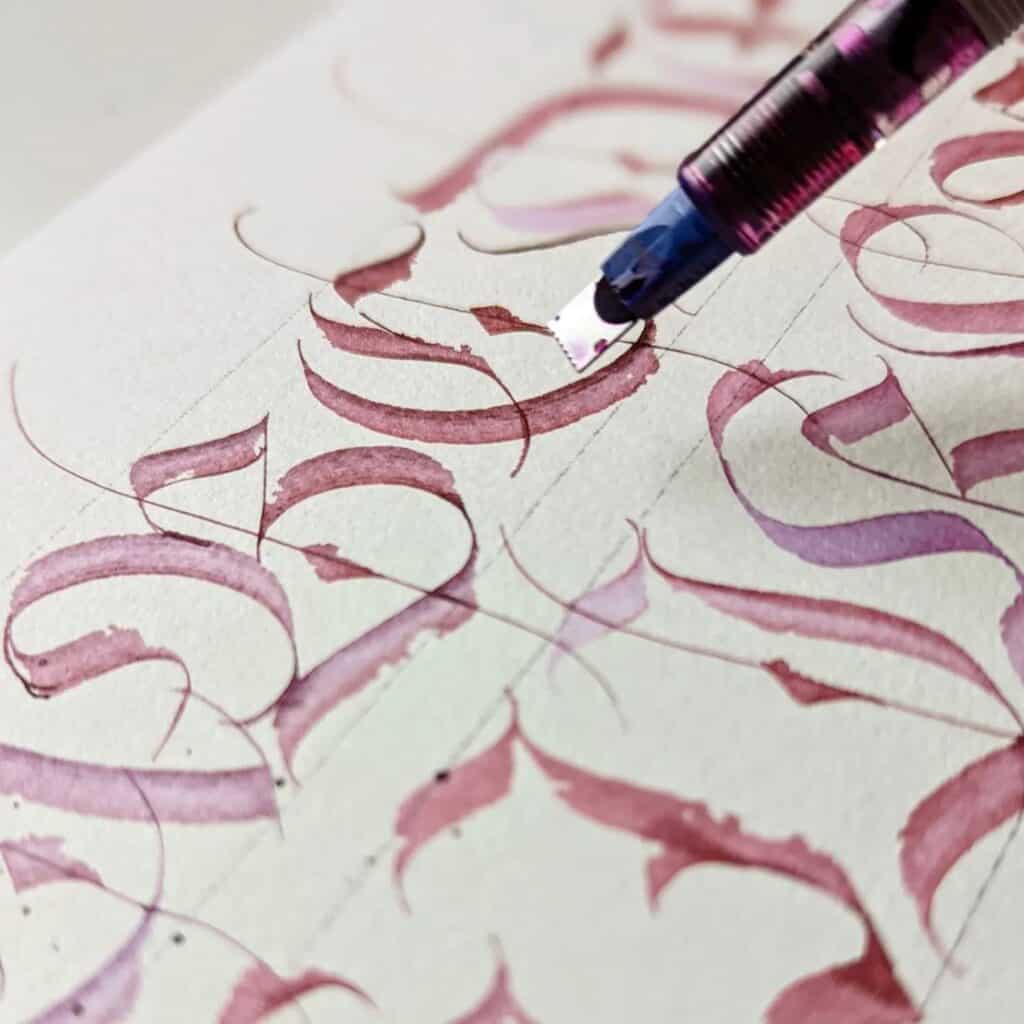
In this article, I will show you how to practice calligraphy effectively.
If you’re struggling to see improvements in your calligraphy, chances are that your practice routine is slowing your progress.
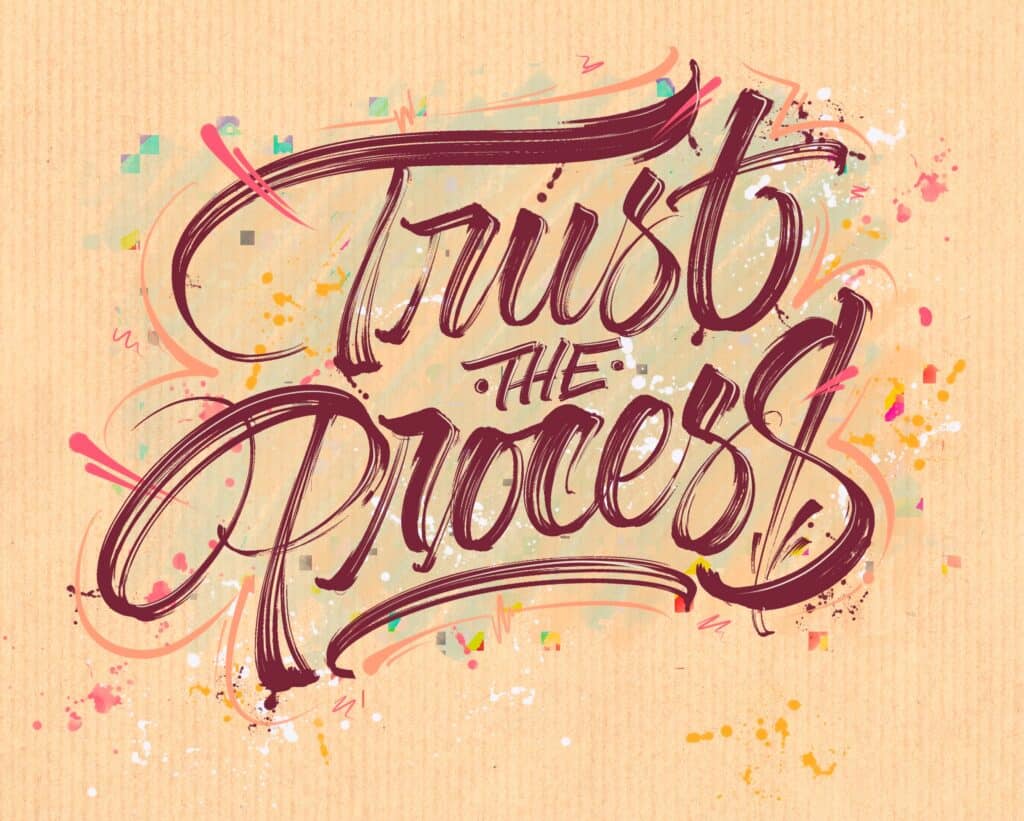
By implementing these practice tips, you can create a routine that will allow you to make more progress in less time.
These are tips that I’ve gathered over the years of practicing calligraphy and that have helped me improve my skills.
By this point, you’ve already –
- Picked the calligraphy style you want to practice,
- Choose the proper calligraphy pen for that style,
- Got the basic calligraphy tools.
If you haven’t, check those articles and return to this one.
Let’s get started.
Looking for more calligraphy articles like this? I’ve collected them all in one place — visit the main calligraphy page to dive in.
1. Deliberate practice
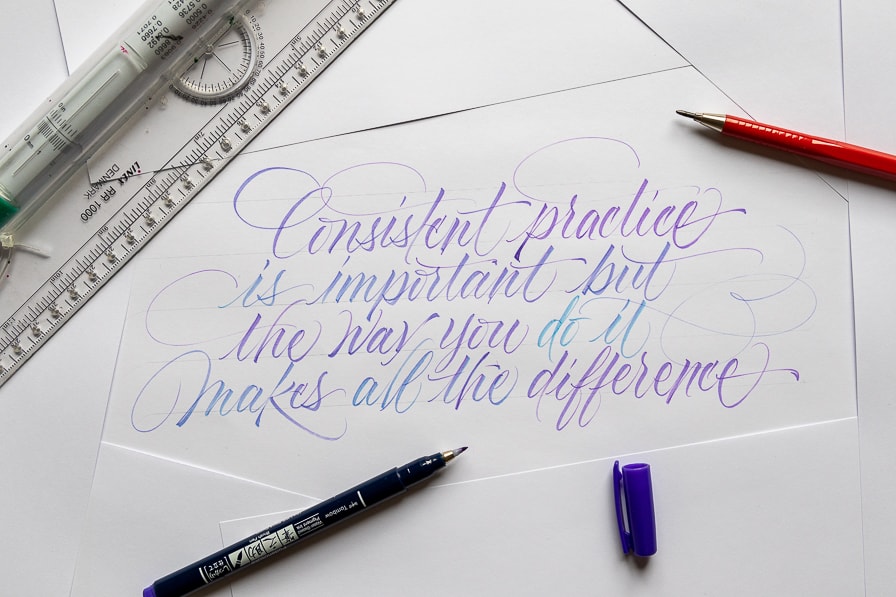
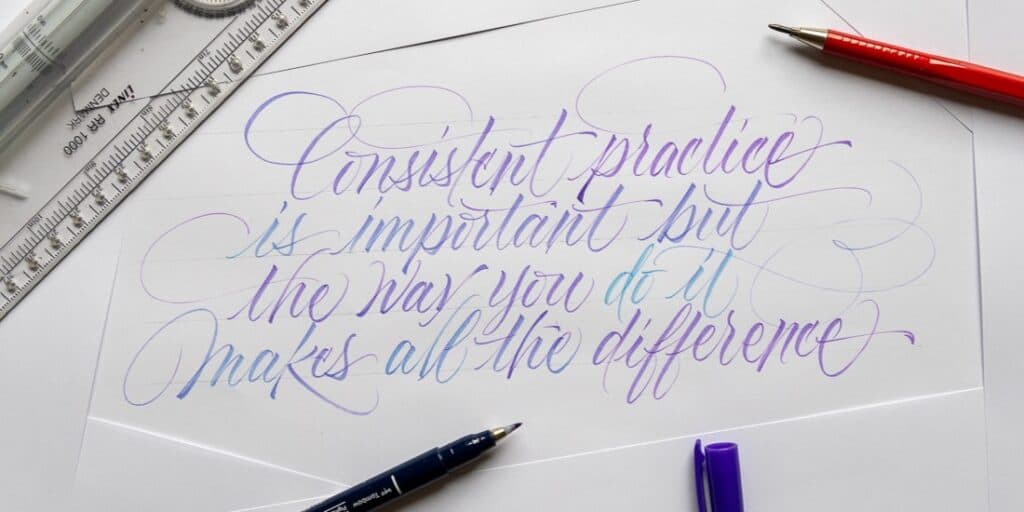
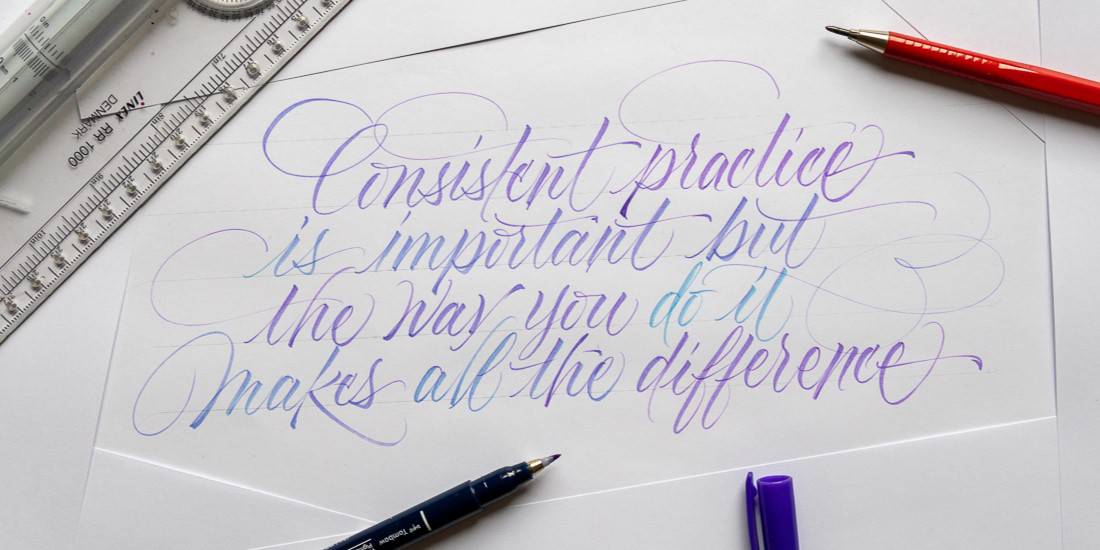
Like any other skill, consistent practice is important, but how you practice makes all the difference.
I’ve seen people over the years making more progress in six months than others did in five years.
Deliberate practice is the key.
Think of professional athletes; let’s take basketball players, for example.
They dont just come to the court and run around randomly shooting the ball and hoping to win.
They have a whole team of specialists dedicated to analyzing and improving specific areas of their practice routine.
Why not take a page from that book and apply it to calligraphy?
If you’re just aimlessly copying calligraphy artwork you find online, making progress will be slow and difficult.
So if you’re regularly practicing but do not see any progress, keep reading and implement these tips.
2. Consistent over intensive practice

It’s better to practice every day, even in small increments, than batch your practice twice weekly.
In other words, it’s better to practice, even if it’s just 15-20 minutes daily than do two hours during the weekend.
Calligraphy is a motor skill that requires consistent practice to build muscle memory.
The more you do it, the better you become at it.
It’s that simple.
A great tip to remain consistent with your daily practice is to schedule it into your daily plan literally.

You can do that on paper, google calendar, or whatever other method for planning your day you prefer.
By scheduling these practice sessions, you are creating a commitment that will make it much easier for you to show up every single day.
3. Moving gradually from easy to difficult
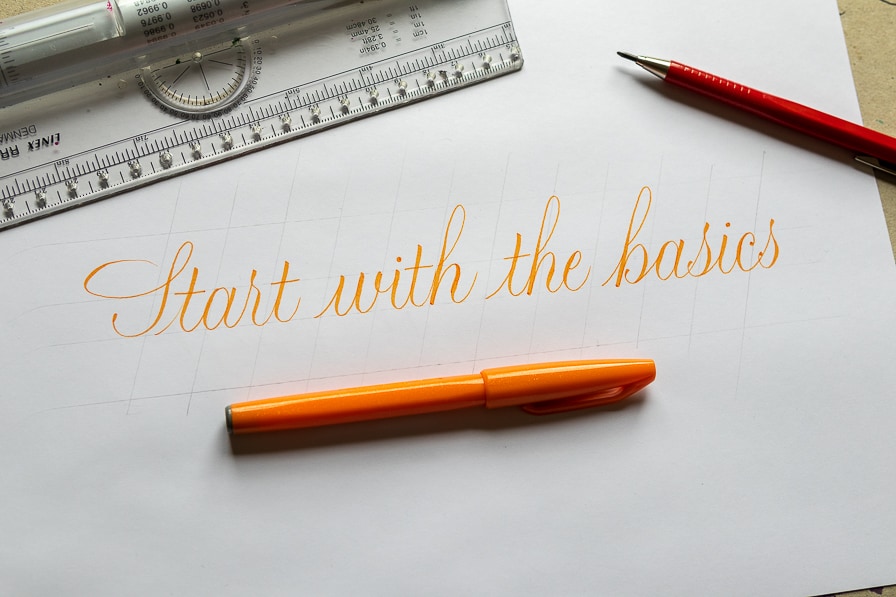
One of the most common mistakes I see beginners make is not moving gradually from easy to more challenging elements.
Beginners often skip learning the fundamentals and immediately try to create complex layouts, compositions, flourishes, etc.
You simply won’t be able to do those things if you don’t build a strong foundation with the basics first.
You can only do a guitar solo when knowing how to play the basics first.
Learning the basics and doing drills may seem boring, but it’s the exact thing that will lay down the foundation for you to create stunning calligraphy artwork.
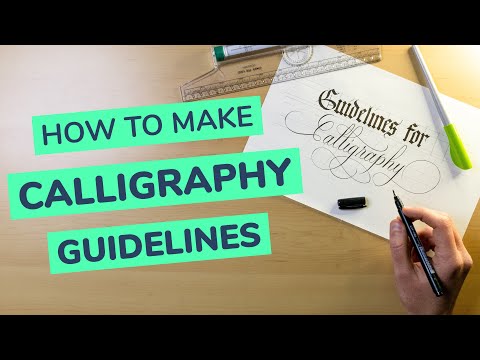
4. Use calligraphy guidelines

I cannot stress enough how essential calligraphy guidelines are.
They are an absolutely essential element for calligraphy; with them, you will be able to practice effectively.
Calligraphy guidelines help you keep your letters in the correct proportions and improve the consistency of your letterforms.
Some calligraphy styles can be looser and require fewer or no guidelines, but if you’re just getting started, get that ruler out and draw those lines out.
I wrote a whole in-depth article + a YouTube video where I explain what calligraphy guidelines are and how to use them.
5. Posture, placement, and position
This is a crucial tip that is often overlooked.
Yes, how you sit, hold your pen, and position the paper on the table plays a significant role in how you practice calligraphy.
You can’t practice calligraphy effectively if you’re sitting on the couch or slouching on the table.
You can only execute smooth, flowing lines if you hold the pen correctly.
Lucky for you, my friend Paul Antonio who is an absolute calligraphy master, created three separate videos that cover this exact topic.
Here is the first video about posture –
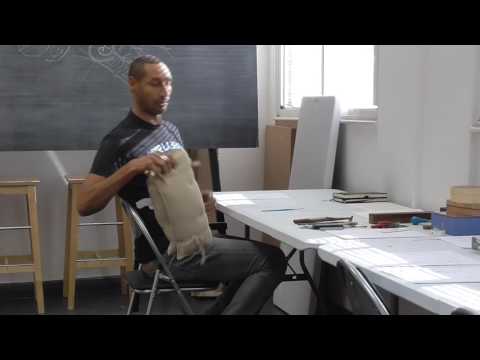
Here you can watch the video about placement and the one about the position.
6. Find a proper resource for the calligraphy style you want to practice.
Once you’ve picked out the calligraphy style you want to practice, finding a good resource for you to study from is crucial.
The worst thing you can do is find a random alphabet from Google or Pinterest and copy the letters.
If you can’t attend a workshop hosted by a professional calligrapher, a great alternative is a good calligraphy book.

I’ve shared my top 10 calligraphy books for beginners, and in them, you’ll find all the needed information to get you started.
On the Lettering Daily website, you’ll also find tutorials for various calligraphy styles.
Finding a good study resource will help you learn the script correctly, allowing you to progress faster.
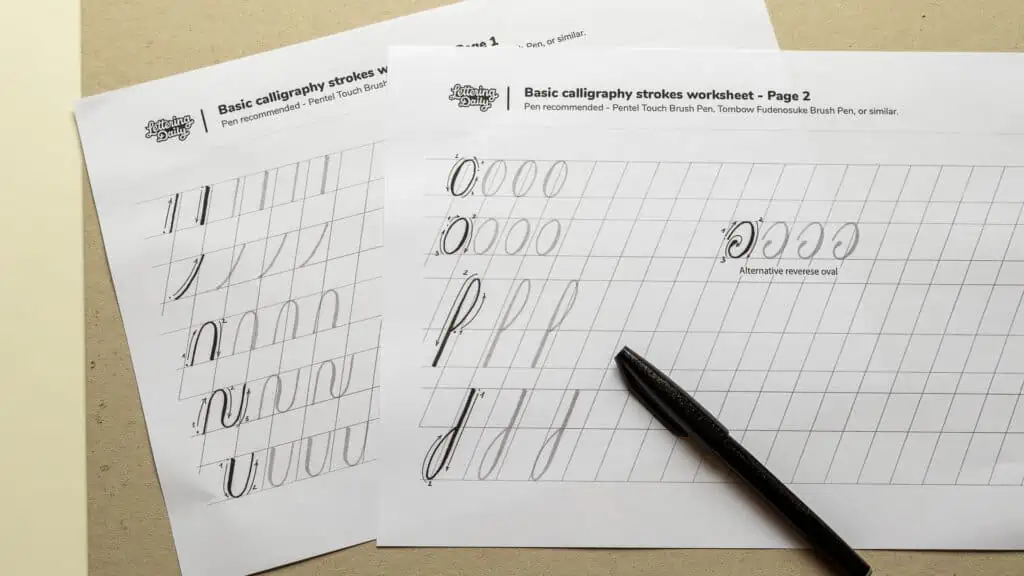
7. Begin with the basic strokes.
Now that you have your tools and study resources, you can finally begin your practice.
Before writing letters and words, it’s best to begin with the basic calligraphy strokes.
Remember what I said about moving gradually from easier to more complex elements?
The basic strokes can vary depending on the calligraphy style you’ve chosen to practice.
These basic strokes are usually the building blocks of letters, and it’s a great starting point if you have yet to gain experience.
It will also help you better understand how to operate the tool since you’re using different movements than you would for your regular handwriting.
How do you know when to move from the basic strokes to actual letters?
This is a great question.
If you can execute the same basic stroke three to five times in a row in the same way.
This indicates that you’ve built the needed muscle memory to move on to the next step.

8. Practice letters in groups
Now that you’ve got some practice with the basic strokes, we can proceed to writing letters.
Depending on the calligraphy style you’ve chosen to practice, you will notice that some letters share similarities.
This allows us to divide the letters of the alphabet into various groups based on these similarities.
Rather than practicing the alphabet in order, we practice it in groups based on similarities.
By practicing the alphabet in letter groups, you will better understand the relationship between the basic strokes and each letter.
A great example is Sheila Waters’s book Foundations of Calligraphy, particularly where she talks about the Foundational hand (btw. Great book, highly recommend it).
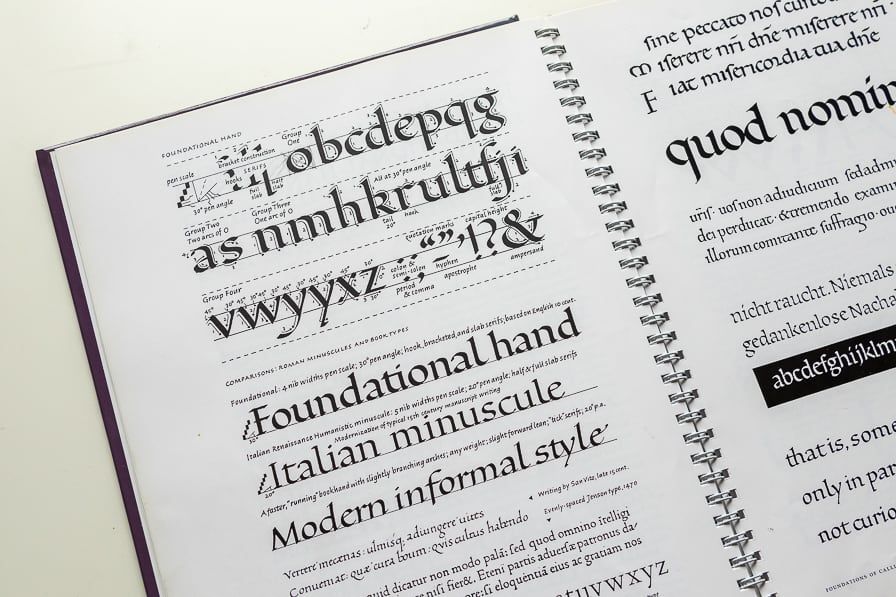
In this book section, she presents the whole Foundational Hand divided into four main letter groups.
She also talks about the parent letters o and n and how their shapes repeatedly appear in one way or the other across the entire alphabet.
A great quote from her book is – “A coherent alphabet style must have unity of its parts.”
As you write out the letters, keep a close eye on your exemplar and ensure your letters are as proportional and consistent as possible.
Pay close attention to the spacing and the positive and negative spacing.
Not just between words but also between each letter pair.
Obviously, as you’re just getting started, it will be difficult, but follow the process and keep showing up daily, and you will see progress.
Note – In calligraphy, an exemplar is an example alphabet used for learning a specific script. Usually, exemplars also need a ductus. The ductus is the name of the little arrows that indicate the sequence and direction of each stroke needed to form a specific letter.
9. Write and analyze your calligraphy.
This is also an excellent practice tip from Sheila’s book.
She calls it rhythmic and analytical practice.
As soon as you feel confident enough with single letters, move on to writing words and even shorter sentences.
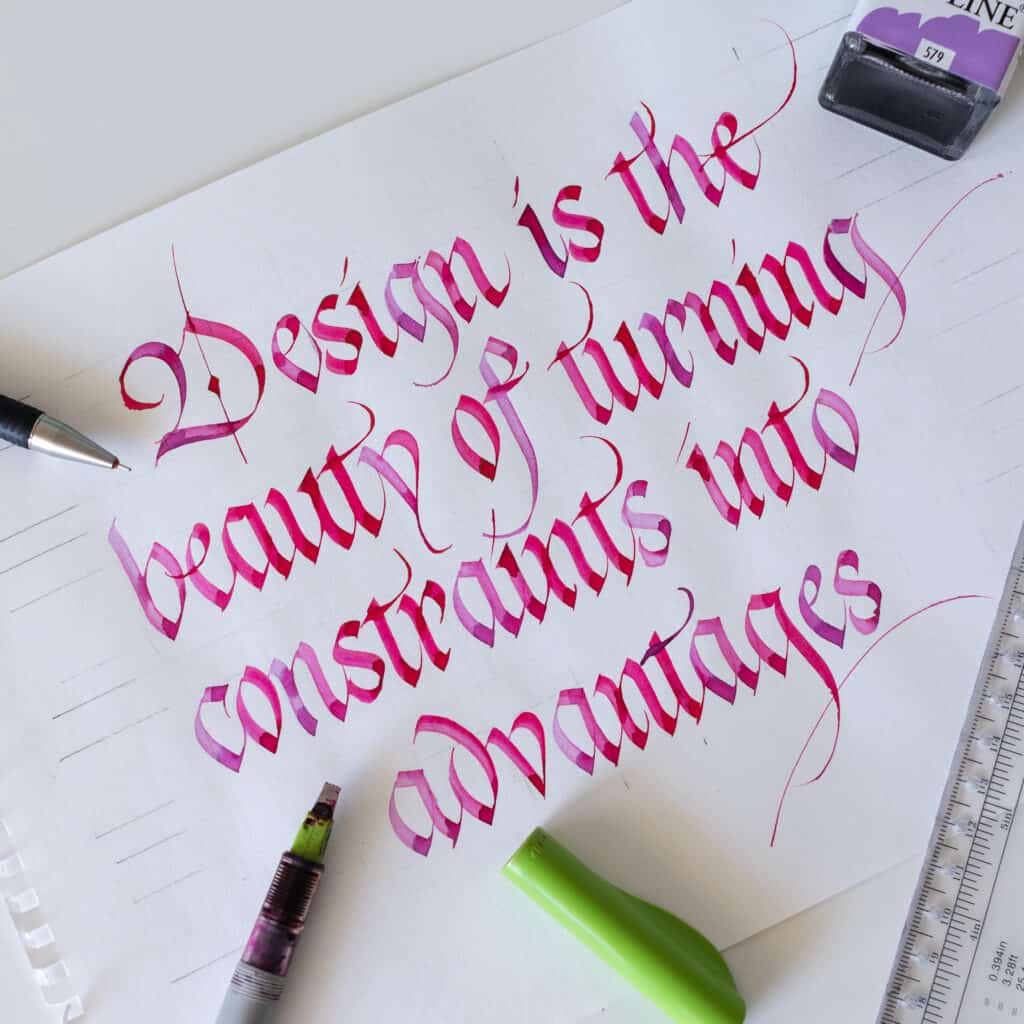
An excellent exercise I learned from attending a blackletter calligraphy workshop by Luca Barcellona was to write out big blocks of text.
These could be individual words or even sentences.
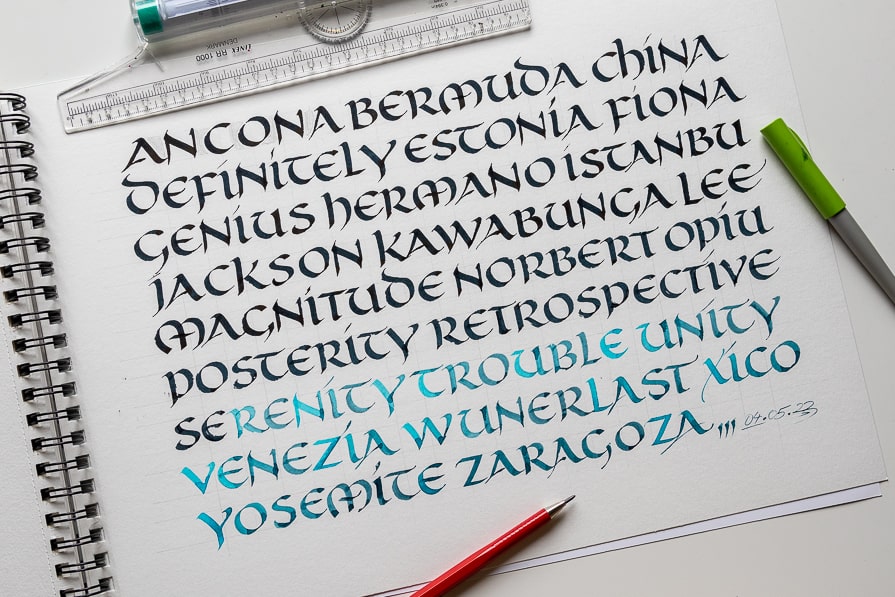
The idea is to keep the block of text simple and focus on executing the letterforms properly and maintaining rhythm and spacing.
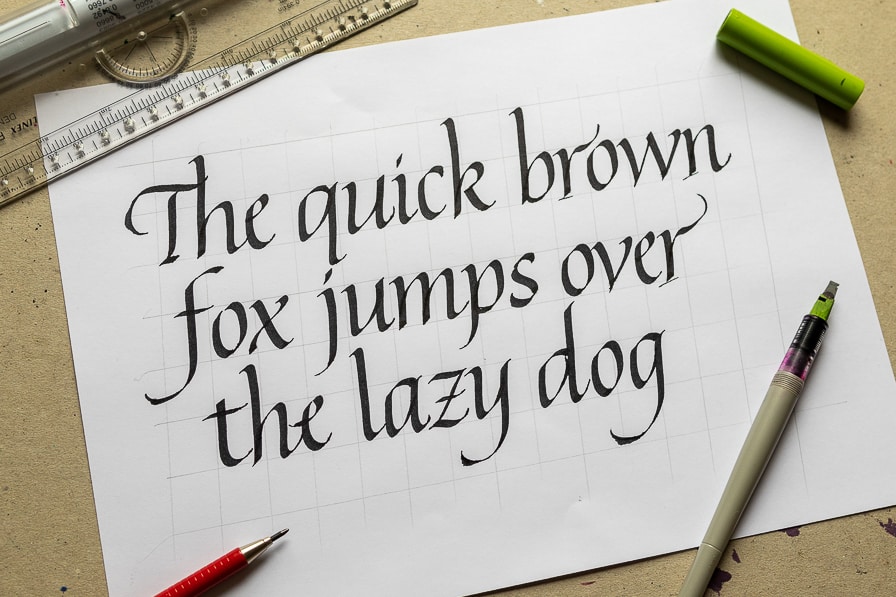
The additional idea is to write out pangrams. If you’re unfamiliar with the term, pangrams are sentences containing all of the alphabet’s letters.
The most popular pangram is – The quick brown fox jumps over the lazy dog.
Here you can find a list of 20+ pangrams for your practice.
So take out your ruler and pencil, draw some guidelines, and start practicing.
If you make a mistake or miss a letter, let it be for now.
Focus on maintaining a rhythm of writing and finish the page.
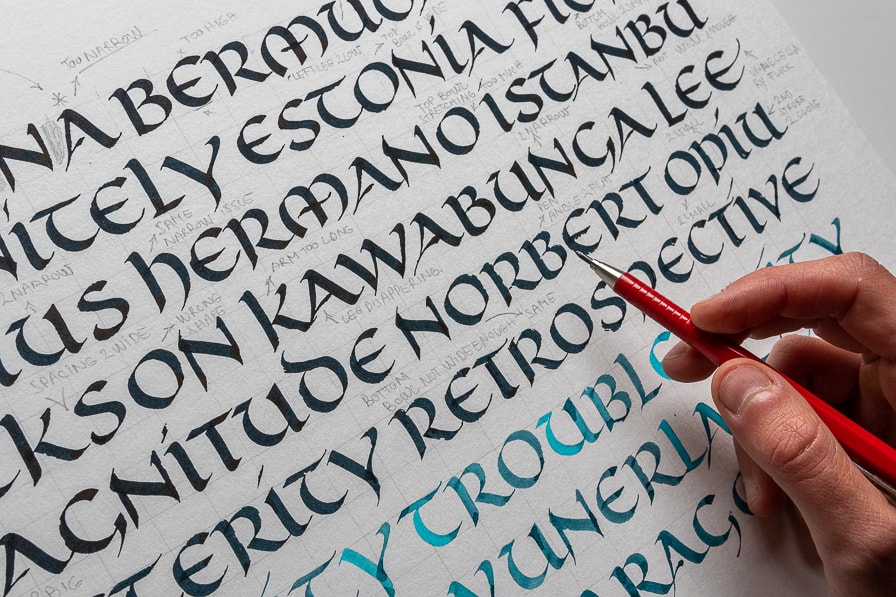
Once you’re done with your rhythmic practice, it’s time to analyze your work.
This can be done during the same practice session or even the next day.
It’s essential to keep the style (script) exemplar next to you so you have a reference and can objectively criticize your work.
This is a tremendously helpful strategy since you’re going deep into the details and issues you currently face.
This method will allow you to find your weak spots and improve them.
You might have issues with the letterforms, pen angles, proportions, consistency, interlinear spacing, etc.
I also recommend writing down your weak spots in a diary or separate piece of paper so you can use them for your next rhythmic practice session.
Doing this will make you much more conscious about where to pay more attention.
Make sure to date your sessions so you can follow your progress over time.
Quick note – make sure to do at least 5 minutes of warm-up drills before you begin writing. It takes a bit of time to warm up and adjust the fine motoric movements in your arm.
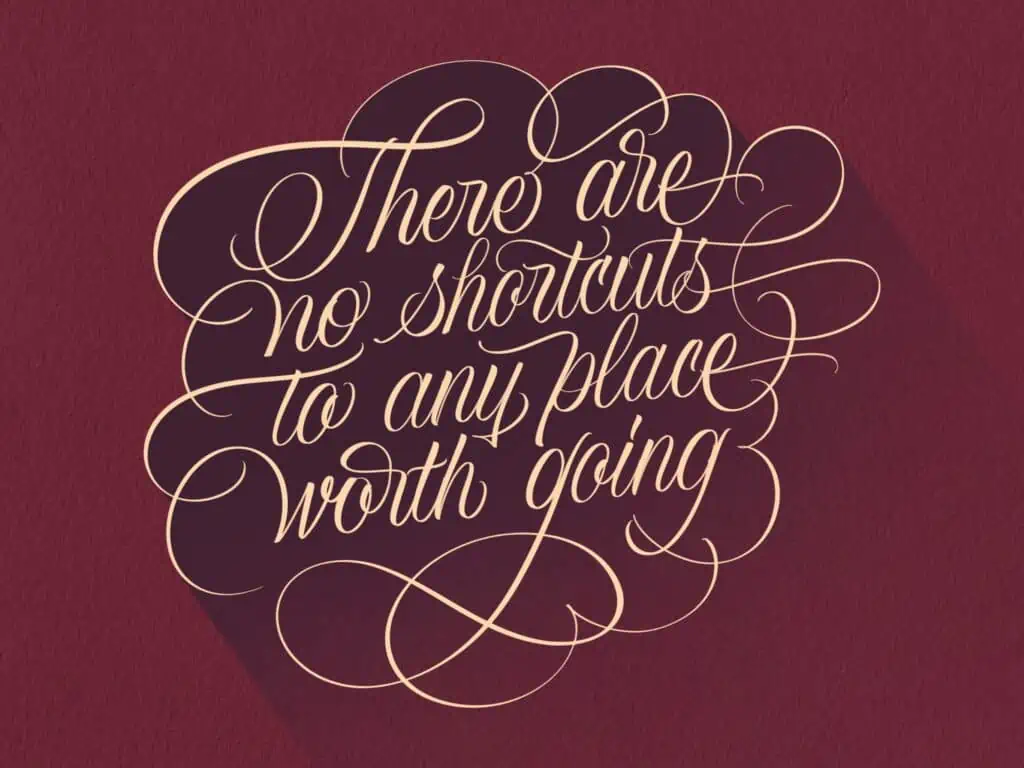
10. Work on final pieces
When I say final pieces, I mean creating artwork ready to be shared online or hung as a decorative piece on the wall.
A piece of work that requires you to invest time and effort to create it.
By doing these sorts of projects, you push yourself to create the best artworks that reflect your current skill level.
These could be single letters, single words, or even multiple words, quotes, etc.
Feel free to take more time to work on these projects. If you need a few days to complete such a project, that’s totally fine.
Rushing to create something just to share it online makes no sense.
After all, the goal here is pushing your limits and improving your skills.
Not chasing empty praise or vanity metrics such as likes and followers online.
How often should you create these finished pieces?
If you find the time to do one finished piece per week, or at least 2-3 each month, that’s a good start.
The rest of the time, I would focus on practicing both the hand and the eye by doing the drills mentioned above. Particularly the rhythmic and analytical practice along with the blocks of text.
Bonus tip – Train your calligraphic eye.
This tip is different but, in a way, one of the most important on the whole list.
It has had a massive impact on the way I create my artwork.
This tip was inspired by concepts already talked about by hand lettering artists Martina Flor and Ken Barber.
Both are outstanding and experienced professionals.
Martina calls it training your typographic eye, while Ken refers to it as the power of observation.
The idea is that the real skill lies in noticing what works and what doesn’t.
Training your arm and building the muscle memory required to produce a straight line isn’t the biggest challenge.
It’s also not about being able to create the perfect single letter. Rather making a whole piece work as a unity.
Learning how to observe and analyze a piece and determine what is good or bad about it is a fundamental skill that takes years to develop.
Creating artwork with proper understanding and confidence is something im aspiring to do more than anything else.
Next time you see an artwork you like, ask yourself what makes this piece good.
Is it the composition, the rhythm, the well-balanced counters, the consistency of the letterforms, etc?
You can do the same thing with artwork that you don’t like.
Why not? What makes it so wrong? Are you able to answer with some concrete understanding?
Try to pay attention to the little details and nuances. The more you do it, the better you become at it.
And before you know it, you’ll start using the same approach to your work, which will inevitably improve it.
Try to be aware of this thing next time you create or look at a calligraphy piece.
Bonus tip 2 – Seek feedback from more experienced calligraphers
This tip could also have a massive impact on your progress.
I understand that some might feel uncomfortable sharing their work and having someone more experienced take it apart.
However, if done correctly, you could learn a lot.
I always welcome feedback as long as it’s constructive, and you should embrace the same approach.
I highly recommend contacting more experienced calligraphers and asking for feedback on your work.
You will be surprised to see how many are willing and happy to help people interested in learning and improving.
Im one of those people, so if you would like me to give you some constructive feedback, don’t hesitate to reach out 🙂
I’ve done this multiple times with various people via Instagram, email, etc. And almost every single time I received great feedback that has helped me tremendously with my calligraphy practice.
Suggested practice timeline for calligraphy beginners
As I mentioned in tip number three, you should move gradually from easier to more complex elements in your practice.
So to recap all of these tips, here is how I envision the timeline for those just getting started –
- Pick a calligraphy style (script) you want to learn and practice.
- Buy the correct calligraphy pen as well as the essential supplies needed.
- Find a good study resource that includes the correct proportions and sizing, exemplar with a ductus, basic strokes, letter group division, etc. This could be a workshop, instructional book, online course, etc.
- Begin by studying the exemplar and by practicing the basic calligraphy strokes.
- Once you get comfortable with that, practice blocks of text and divide your practice into rhythmic and analytical sessions, shorter (consistent) daily sessions will yield better results than practicing twice a week.
- Parallel with that practice, challenge yourself to work on the final pieces to the best of your ability.
- As the weeks pass, keep practicing your foundations and train your “calligraphic eye.” Pay attention to rhythm, (negative) spacing, correct proportions (referring to your study resource), etc.
- Begin playing with more complex layouts and compositions. Learn the fundamentals of calligraphy flourishing and incorporate them into your practice.
- You can start noticing that personal style is taking form at this point. The more you practice, the more confident you become to evolve and experiment with your calligraphy art.
What you should avoid doing
If you’re doing even one of the following things from this list, I advise you to re-think the way you practice.
- Buying a bunch of random calligraphy pens and tools without understanding what they are used for.
- Finding random “calligraphy” alphabets from Google images and aimlessly copying them without understanding the basics.
- Writing out letters and words without using guidelines.
- Slouching at the table, or even better, sitting on the couch while holding a notebook in your lap. Use the absolute same hold and movements as for your regular handwriting.
- Immediately attempt to create calligraphy layouts, compositions, and flourishing.
- Practice several different calligraphy styles all at the same time.
- The only thing that matters is creating artwork for Instagram and seeking validation through empty metrics such as likes and followers.
- Every time you get constructive feedback from more experienced calligraphers, label them as haters and disregard what they say. It’s art, so you can do whatever you want with it.
Final words
There you have it, folks.
These are some of the tips I gathered over the years, and I’m confident they will help you improve your calligraphy skills.
Obviously, you don’t have to do any of these things. If you enjoy just scribbling calligraphy into your notebook because it relaxes you and makes you happy, by all means, keep doing that.
At the end of the day, what matters the most is that you’re enjoying the process and that you have fun with it. I just think it’s more fun when you understand at least to some degree what you’re doing rather than just shooting in the dark and hoping for the best.
Now I would like to hear from you.
Which of these tips helped you improve your calligraphy? Should I have included some other suggestions as well?
Let me know by dropping a comment below.
I’ll see you in the next one.
Pin me!

Stay updated with my tutorials and get instant access to the Lettering Crate –
A growing library of free lettering & calligraphy resources that includes –
About the author

Hey, I’m Max. I’ve been drawing and messing around with letters since 2011. I don’t have a formal art degree—my background is actually in the kitchen as a former chef and on the streets painting graffiti with my friends. Over the last decade, through a ton of trial and error, I somehow turned that obsession into a full-time gig. These days, I design custom logotypes for global brands and paint large-scale murals. I started Lettering Daily just to create the kind of honest, no-BS tutorials I wish I’d had when I was starting out. Stick around, and let’s draw some letters.

A fact that whenever I look for any tips and how to learn calligraphy your blog comes up! Your blog really gets to the points and has some really great advice. Thank you so much for guiding me in my journey! Appreciated!
So useful! Thank you, Max!
Thank you, Angela! 🙂 Glad to hear that.
Thank you for really helpful article.I also want to know that how to know that what script to choose? There are so many of them it is really confusing.I hope you will help me with that. And also want to know where these scripts are being used for what handwritten scripts are for please help me with this. Thank you
Thank you 🙂 Check out this article – https://www.lettering-daily.com/calligraphy-styles/
Great article !
Thank you so much!
Dear Max,
Wow! Super helpful! Thank-you. I feel inspired to put into practice your
suggestions: consistent practice, even if short spurts, do a few finished pieces per month, take time to look over pieces and observe what works, choose a script and stick with it, and take the time to put in those important guide lines. Thank-you for caring about us newbies out here in all ages and all walks of life who benefit from a kind and helping hand:)
with respect and gratitude,
Harinama d
Thank you, Harinama. Im glad to hear that you liked my article 🙂
This article was very interesting as always, it will help me with my exercises and tell me what to avoid in order to get better.
Thank you very much,
Jose
Super glad to hear that, Jose! 🙂
This article really resonated with me! I truly stand by the idea of practicing deliberately and not just doodling. Your example of basketball players showing up to a court and shooting hoops without improving specific areas was a good way to visualize deliberate practice!
I like to think of this when I’m practicing my lettering and how you truly do have to work on something until it becomes muscle memory.
Your quote “Consistency over Intensity” also reminded me of another favorite quote of mine “A river cuts through a rock not because of its power, but because of its persistence”. This is basically what erosion is but if you think about practice as a form of erosion, sanding, polishing even, then you can also visualize that those methods require small, consistent movements to accomplish the final look. They smooth out surfaces, thanks to deliberate, uniform motion. Everytime you are deliberately practicing, you are eroding barriers and rough applications to form a more polished foundation.
Anyways, I’m kinda writing this as a stream of consciousness but to conclude- I just have to say that it feels good to read this article and know exactly what you’re suggesting and why it matters. Practice makes professional!
Thanks for sharing!
You summed it up perfectly, Corinne! Thank you for the awesome comment, and i truly hope that my tips will help you improve your calligraphy skills 🙂
Excellent article. I would love to review your article (just the lead points) for our local newsletter giving credit as due. Do I have your permission?
Absolutely, as we already discussed it via email 🙂
Awesome tips. This list alone could suffice in getting anyone started and on a proper track toward well executed lettering. I’m currently at a place where tip number 9 is the most important. Focusing on executing the letterforms properly and maintaining rhythm and spacing is important for good looking presentation. Calligraphy is such an esthetic thing and it’s easy to overlook the importance of a somewhat symmetrical presentation and balance between negative and positive space. Your bonus tips here are awesome too. Great read. keep writing!
Thank you Hugo! I really appreciate your constant support! 🙂
Actually, all of your tips helped. I’ve been enamored with Copperplate calligraphy for awhile, but also, I’ve been taking some courses on modern calligraphy. Think I need to scale back and just practice my Copperplate until I can master that without looking at guidelines! Then start on another style.
I believe Copperplate is also known as English Roundhand? I do have books on Copperplate calligraphy, so I will get those out and start practicing.
Thanks for such a great article; I really enjoyed it.
Hey Cathy, thank you so much for the nice comment. Guidelines are simply a part of calligrpahy, and the goal is not to learn to do calligraphy without guidelines. Even the masters with decades of experience work with guidelines. Focus on being able to create letterforms with confidence and understanding and on top of that, train your calligraphic eye to create beautiful finished pieces. As for the other question, no. English roundhand is the precursor of Copperplate. I linked some interesting articles in my article about the calligraphy styles. I highly recommend you check it out if you want to learn more about it 🙂