
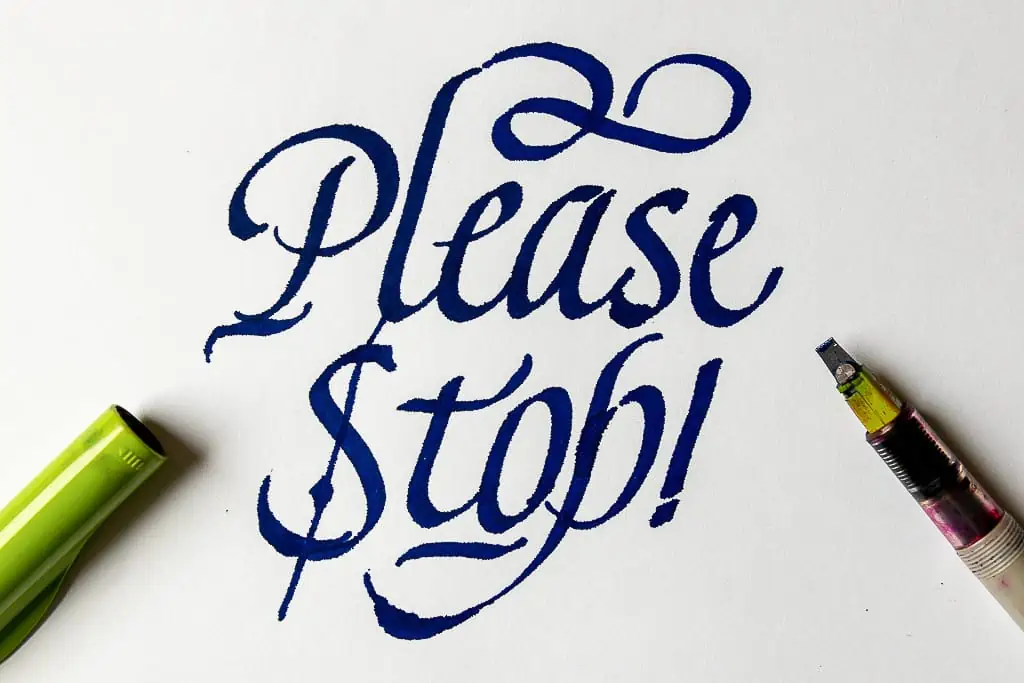
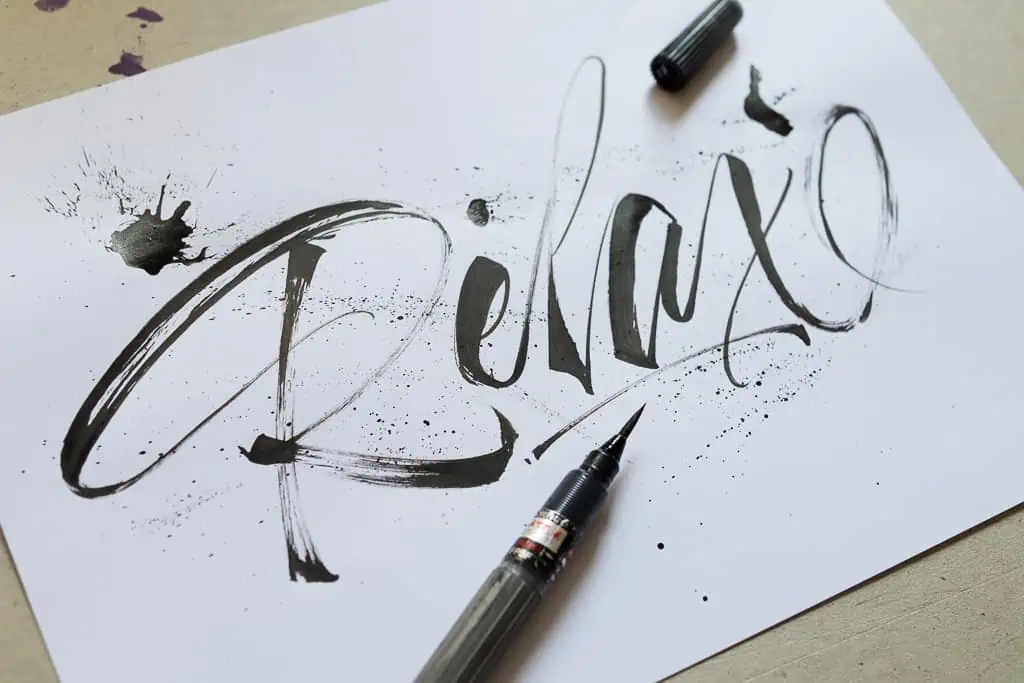
Calligraphy, although a beautiful art form, it’s quite challenging to learn. It requires a lot of time and practice.
If you’re just getting started with calligraphy, you might be making some common mistakes that could be slowing your progress down.
Regardless of the calligraphy style you are practicing.
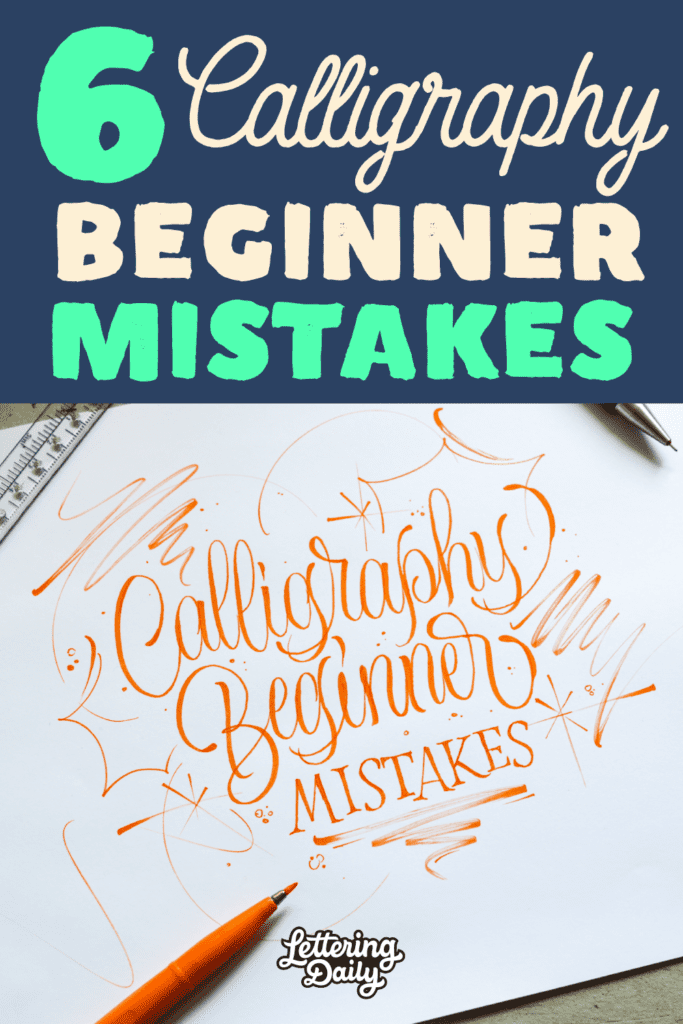
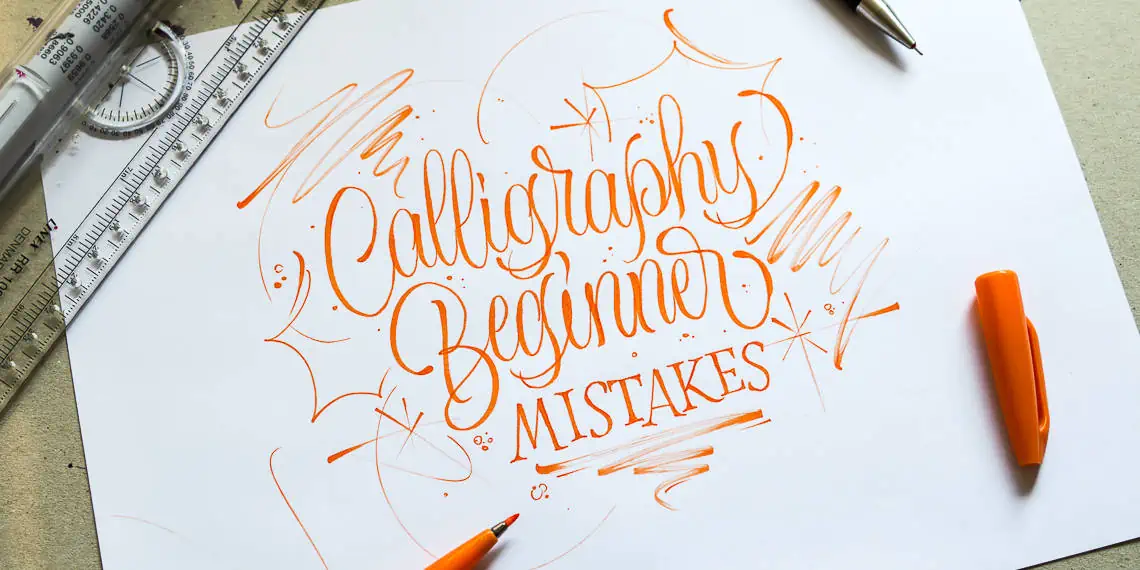
Over the years, I noticed that some mistakes are much more common than others, and I’ve decided to share the 6 most common mistakes with you in this article.
Let’s get right into it!
If you’re just starting or looking to refine your technique, check out my full Calligraphy Hub for beginner tips, tools, and more.
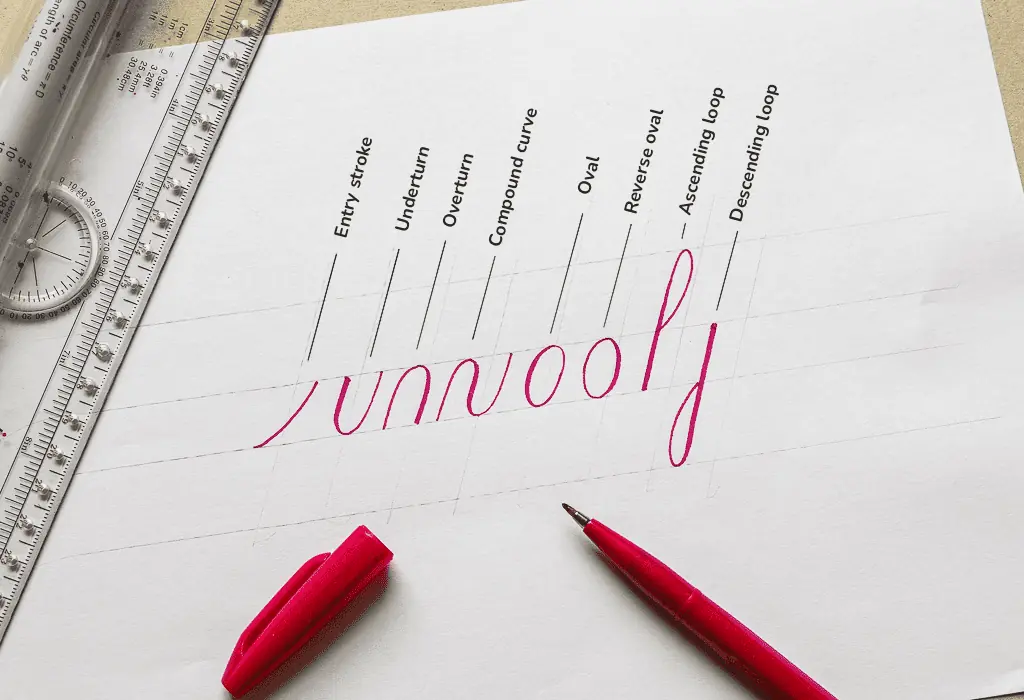
1. Skipping the calligraphy basics
Over the years, I’ve seen some people making more progress in six months than others did in three years.
A big reason for it is that many tend to skip practicing the basics.
This is by far the most common mistake I see beginners making.
Skipping the basics and attempting things outside their skill level.
For instance, jumping right into practicing quotes or flourishes without first understanding the basic calligraphy strokes or even understanding how to hold the pen properly.
Imagine you’re trying to play a guitar solo or cover a song before you’ve learned the basic chords and techniques.
I get it, though.
Doing drills and basic stuff can seem boring as hell, but it’s exactly that “boring” work that will help you develop a strong foundation for your calligraphy skills.
We all want to get the best possible results in the least amount of time.
The best way to do that is to start with the basics and gradually build up to more complex elements.
This may feel tedious initially, but trust me, consistent calligraphy practice of the foundational strokes will pay off in the end.
For example, if you want to start with brush or pointed nib calligraphy, I highly recommend beginning with a tutorial on the basic calligraphy strokes.
Again, by laying down a strong foundation right off the bat, you’ll be able to see progress much faster.
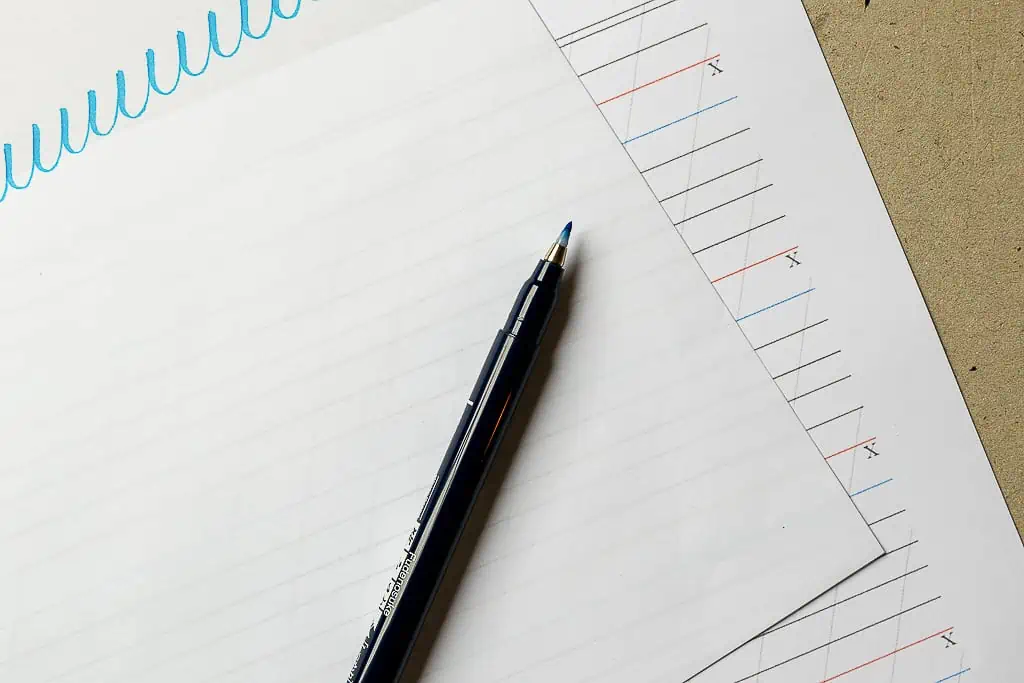
2. No using calligraphy guidelines
One of the most important things I’ve learned about calligraphy is how important calligraphy guidelines are.
If you’re serious about learning calligraphy, guidelines are simply a must for it.
Especially when you’re just starting, using guidelines can make a huge difference in your progress.
Learning how to hold a new writing tool and how to form new letters is already a lot to think about.
Now imagine that on top of that, you have to actively think about letter proportions, sizes, and angles.
Well, with guidelines, you at least dont have to focus so much on sizing and the slant of your letters.
On top of that, they will make your work look more consistent and visually appealing.
I always recommend beginners use guidelines, no matter what calligraphy style or tool they use.
It might seem like an extra task, but it’s definitely worth it. If you’re not convinced, try it yourself and see the difference.
Even calligraphy professionals work with guidelines on a regular basis.
The best part is that creating your own guidelines is super easy, and all you need is a ruler and a pencil.
I’ve actually created a tutorial on the importance of calligraphy guidelines and how to create them depending on the style you want to practice.
Check it out, and don’t be afraid to use guidelines in your calligraphy practice!
3. The 3 P’s (posture, placement, and position)
The 3 Ps refers to posture, placement, and position, which are crucial when creating beautiful calligraphy.
This is something I wish I had known when I was just getting started, and I can definitely say that it was a helpful revelation in my creative journey.
The first P would be posture. Super important, and makes a huge difference in your work. Slouching on the table or putting unnecessary pressure on your writing hand can significantly reduce the capacity of your movements, which will inevitably impact the look of your calligraphy writing.
Think of it like trying to run a race with your shoelaces tied together – not easy, right?
Next up, position.
This is all about how you hold your pen.
Not all calligraphy pens are going to be held in the same way.
Im not going to lie, there is a bit of a learning curve to this, and in some cases, you might have to learn a new pen hold entirely.
That mostly depends on how you were taught to hold a pen as a child in school.
It took me quite some time before I managed a pen hold that was best fitting for the size of my hand, pressure, and general position.
A common sign that you’re pen hold is not good is if doing calligraphy causes any sort of discomfort even after a couple of minutes of practicing.

Lastly, placement.
How you place your writing surface on the table is also very important.
If you put it too far away or too close, it can negatively impact your calligraphy writing.
The position of your paper will also depend on the calligraphy style you will practice and, more importantly, if you’re writing with your left hand.

Now, I know all of this might sound a little overwhelming, but don’t worry, the videos I linked above will give you a proper introduction to the 3 P’s.
They were created by my friend Paul Antonion who is a true calligraphy master.
I highly recommend you check them out.
4. Not using the right calligraphy tools
When it comes to calligraphy, having the right tools can make all the difference.
But that doesn’t mean you have to break the bank by buying fancy pens and papers.
It’s more about using the correct tools for the specific calligraphy style you want to practice.
Let me explain.
Calligraphy is a broad term that encompasses many different styles, and the type of pen you use will depend on the specific script you’re practicing.
For example, you wouldn’t practice a pointed nib calligraphy script such as Copperplate with a broad-edged pen.

But it’s not just pens that are important, papers and inks matter too. Using the wrong paper can cause all sorts of problems, like fraying your brush pens or making your ink bleed and feather.
These issues may seem overwhelming at first but don’t worry.
I’ve written an in-depth guide on choosing the right calligraphy pen as a beginner and another article on picking the best calligraphy paper.
It’s important to have this info before you make any purchases so you avoid buying the wrong tools and spending more money than you need.

Another thing to keep in mind is the preparation of the nibs.
If you’re new to calligraphy, you might have issues with ink not sticking to your nibs.
That happens because new nibs come with a protective coating that needs to be removed.
I have a great resource if that’s an issue you’re facing.
Sarah has written an article sharing five easy methods for cleaning your calligraphy nibs.
So, if you’re just getting started, it’s best to start with a simple tool setup appropriate for the script you want to learn.
Check out my articles on pens and papers for all the info you need.
As you progress and gain more experience, you’ll learn more about different tools and which ones work best for you.
5. Rushing with your calligraphy writing
This one might be a less common mistake.
It’s certainly one that I used to make in the beginning, and that required some time before I managed to stop doing it.
When I write in my regular handwriting, I tend to write super fast, and the result is far from pretty. In my defense, the purpose of my handwriting is purely utilitarian.
But when it comes to calligraphy, rushing just doesn’t cut it.
Calligraphy is all about focus and precision.
To achieve a level of precision you simply need to slow down.
And if you’re not seeing progress in your calligraphy or you’re experiencing inconsistent lines and other issues, chances are that you’re going too fast.
So take a deep breath and slow down.
And while we’re on the topic of patience, it’s also important to be relaxed and in the right mindset when practicing.
If you’re nervous, hungry, or agitated and lack focus, it’s best to take a break, do something else, and return once you’re more relaxed.
Trust me.
I’m saying this from my personal experience.
It will make a huge difference in your calligraphy work.
6. Lack of consistency in your calligraphy practice
The final mistake beginners tend to make is inconsistent in their practice.
If you want to see progress in calligraphy, you need to practice regularly.
It’s that simple. It’s not about practicing for hours on end but rather about making a habit of practicing for a set amount of time every day.
As I always say, consistency over intensity.

Consistency is key to mastering any skill, including calligraphy.
It’s better to practice for 15-20 minutes daily than for hours once or twice a week.
You’ll see progress more quickly, and your muscle memory will improve faster if you practice consistently.
Another aspect of consistency is being patient with yourself.
Calligraphy is a skill that takes time and practice to develop.
You won’t see amazing results overnight, so don’t get discouraged if your progress initially seems slow.
Keep practicing consistently, and you will see results over time.
Final words
In conclusion, these are the six most common mistakes that beginners tend to make in calligraphy:
- Skipping the basics
- Not using calligraphy guidelines
- Ignoring posture, placement, and position
- Not working with the right calligraphy tools
- Rushing with your writing
- Not being consistent in their practice
By avoiding these mistakes and focusing on building a strong foundation, you’ll be on your way to becoming a skilled calligrapher.
Now let me ask you something: have you made any of these mistakes? Or is there something else that you struggle with?
Let me know by commenting below; I would love to hear your thoughts.
Until the next one!
Pin me!

Stay updated with my tutorials and get instant access to the Lettering Crate –
A growing library of free lettering & calligraphy resources that includes –
About the author

Hey, I’m Max. I’ve been drawing and messing around with letters since 2011. I don’t have a formal art degree—my background is actually in the kitchen as a former chef and on the streets painting graffiti with my friends. Over the last decade, through a ton of trial and error, I somehow turned that obsession into a full-time gig. These days, I design custom logotypes for global brands and paint large-scale murals. I started Lettering Daily just to create the kind of honest, no-BS tutorials I wish I’d had when I was starting out. Stick around, and let’s draw some letters.

This was very informative. I always look forward to your articles! (Even without the grammar police 😉 )
hahaha, thank you Renee 🙂
Another editing note: At the end of the article you state “these are the five most common mistakes beginners tend to make” … shouldn’t that say six? 😉
Yes! Thank you, Julie. I fixed the mistake 😀
Wao I absolutely loved this article on calligraphy. I truly love the art and it is wonderful that you share your precious wisdom with us. If you wish to expand and teach other enthusiasts the skill of calligraphy, I suggest you checkout our skills exchange platform Kool Stories. Thank you so much for the insightful article 🙂
Thank you for the kind words! I will definitely check it out 🙂
Interesting blog! Calligraphy is one of the best art anyone could be interested in. Thanks for sharing the mistakes to avoid when you are a calligraphy beginner. Keep sharing more. The blog is worth read..:)
Thanks!
I compare myself to myself. I date my practised, so that I can go back and see how or even if my work has progressed. I can see what I am still having trouble with, and I can see what has improved. On the whole, though, I’ve found that my daily (most of the time) practise relaxes me like nothing else, and that is my focus.
That’s a great attitude! Keep practicing, you will just become better and better 🙂
Yes this is great idea with the use of notebook or spiral that will hold your practice sessions in order for a quick review. I also write notes/symbols of encouragement in these practice sessions.
Lovely article, but number 4 at the top still says ‘going to fast’. Well, sometimes we can get so carried away with our calligraphy practice that we simply forget to eat.
I suggest that you correct “Going to Fast” to “Going TOO Fast”, as it will not distract people from the good information you DO provide.
Thank you! Sorry for the grammar, now it’s corrected and it should be fine 🙂
Excellent! Thanks for the tips in the name of all beginner!
Anyway : “Going to fast” is correctly “Going TOO fast”, if I am right.
Thank you! And thank you for the correction, i didn’t even noticed it 🙂