This post and the photos within it may contain affiliate links. If you purchase something through the link, I may receive a commission at no extra charge to you.
Welcome back for another article!
Today we are talking about everything you need to know on how to get started with brush calligraphy.
As always we are trying to keep things simple as possible and go straight to the point.
That been said, let’s have a quick look on the things we will be discussing in today’s article –
- What is brush calligraphy?
- What do I need to get started with brush calligraphy?
- What are the best brush pens to start with?
- How do I get started with brush calligraphy?
- How to avoid common beginner mistakes
Hopefully, after reading this post you will have a much clearer understanding on the very basics, and you will be able to start with confidence.
Without any further ado, let’s begin.
WHAT IS BRUSH CALLIGRAPHY?
If this is your first time reading about brush calligraphy, let’s break it down for you.
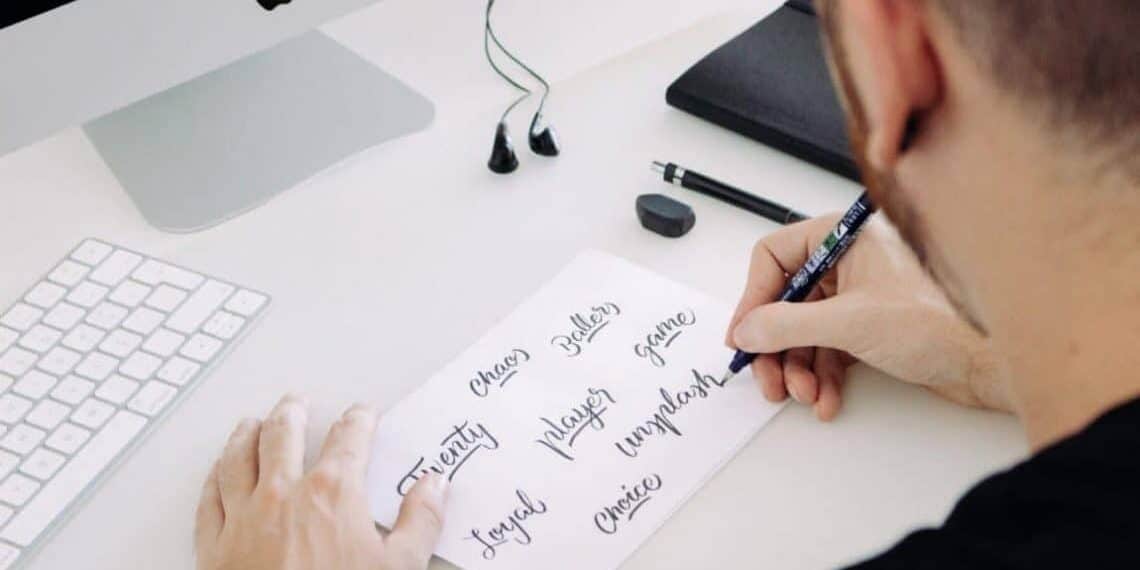
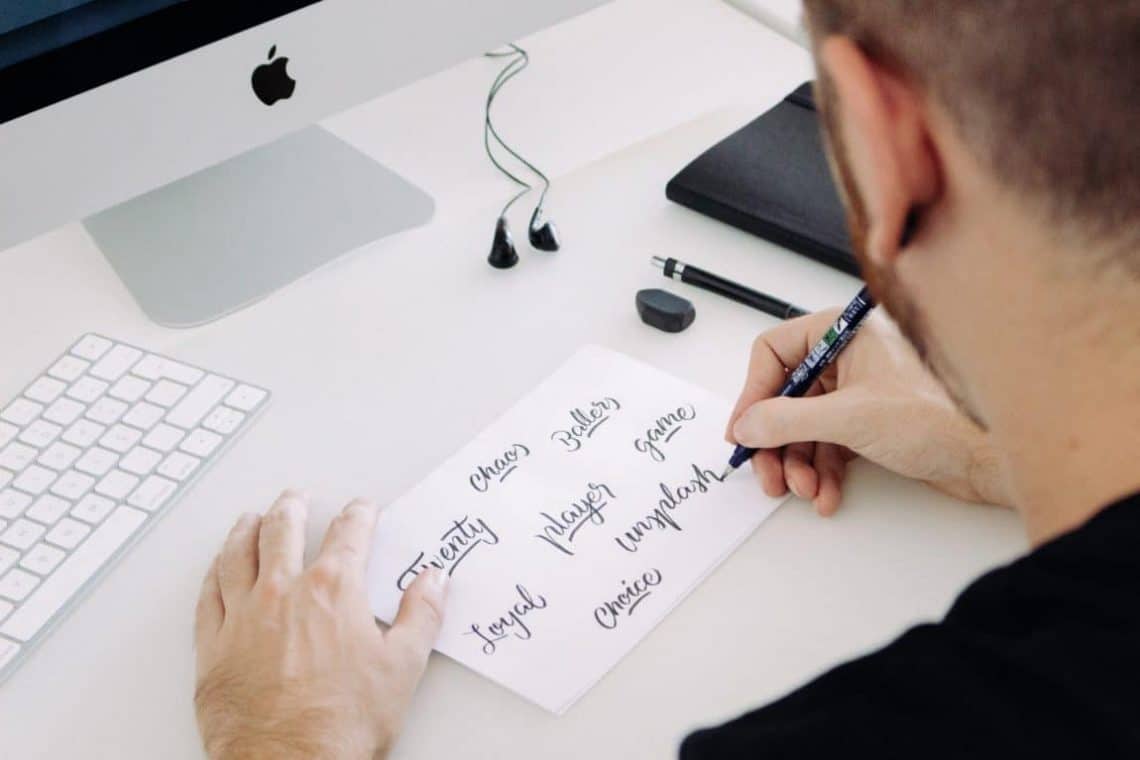
Simply putted, brush calligraphy is similar to the traditional calligraphy with the core difference of the tool being used for writing.
Brush calligraphy is performed using brush pens as well as regular brushes (for watercolors) whereas traditional calligraphy is performed using a dip pen and ink (with specific calligraphy nibs of course)
Brush calligraphy and traditional calligraphy share similar basic rules such as having thick down strokes and thin upstrokes, however it is quite more often to see traditional calligraphic scripts such as Copperplate and Spencerian to be performed with the traditional dip pen and ink.
These days if you scroll around Instagram or Pinterest you will quickly notice that brush calligraphy is more used for modern calligraphy than traditional scripts.
If you are wondering what the heck is modern calligraphy,
Don’t worry,
We wrote a pretty extensive guide on modern calligraphy. We talk about what it is, what do you need to get started and we also guide you step by step on creating 3 different popular styles. On top of that we also included some free practice sheets 🙂
You can check out this article here.
Let’s get back on track with our topic here.
Ok so, we talked about what brush calligraphy is and how it differs from traditional calligraphy, however, another important mention is that brush calligraphy is much easier for beginners to get start with than the traditional dip pen and ink combo.
Let me explain,
Brush pens, due to their flexible nylon fiber tips are very easy to use.
Even with the first strokes that you make you immediately realize how different strokes are created based on the pressure that you apply on them.
Another important mention is that brush pens are ready to use straight out of the box and they are in most cases quite affordable compared to traditional calligraphy dip pen sets.
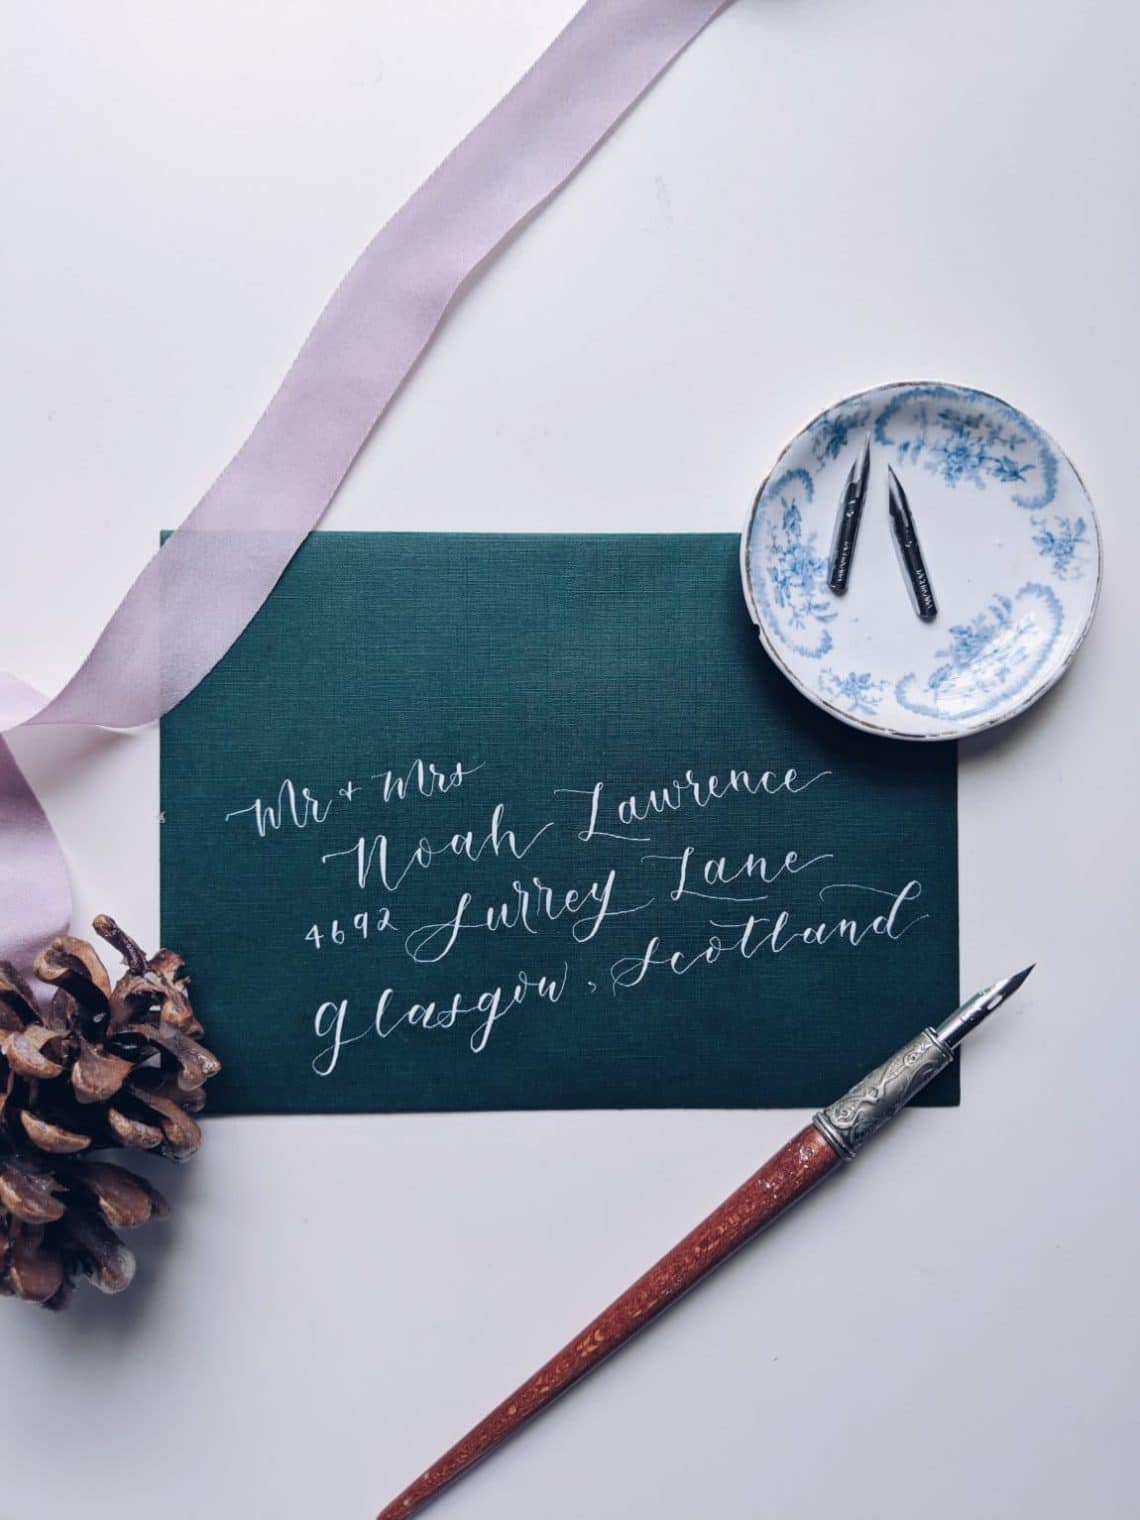
Calligraphy dip pen sets are usually a bit more expensive, on top of that you also need to prepare you nibs, your ink and also use the proper paper – otherwise prepare for a stressful experience 😀
Don’t get me wrong, I’m not trying to scare you away from traditional calligraphy
– it’s not something that complicated and it’s definitely something anyone can do with proper guidance.
My point was just that when you compare the two tools from a beginners perspective, it’s much easier to get you started with some brush pens.
We are currently working on a full step-by-step guide on how to get you started with dip pen calligraphy, so stay tuned.
WHAT DO I NEED TO GET STARTED WITH BRUSH CALLIGRAPHY?
As we mentioned earlier, brush calligraphy is a form of calligraphy that is done with a brush pen or a traditional brush.
There is a pretty wide choice when it comes to brushes that you can use for brush calligraphy and luckily thanks to the internet they are very accessible to everyone worldwide.
I’ll give you a quick breakdown of some of the best brush pens you can go with as a beginner but first i wanted to mentioned a few other tools that you will need if you are planning to start.
Aside from the brush pens you will need the following tools –
Paper – Obviously 😀 but the type of paper matters!
Depending on which tool you will work with, but for brush pens (markers) the best choice is to go with smooth and bleedproof paper.
Here is a few brands that you can’t go wrong with –
- Rhodia – very popular among lettering artists, great quality paper.
- Canson marker pad – insanely smooth paper to work with
- HP Laser 32 – Great price-quality and quantity ratio. The best option for printing practice sheets!
Proper paper will keep your brushes from fraying and they will last longer (since the ink won’t get absorbed)
Not so long ago we wrote a whole guide where we explain the different types of papers and which one are the best depending on the tool you wish to use.
Other essentials are –
Ruler – creating guidelines when practicing is a must, I talked more in-depth about the importance of guidelines and how to create them in this article.
WHAT ARE THE BEST BRUSH PENS TO START WITH?
Different brushes have different characteristics such as –
- Nib elasticity
- Ink flow
- Size of the nib
- Etc.
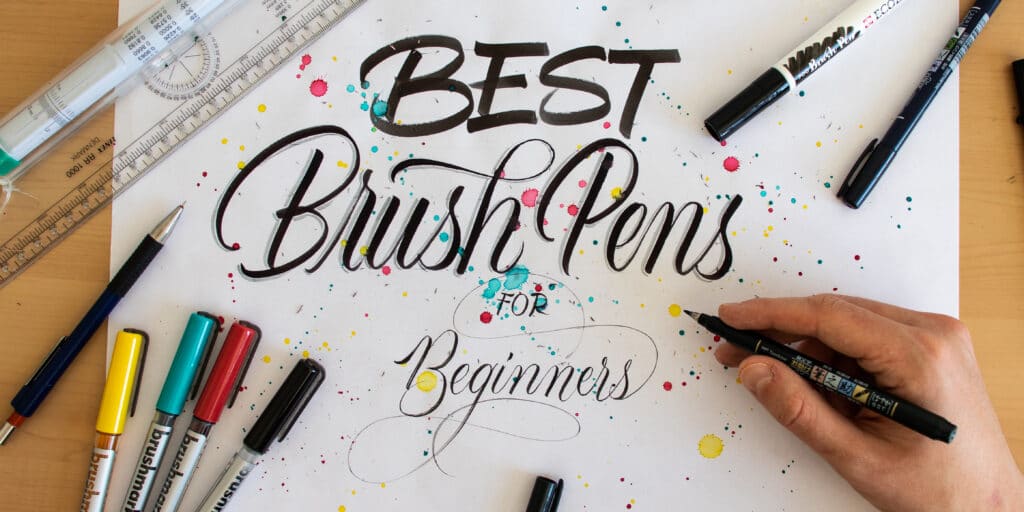
Here is a quick list of some of the best (and most popular) brush pens for lettering beginners –
- Tombow dual brush pen
- Tombow Fudenosuke
- Crayola markers
- Pentel arts pocket brush
- Ecoline brush pens
- Pentel Fude touch pen
- Sharpie brush pens
- Pentel Aquash water brush
I would suggest that you try 3 different size brush pens in order to train different hand movements. Here is a quick example of how that would look –
- Tombow fudenosuke, pentel fude touch – smaller brush pens
- Tombow dual brush pen, sharpie, crayola markers – medium size brush pens
- Pentel arts pocket brush, Pentel Aquash – Large (synthetic hairs) size brushes
Additionally, you can check out my in-depth review on the 10 best brush pens for calligraphy beginners.
HOW DO I GET STARTED WITH BRUSH CALLIGRAPHY?
At first things may seem overwhelming but don’t worry too much if you suck at the very beginning – it’s supposed to be like that!
I have a full step-by-step tutorial where I teach you from start to finish how to do brush lettering.
Keep it simple! – Learn the basic strokes and definitely start with some practice sheets.
Understand how to create each character of the alphabet and then start practicing words or even phrases.
Stay inspired! – Check out other people’s work and use them as a base for your own creativity. We always mention Pinterest as one of the best sources of inspiration (besides instagram)
HOW TO AVOID COMMON CALLIGRAPHY BEGINNER MISTAKES?
Ok, so far we talked about what brush calligraphy is, the difference from traditional calligraphy, what tools you need, and how to get started with it.
Now, before you jump right into it we highly suggest you checking one of our recent posts on the 8 most common calligraphy mistakes and how to avoid them.
We constantly see these things completely disregarded which at the very beginning may not seem like a big deal, however they create complications on a long run.
If you are just starting out, the best way is to check out this post and to avoid doing these mistakes from the very beginning.
FINAL WORDS –
Remember, anything you are just starting with will seem difficult – that’s the whole point!
You need to suck in order to become better, so don’t stress too much.
It’s better to be follow a consistent rhythm than a intensive one.
What i mean by that it’s always better to practice every single day even if it’s just 15-20 minutes than practicing twice a week for 2 hours.
The consistent practice will allow you to build muscle memory which is a foundation for calligraphy.
Try to discipline yourself to do every single day at least 15-20 minutes of practice, or a even better idea is to join a lettering challenge that will keep you busy.

Finally, i would just like to remind you to keep samples of your first work, so after a few months (or even weeks) of practice you can compare your progress –
this will give you a huge boost of confidence.
Thank you for joining us for another article, feel free to share your comments, ideas and suggestions.
Is there a particular area with hand lettering or calligraphy that you are struggling with?
Perhaps we can create a tutorial on the topic?
You are always welcome to drop us a message!
Until the next time,
Stay AWESOME!
Stay updated with my tutorials and get instant access to the Lettering Crate –
A growing library of free lettering & calligraphy resources that includes –
Pin me!
About the author

Hey, I’m Max Juric, and I’m deeply passionate about calligraphy and hand lettering.
I’ve spent years honing my skills in the art of lettering, working with hundreds of clients from all over the world on design projects such as logotypes, branding, custom lettering, murals, and more.
But my journey doesn’t end there. I’ve also dedicated myself to sharing my knowledge and expertise with others, creating a wealth of resources including tutorials, articles, and podcasts.
It’s been incredibly rewarding to see thousands of people engaging with my content each month. Knowing that I’m helping fellow enthusiasts grow and develop their skills makes me really happy.
Welcome to Lettering Daily, your hub for all things lettering and calligraphy. Whether you’re a seasoned pro or just starting out, I’m here to inspire and guide you on your lettering journey. Stick around, and let’s explore the world of letters together!

