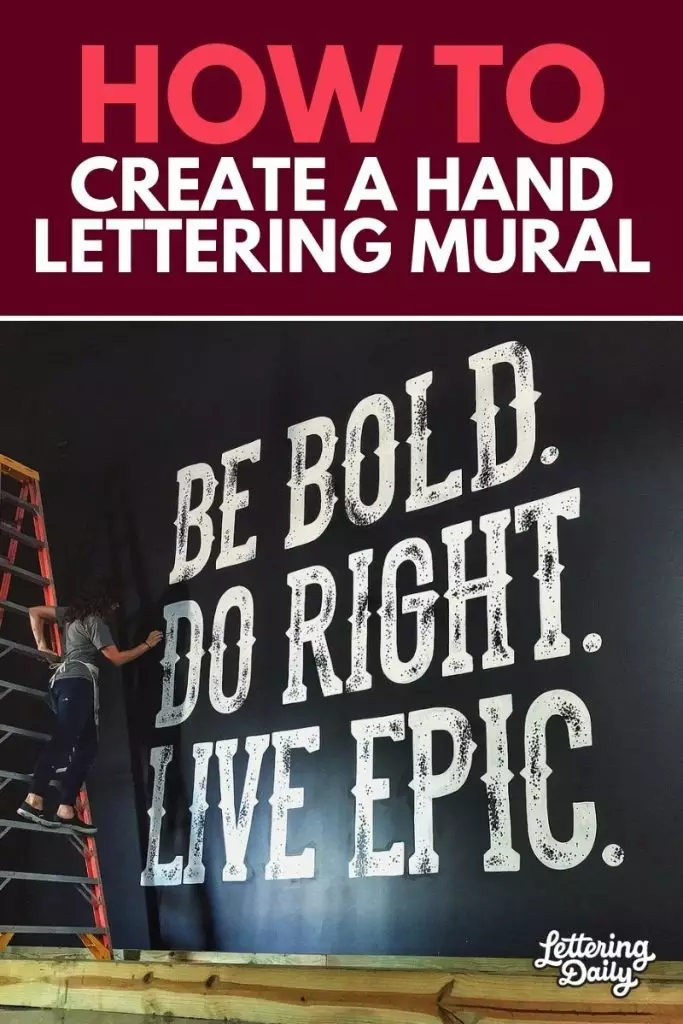
Hand lettered murals have been increasing in popularity with the general rise of hand lettering, and although it’s a similar art form like lettering on paper it is performed with different tools and techniques.
Transferring your hand lettered pieces to a wall (especially a bigger one) may seem very complicated if you don’t know what and how to do it.
This is exactly why we have teamed up with a true professional in the field of lettering murals, in order to break down the process and show you what are the steps to get you started.
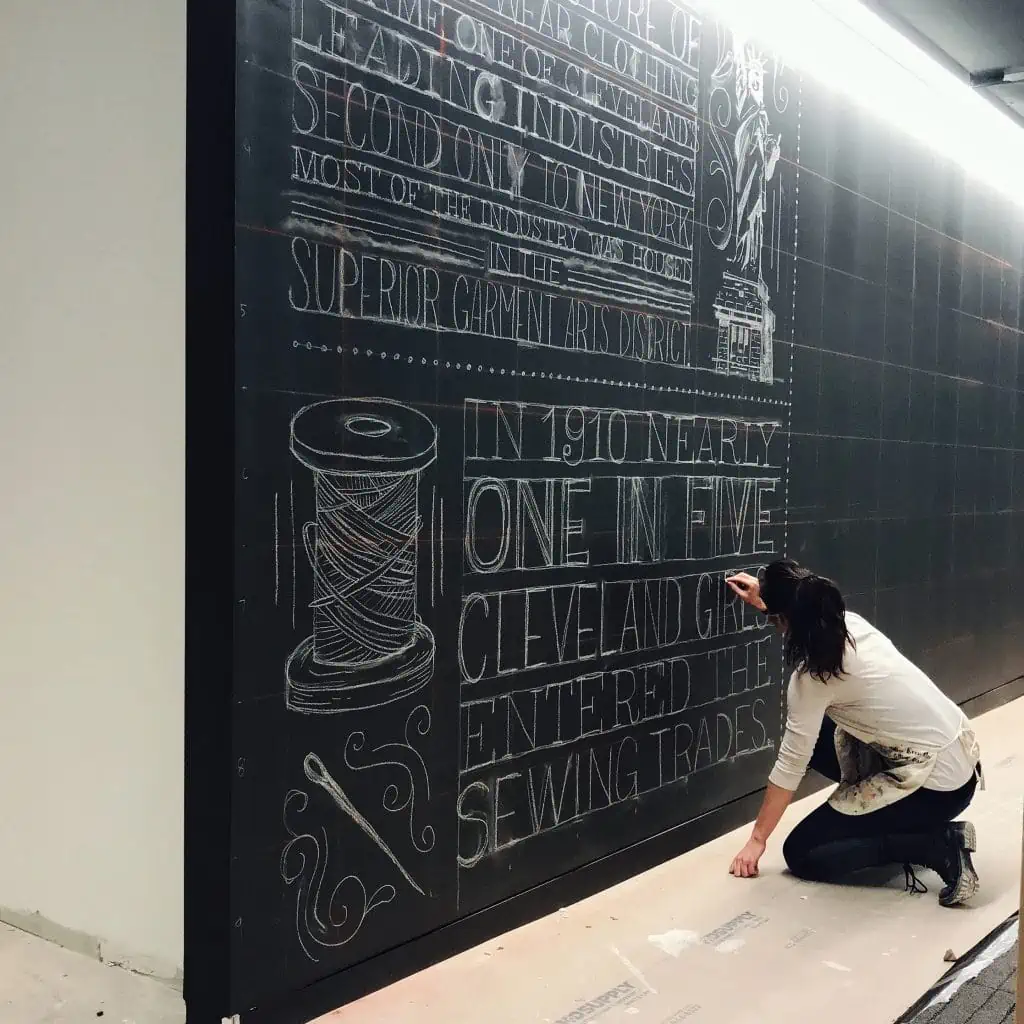
Lisa Quine is a full-time lettering artist and muralist whit lots of experience and quite an extensive portfolio of stunning mural masterpieces.
Lisa wrote this amazing introduction post filled with a ton of helpful tips that will get you started with creating your own lettering murals.
Let’s have a quick look on some of the things you will be learning in this article –
- The materials you will be needing
- The 3 different methods of transferring your sketches to the wall
- How to start and finish a lettering mural
- A few extra tips
Without any further ado, let’s jump right into it!

Hello hello!
My name is Lisa Quine and I’m a lettering artist from Cleveland, Ohio.
Murals are by far my favorite projects to work on, and I’d love to walk you through my process!
I will discuss 3 methods of transferring my design to the the wall, installing the mural from start to finish, and I’ll throw in some other
tips and tricks I’ve learned over the years!
MATERIALS

Here is a quick list of some of the materials you will need for a lettering mural –
– Paint (Behr or Sherwin-Williams)
– Various sizes of flat tipped paintbrushes for text
– Painters tape
– Chalk or pencil
– Towel
– Tarp
– Ladder or scaffolding
– Cup of water
– Projector, HDMI cord, Laptop (if you’re using this method)
– Other types of brushes based on design (Optional)
– Solo cups (Optional)
– Snap chalk (Optional)
3 METHODS OF TRANSFERING

1. Projecting
– Using a projector is the way to go…if logistics allows it. Projecting the design only works when you have a decently flat surface with enough room in front of it.
Hallways and curved surfaces require one of the next 2 methods I’ll discuss.
I recommend getting a high quality one like an Epson which makes the projection super crisp and it shows up pretty clearly even when lights are on or the sun is shining.

I tried using cheaper projectors before and they will get the job done, but you’ll spend about an hour or more trying to get the projection to line up correctly on the wall.
The most efficient way to work is by using a high quality projector hooked up to your laptop with an HDMI cord.
This way you can control the size of the image and make edits on the fly if need be, and it will magically update in real time on the wall.
It’s a life saver!
2. Grid method
– In the event that you can project your design on the surface you’re painting, the grid method is a great next-best-thing.
I take my sketch (which is in the exact same dimensions as the surface) and draw a grid over it, inch by inch.
Then I use snap chalk, a spool of string that has bright red/orange chalk all over it.
To use it you tack the start of the string to one end of the wall, pull the string super tight to the other end, hold the end of the string in place with one hand, pull the string away from the wall with the other hand, and then release it so it “snaps” back against the wall, leaving a chalk mark in a straight line.

Because the grid of my sketch is one inch by one inch, I make a grid on the wall one foot by one foot.
Then I draw out the exact content of my sketch in the one foot by one foot square on the wall and repeat the process for each square on the wall.

3. Wing it!
– When the design is either very simple or very organic, or maybe you’re working on a rounded or angled surface, sometimes it’s most efficient if you just eye-ball it.
It’s helpful if you take frequent check-ins breaks where you sketch out a little bit and then step back to see the whole wall from far away.
This allows you to see if your sketch isn’t straight, if something isn’t centered, or if you’re skewing any of the letters, etc.
Having a level handy helps with this method too!


HOW TO START AND FINISH
After the sketch is on the wall, now it’s time to paint!
Make sure when you have tarp or something laid out on the floor in case paint spills onto it.
Start with one color of paint and one brush size so you don’t have to keep switching brushes and leaving to clean them off.
Once you’ve completed a color or brush width, you can place the brush in a cup or bottle of water so the paint doesn’t dry in the brush and ruin it.
This is also helpful so you can keep painting instead of pausing to clean the brush.

When layering, start with painting the bottom most layer or shadow.
Leave enough time for the paint to dry and begin painting the fill or next layer.
Finally add in the top most details for last!

When you’re done painting in your sketch, make sure you give yourself time for touch-ups and cleaning up the sketch marks.
I use chalk for my sketching because it’s easier to wipe off at the end with water rather than pencil marks, which require cleaning wipes or a magic eraser (both are hard on the arms).
I always try to have the background color paint in case I do need to touch some things up or paint over an area to redo.
Don’t kill yourself with details or perfection though. Take a step back and make sure you’re proud of it from a distance or where ever it is most likely to be seen from.
And don’t forget to sign it if the client allows it!
OTHER TIPS:
– Cool colors (greens, blues, purples), especially darker shades, most likely will need a couple coats of paint, so factoring in time for a couple coats.
– Practice keeping a steady hand by painting on a pizza box or some sort of cardboard first. I find that stroking upwards is more steady for me.
– Flat tip brushes that are the same width as your text make life so much easier and faster!
– Experiement with paint markers too, they help save time because you aren’t dipping a brush so often.

ACTIONALBLE STEPS
Want to get a mural project?
Do one yourself first at home on your own wall!
If you can’t paint on the walls, get rolls of paper to pin up on a wall or use giant pieces of cardboard.
Maybe even reach out to a local painter for some in-person tips!
If you have access to photoshop, you can always create a mock up by adding your design over a photo of a wall to get a sense of what your design could look like as a mural.
This is what I do for every mural client I have, so they can see what impact the artwork would have on the space.
Feel free to reach out to me too! I’m on Ingragram at @lisa_quine, and I always read DMs!

CONCLUSION
Murals aren’t as daunting when you break them down step by step and when you’re using the correct tools.
The key is to get the sketch on the wall to where you want it and once that’s in a good place, the rest of the work is just filling it in with paint!

Stay updated with my tutorials and get instant access to the Lettering Crate –
A growing library of free lettering & calligraphy resources that includes –
Pin me!
About the author

Hello, hello! I’m Lisa, a Creative Consultant living and working in my favorite place in the world – Cleveland, Ohio. My main focuses of consulting include lettering, illustration, and design. After graduating from the University of Dayton with a BFA in Visual Communication Design, I began my career in the fast-paced world of advertising. After five years in the industry, I made the decision to leave my full-time role as an Art Director at Global Prairie to dedicate more time to my own business. My projects as a Creative Consultant have ranged from coloring books and murals to magazine covers and gallery shows.
I was named one of Cleveland.com’s Top 40 Clevelanders to follow on Instagram. I enjoy meeting up with other creatives at conferences like Creative South and Weapons of Mass Creation, where I have been a speaker, workshop instructor and Ink Wars participant. In my spare time, I enjoy boxing, failed cooking attempts, and spending time with my wonderful Slovenian family.

Awesome article and tips! Thank you so much for sharing them. Also, I’m wondering, if a client asks you to redo a warn mural painting, how much would you charge? Half of the initial price? 😬
These were some awesome tips. I have just finished painting my first mural on my bedroom wall. This was of great help.
Awesome! You should share some images with us 🙂 Im really glad to hear that this post was helpful along the process!
What paint do you find provides the best coverage for lettering?
Usually the more expensive the paint the better the coverage. I like Sherwin-Williams, their lines are a bit pricey but if you ask those guys for a “one-coat” paint it makes life a lot easier! Hope this helps!
Thank you for these tips. It will be a big help!
Cheers Elaine, super happy to hear that 🙂
Excellent tips! Thanks for sharing.
Thank you for reading it! 🙂
It’s really helpful!!! Thanks for sharing these tips!!!
You are very welcome! Glad you liked it 🙂
Loved this post but there are quite a few errors.
Thank you Allie, feel free to share the errors i would love to correct them if i can 🙂