Hey everyone,
Welcome for another tutorial in the series. Today we are going to teach you how to use the water brush pen and how to do lettering with it. Like always, before we start let’s have a quick overview of what are we going to learn in this tutorial
- What is a water brush?
- How does a water brush work?
- How do you clean the water brush?
- Paper choice – do’s and don’ts
- How to work with a water brush + FREE downloadable practice sheets
- Common mistakes
- Final words
Get your tools ready and enjoy the tutorial!
Let’s begin,
WHAT IS A WATER BRUSH?
Ok, so let’s start with the basics here – what is a water brush?
The water brush is basically a brush pen (made of synthetic hairs) with a plastic water container.
This allows you to eliminate the need for an additional water container – like you would need with a regular brush and water colors.
HOW DOES A WATER BRUSH WORK?
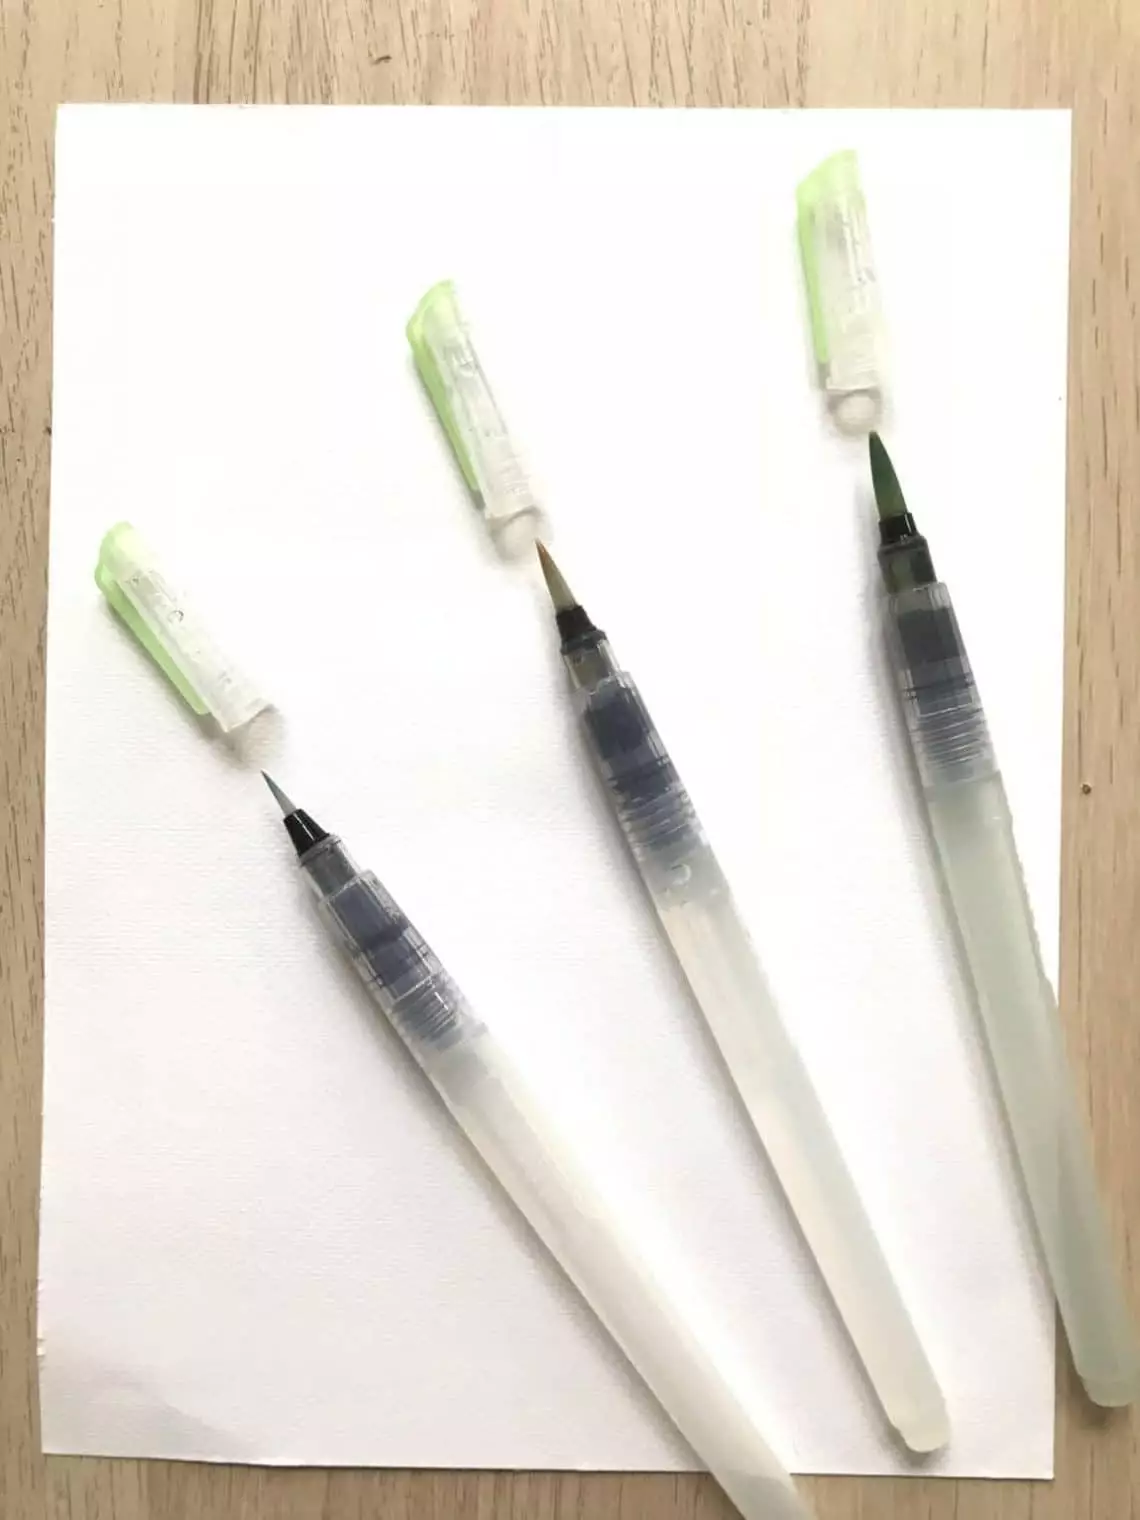
So the standard water brush pen is made out of 3 different parts.
First we have the plastic water container that we just mentioned which gets filled with water. (you can also fill it directly with color).
Then we have a small plastic feed that controls the water pressure going from the reservoir to the bristles.
This is controlled by how much you squeeze the reservoir.

Finally we have the tip which is made from synthetic bristles.
The water brush pen usually comes in a set of 3 sizes and it’s a very affordable and long lasting addition for your lettering toolbox.
")
HOW DO YOU CLEAN A WATER BRUSH?
This is one of the benefits of the water brush pen!
Simply take a paper towel or some toilet paper and wipe of the paint while squeezing some water out.
")
With just a few strokes you will get your water brush pen immediately cleaned.
Keep in mind that some pigment may remain on the bristles but if the water coming out is clear you are good to go, don’t worry about the colored bristles 🙂
")
WHICH WATER BRUSH SHOULD I GET?
The water brush is quite an affordable and even long lasting tool and we definitely recommend getting a branded water brush such as the Pentel Arts Aquash Water Brush
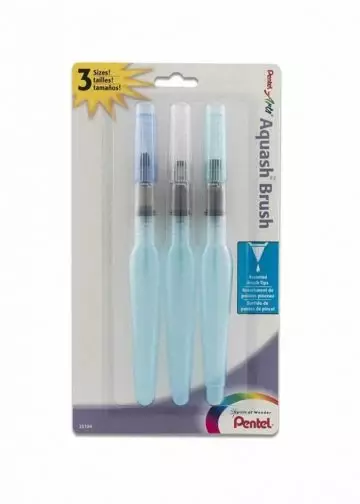
The Pentel Aquash does come with a slightly higher price, however brands such as Pentel, Tombow, Sakura etc. are always worth paying that extra dime.
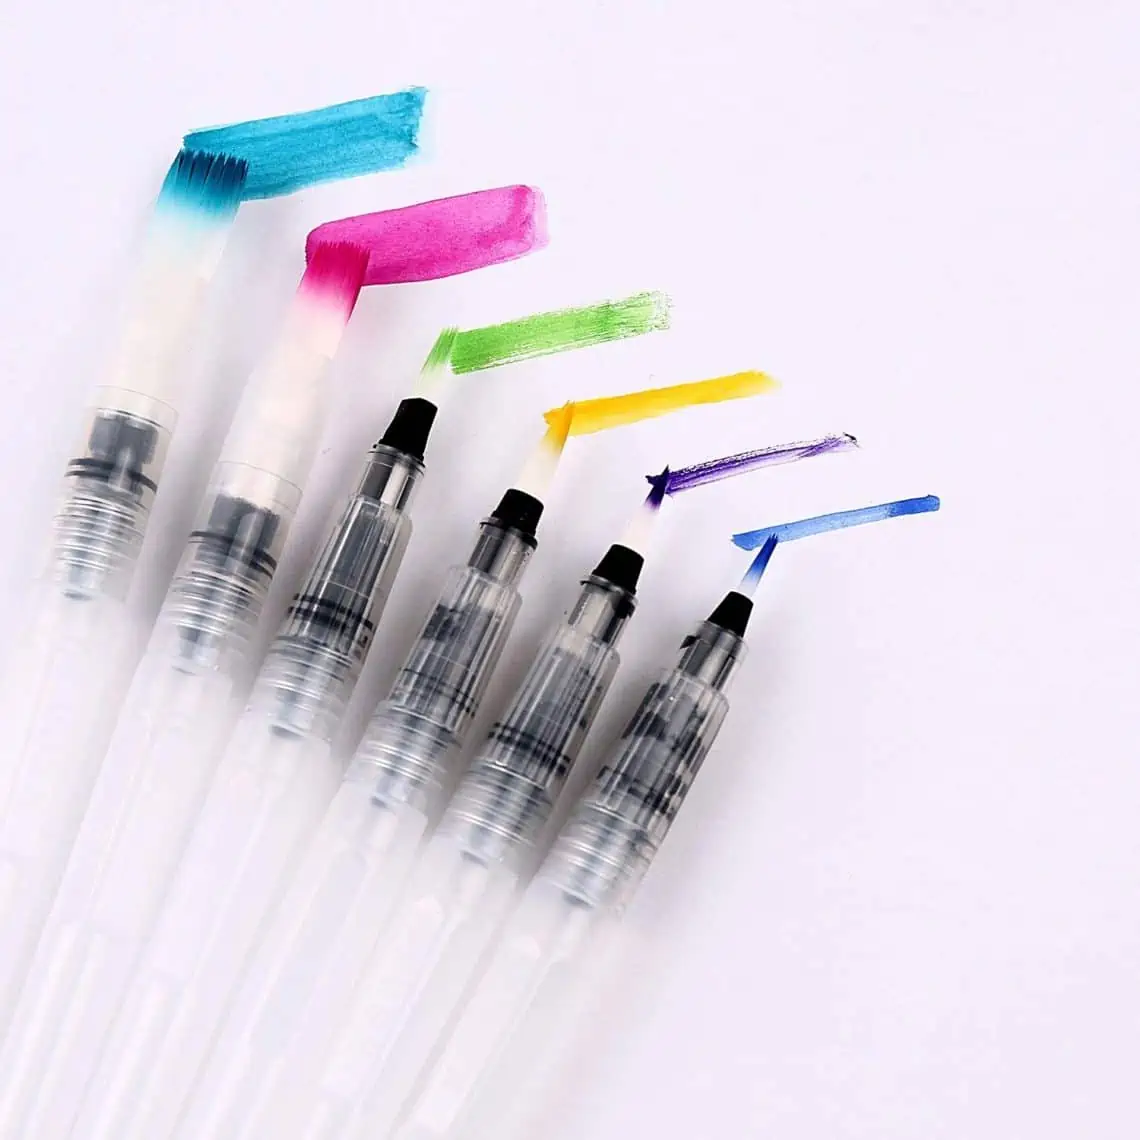
Another alternative could be this set of 6 water brushes which also includes 3 different flat brushes (we are going to take about them later on)
Based on people’s reviews i would say it could be a great alternative for those who are on a budget.
PAPER CHOICE – DO’S AND DON’TS
We already talked in the past about the best types of paper for both lettering and calligraphy.
This is often overlooked especially among beginners, luckily we have written this guide that will help you understand the differences among tools and papers and how picking the right combination can help you to make the most out of your tools and save you some money in the long run.
When you work with a water brush pen (and watercolors in general) you need to take in consideration that this is a tool that uses a lot of liquid, therefore you will be very limited if you decide to use i.e. regular print paper.
You need something a bit thicker that can absorb that extra liquid, something like –
- Water color paper – at least 120 gsm
- Cardstok – avoid going heavy with the water
Essentially you could use regular print paper for the water brush pen but you should be very careful with the amount of water that you add to it.
HOW TO WORK WITH A WATER BRUSH
Ok, now that we got the formalities out of the way, we can get down to business and talk a bit about how to actually use a water brush pen.
The water brush pen basically works like any other brush pen.
It relies on adding pressure with your strokes, and it follows the same old rule
Up thin
Down thick
The water brush pen is a very versatile tool due to its long synthetic hairs, and it allows you to create a variety of stroke thickness.
That gives you the ability to work with several different styles.
")
This could be as an advantage of the tool, however on the other hand it could create some complications especially if you are just starting out.
")
Regular brush pen markers have felt tips which are much smaller than the synthetic hairs – this makes it much easier to maintain a consistent thickness when you work with brush pen marker.

Nothing to be afraid, after just a few strokes you will start to get the hang of it, and with practice and time you will just improve.
Start of by filling a few rows of thin upstrokes and thick downstrokes before starting to write words.
")
QUICK TIP FOR BRUSH LETTERING – something that will help you a lot is once you grab the brush marker try to lock it in your hand until you are done with the word.
")
If you keep shifting angle, grabbing it higher and lower each stroke you will just break the consistency throughout your practice.
")
Don’t be afraid to repeat some of the strokes in case you need to fix some details or just add some weight to it.
FREE DOWNLOADABLE PRACTICE SHEETS
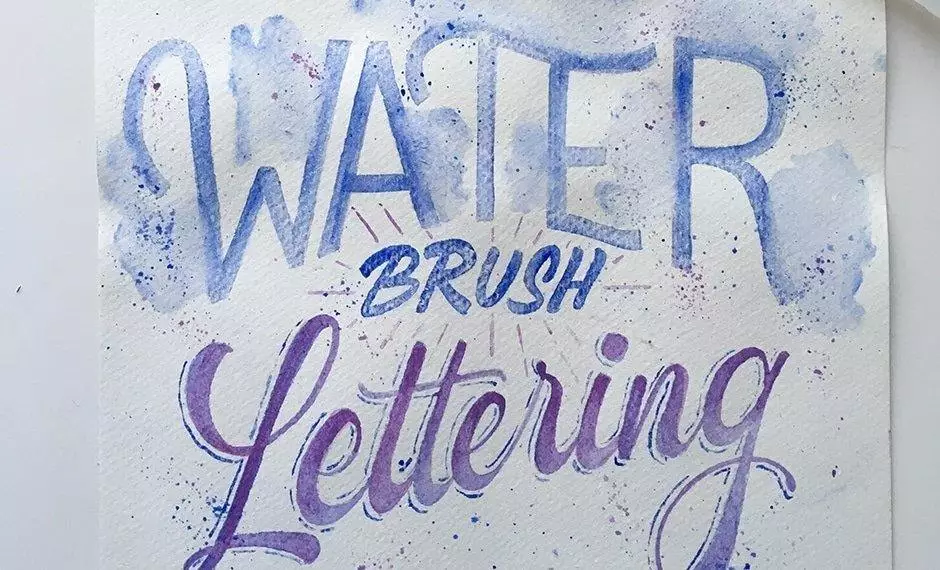
We have prepared some free practice sheets so you can download them and start practicing your water brush lettering.
We have included a one page warm up drills that we recommend you do every time before starting with actual letters.
Along with that you will also be able to practice both the lowercase and uppercase alphabet – so get your water brushes ready 🙂
Keep in mind that if you will print on regular print paper just go easy with the water.
Drop your email below, follow the instructions, and you will get instant access to the worksheets and all the other freebies inside the Lettering Crate.

Stay updated with my tutorials and get instant access to the Lettering Crate –
A growing library of free lettering & calligraphy resources that includes –
MIXING COLORS
Probably one of the reasons why the water brush pen is so popular is because of the simplicity of mixing and combining colors together.
The best way to mix colors is by using a mixing palette (you can use any plastic surface) Simply pick the colors you wish to mix and first dip in one of the colors and then dip it in the second one.
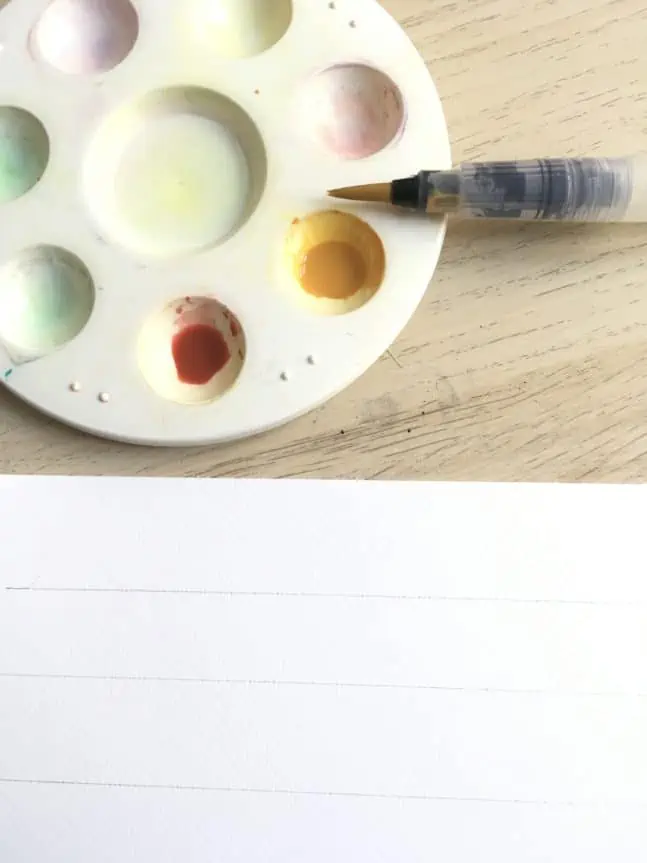
With trial and error you will quickly realize how much color you should take and how much you should dip it in the second one or even third.
Feel free to play around and experiment, watercolors are a beautiful medium to work with and the best way to learn is by experimenting.

We often see many beginners struggling with colors. Not understanding color theory, which colors work with others, and generally having a hard time implementing them in their work and creating something pleasing to the eye.
We have all been there, but there is nothing to worry about because we wrote a very informative article about color theory and how to use it in your lettering. This guide will take you from zero to hero when it comes to using and understanding colors!
COMMON MISTAKES
So, before we wrap it up we wanted to mention a few things that we consider to be common mistakes that people do when it comes to the water brush pen.
Learn from others and avoid the already made mistake right?
1. Clean your water brush!
This is probably a no-brainer but it still happens.
The problem isn’t that the hairs will get dried off but rather clogging the plastic feed and preventing the water flow from the reservoir to the bristles.
With a bit of effort it is possible to somewhat clean it but it really becomes a hustle.
Especially considering how easy it actually is to maintain these water brushes – remember what we talked at the beginning (the one on the right is not cleaned properly and has a clogged feed, and the water is barely going through)

2. Using the wrong paper
As previously mentioned, paper matters! Do it properly and get something thicker to work with instead of just wasting thin unsuitable paper.
3. Mixing wrong colors
Some colors work together while others don’t – simple as that! In case you don’t know or you are not sure about it, do yourself a favor and spare 5-10 min and read this post here!
4. Being consistent with the pigment and the stroke thickness
We already mentioned that the long synthetic hairs may cause some issues with the thickness consistency, but we also wanted to mention that the amount of pigment you use with each dip is also very important. Keep an eye on this in order to avoid having some letters very color saturated while others are pale and less saturated. You can easily repeat some strokes but why do it twice? 😀

5. Don’t give up
A very common mistake is when beginners get discouraged and simply quit. DO NOT DO IT!!
Try to do this –
For 7 days straight practice, every single day for 15-20 minutes (at least) and after the 7th day compare it with your first one – I guarantee that you will notice an improvement.
FINAL WORDS
The water brush pen is a great tool for any hand lettering and calligraphy artist.
Watercolors are an amazing art medium with a whole dimension for itself which is definitely wort to explore.
We hope that this introduction post helped you understand the basics, and if you have any questions or comments you are always more than welcome to reach out 🙂
Be curious, keep practicing and as always,
Stay AWESOME!
Pin me!
About the author

Hey, I’m Max. I’ve been drawing and messing around with letters since 2011. I don’t have a formal art degree—my background is actually in the kitchen as a former chef and on the streets painting graffiti with my friends. Over the last decade, through a ton of trial and error, I somehow turned that obsession into a full-time gig. These days, I design custom logotypes for global brands and paint large-scale murals. I started Lettering Daily just to create the kind of honest, no-BS tutorials I wish I’d had when I was starting out. Stick around, and let’s draw some letters.

On the practice sheets for this lesson, the lower-case letters on sheet 3 are m,n,o,p,q, and then it skips to u and v. What happened to r,s, and t? I’m sure I can find them elsewhere in an equivalent style, but is there a reason those letters aren’t here?
Hey Dan, thank you for pointing that out for me. You are right, it seems like I’ve made a mistake. I already scheduled this post for an update and I’ll make sure to fix this issue as well. Thank you again for the constructive feedback. I really appreciate it! 🙂
Best,
Max.
I recently bought my first water brush that actually came in a travel pack (including 4 palettes of colors and a sponge). And I love it, a little more than using brush pens lol but my question is what is the correct way to apply color to the brush? Do you squeeze the water and then dip with color? Or refrain from squeezing the water until after you dip in the color?
You have to squeeze the brush pen so the water comes out and you can mix the watercolors. You need to add the water to the watercolors otherwise you won’t be able to do much 😀 I usually apply the color directly to the brush, not sure how else i would do it. Or perhaps i didn’t understand your question good enough? 😀