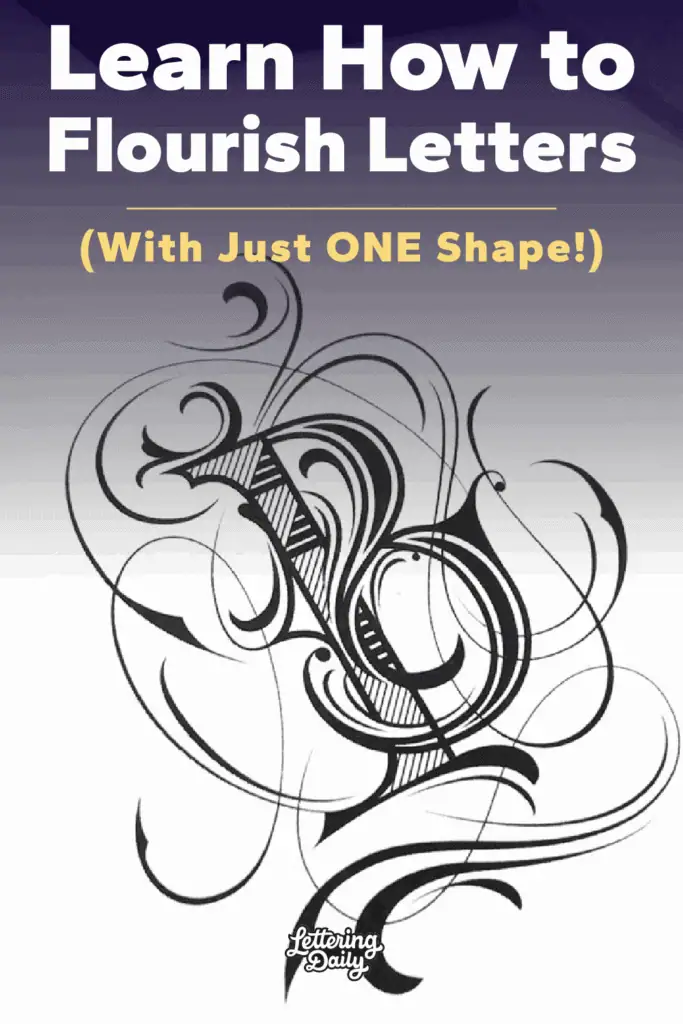
Flourishes are a timeless part of calligraphy and lettering. In this tutorial, we’ll explore one of the simplest but most versatile lettering flourishes: the spiral.
Hi, I’m Robert – Lettering Artist and Graphic Designer from Germany. As the host of the Flourish Club, I’m excited to share my passion for flourishes and help you discover their beauty and potential—step by step.
What Are Lettering Flourishes?
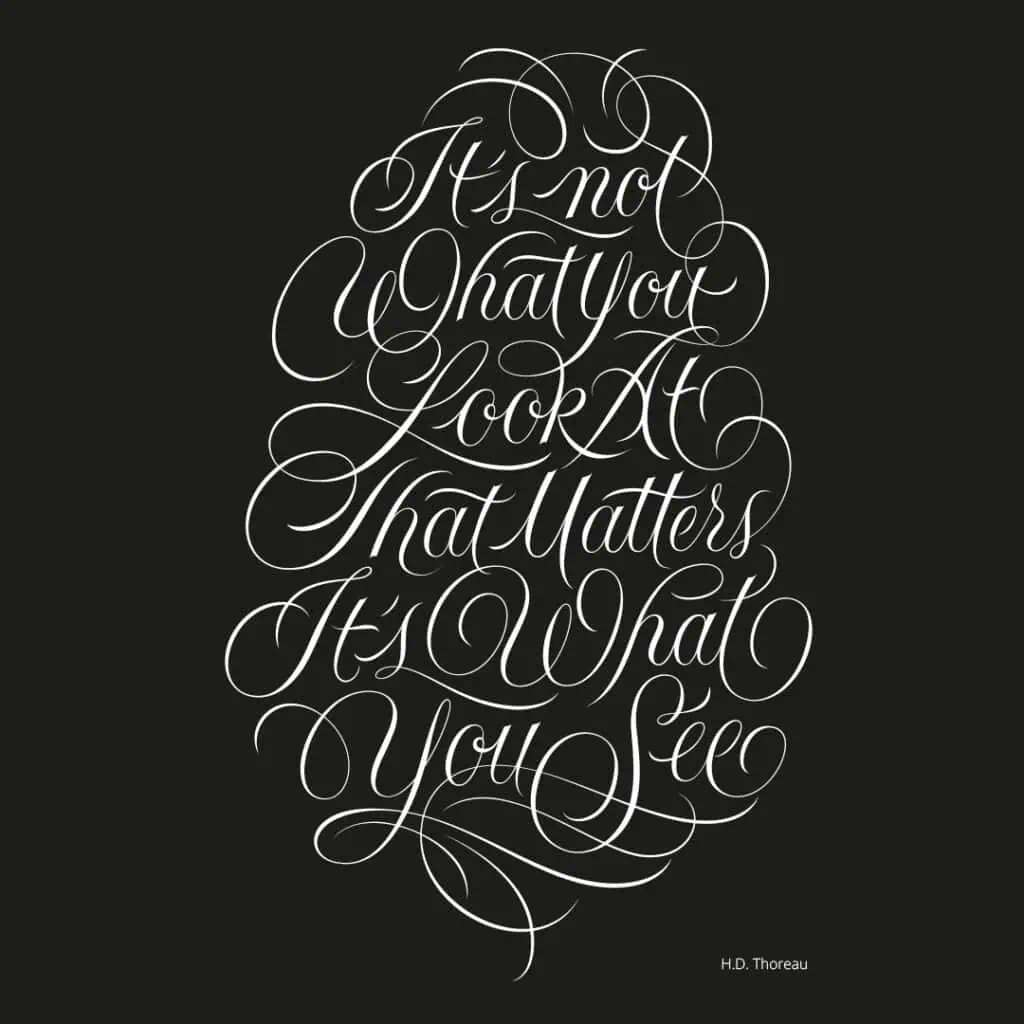
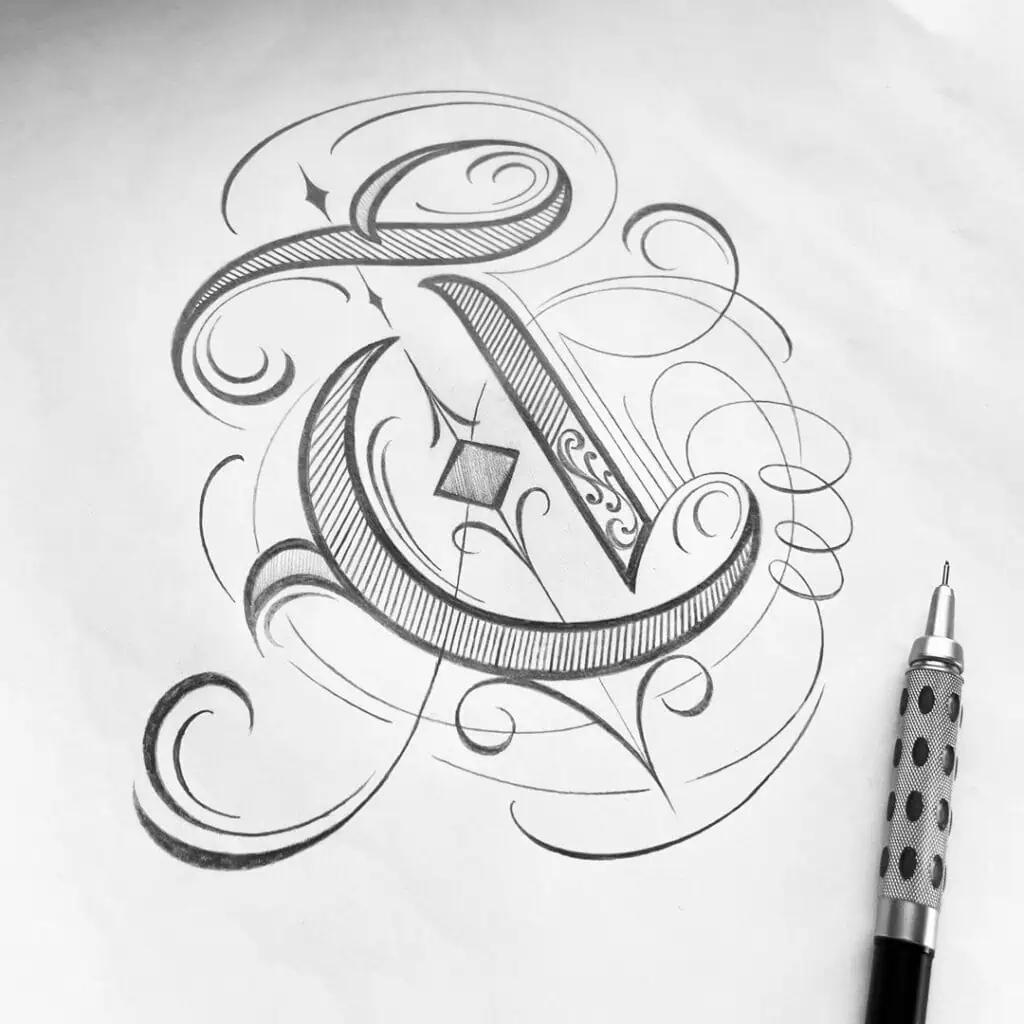
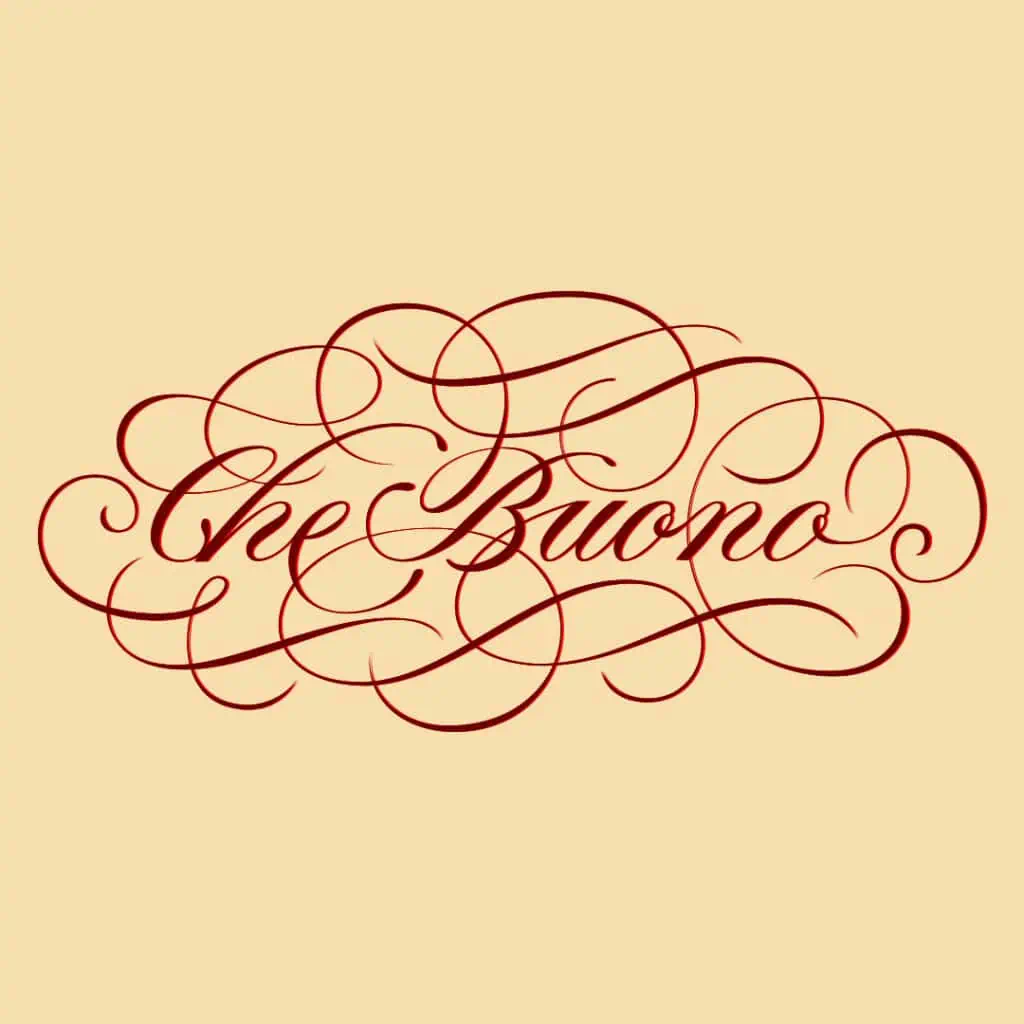
Flourishes are decorative extensions or embellishments added to letters or words. They bring elegance, flow, and rhythm to your lettering compositions. In lettering, flourishes are drawn as part of the letterforms or added around them, enhancing the overall design without relying on pen pressure like in calligraphy.
A Flourish Composition with Just One Shape
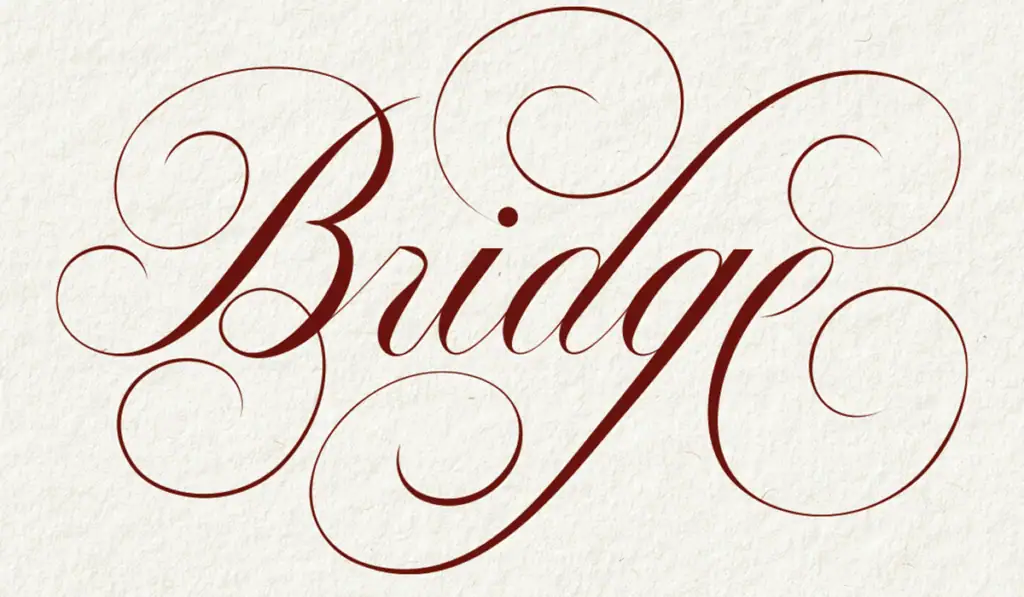
In this tutorial, you’ll discover the most essential flourish form of all—the spiral—and how to use only this one shape to build a beautiful and balanced composition with the word “Bridge.”
You’ll not only create something pretty, but also gain essential insights into how flourishing works. This is your bridge—from feeling unsure to confidently starting to flourish. This is one of the simplest ways to get started with lettering flourishes.
Let’s dive in!
What You Need
A pencil, an eraser, and a piece of paper—that’s it.
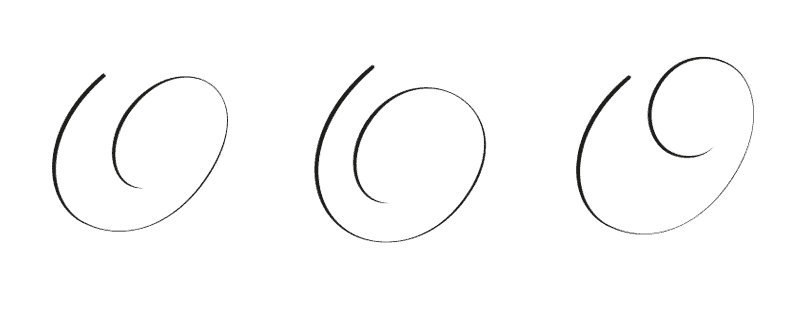
Meet the Spiral – Your New Best Friend
The spiral is the most used and most versatile flourish form. It appears everywhere in decorative calligraphy or lettering—and with good reason: it’s graceful, elegant, and easy to adapt.
Whether big or small, tight or loose, upward or downward—it’s still a spiral.
Here are some variations to inspire you:
The Bridge Tutorial – 8 Simple Steps
Follow along to build this composition together. You’ll learn much more than just how to draw the final piece—you’ll understand how flourishes flow and how each small detail matters. Because reading a tutorial is one thing—but doing it is how you really learn.
Step 1 – Write the word “Bridge” in a slanted script with a 52–55° angle. This whole tutorial is built on a simple idea: using just one flourish form to create a rich and balanced composition.
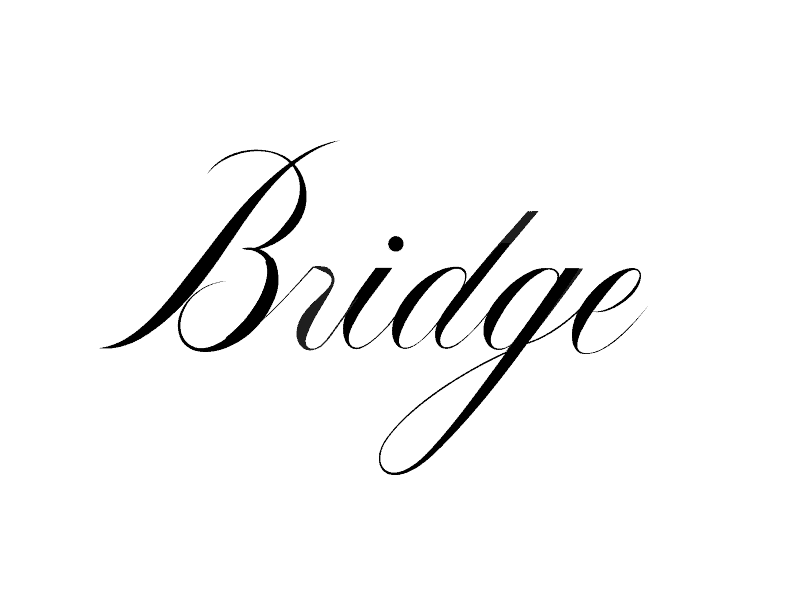
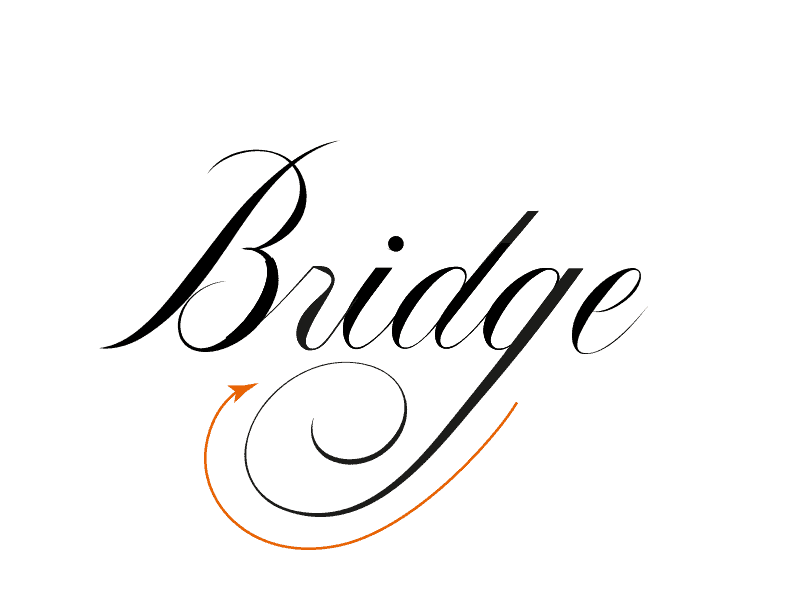
Step 2 – Start with the g—it already dips below the baseline. Replace its loop with a spiral flowing to the left.
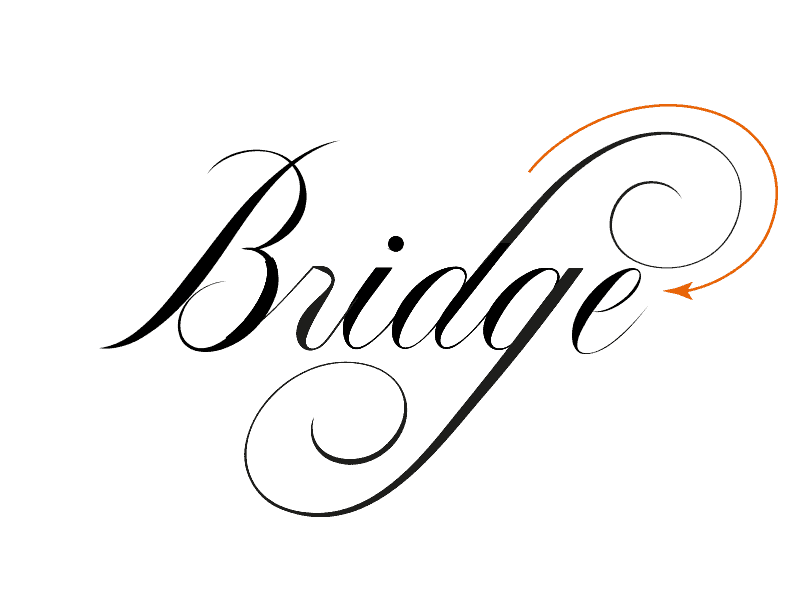
Step 3 – Next, take the d. The ascender is the perfect place for another spiral, flowing upward and to the right.
Step 4 – Move to the e at the end of the word. Use its exit stroke to add a third spiral, curling upward.
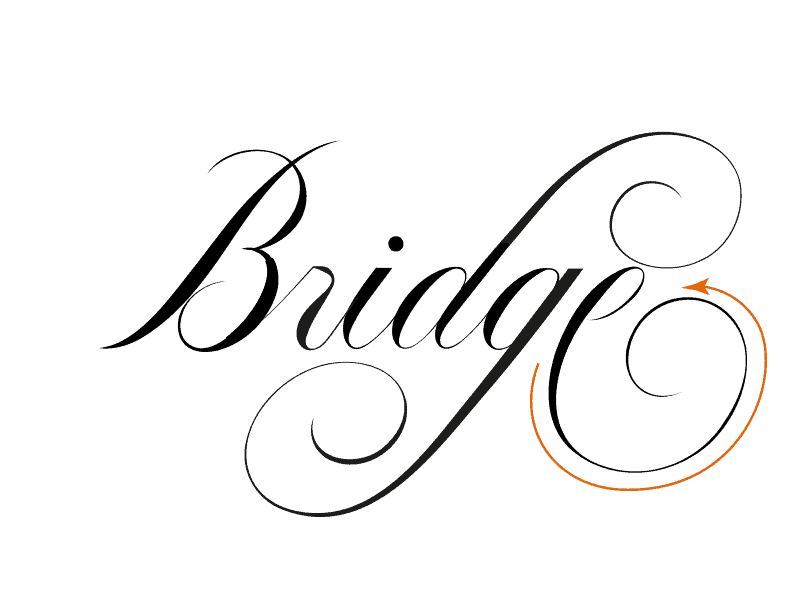
Tip: Make sure none of your spirals touch. This keeps your composition light and airy.
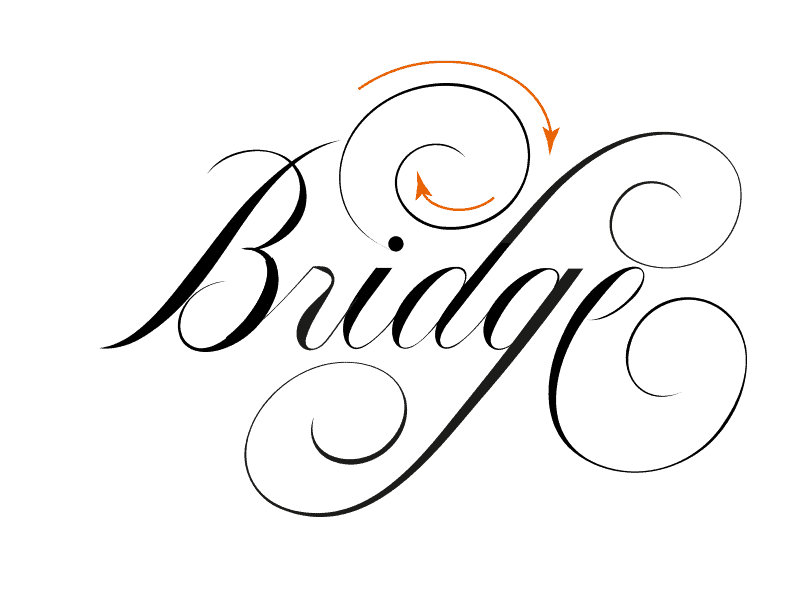
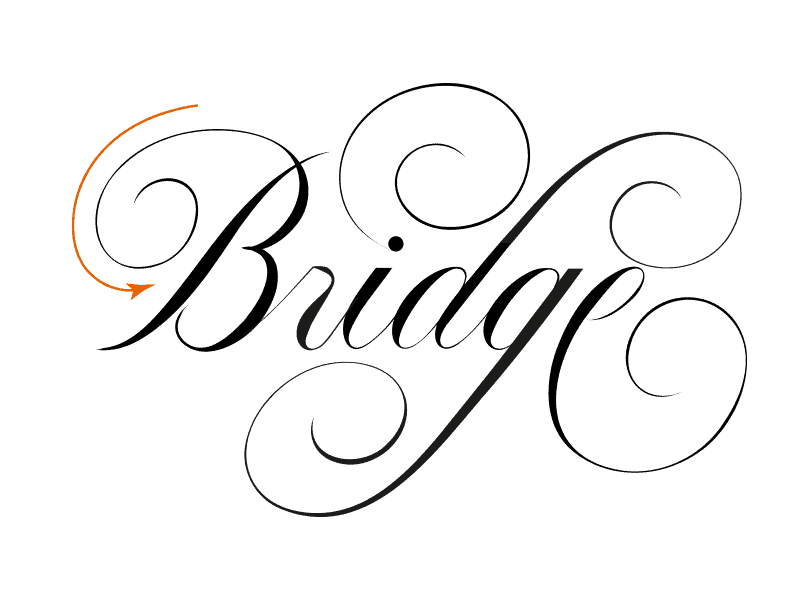
Step 5 – Let’s add a spiral to the left of the word, above the i. There’s no natural exit point here—but the dot of the i can anchor a flourish! We use it to start a new spiral that connects visually with the rest of the word. Always aim for connection—flourishes should look like they belong.
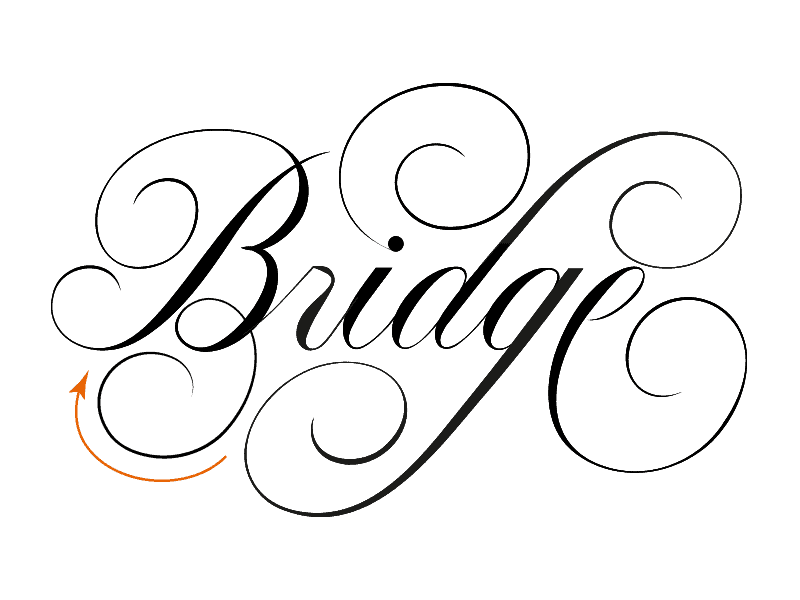
Step 6 – Now to the capital B. Extend its upper curve so it crosses over the downstroke, then add a spiral curling downward behind it.
Step 7 – Do the same with the B’s downstroke: there’s limited space, so add a small, tight spiral upward.
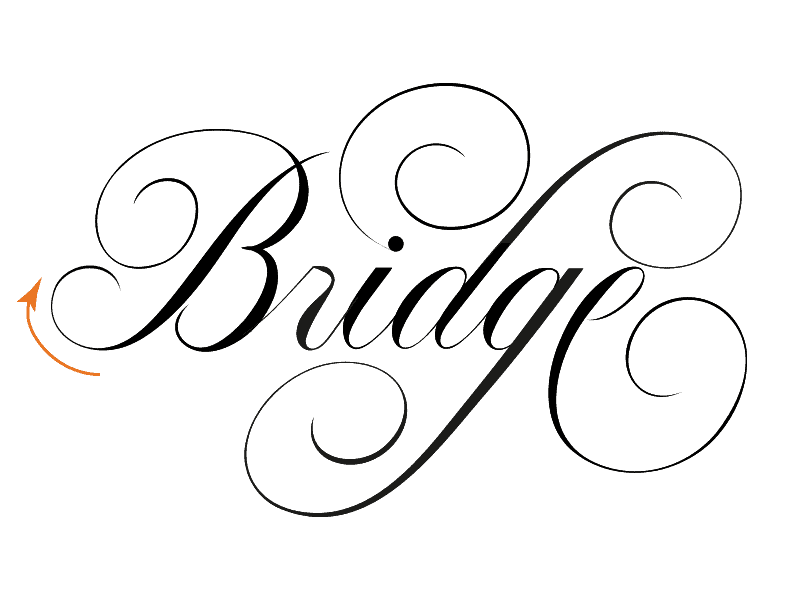
Step 8 – Final touch: look under the r. You’ll see some empty space. Extend the B’s lower stroke once more and turn it into a downward spiral that curves back up.
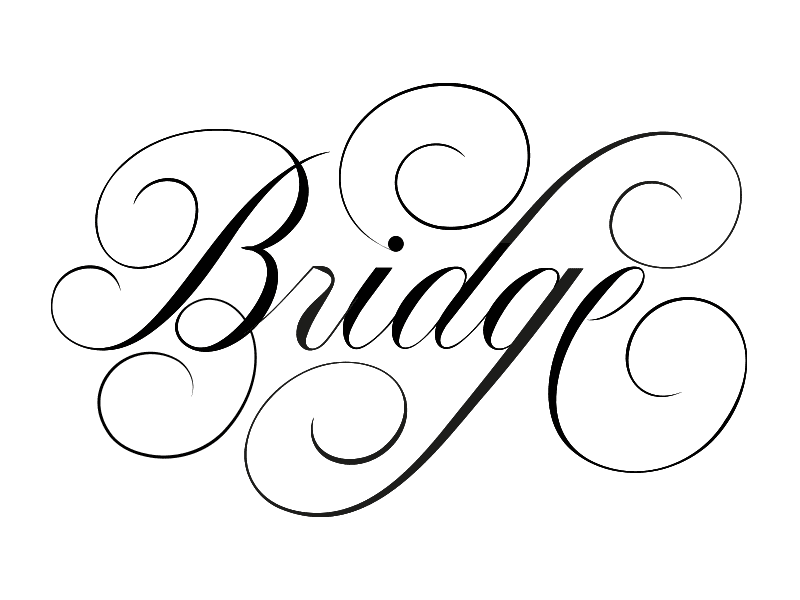
And just like that, your piece is complete—built entirely with spirals.
🌀 Why This Spiral Flourish Technique Works
The spiral can do more than you might expect. It won’t work with every word, but this tutorial shows just how flexible and powerful this single flourish form is. It’s graceful, functional—and a perfect entry point into flourishing.
10 Helpful Tips
- Don’t be too hard on yourself—elegance takes practice.
- Keep going—you’ll improve naturally over time.
- Don’t forget the letters. They’re always the most important part.
- Fewer crossings = lighter and more elegant results.
- Stick to spiral shapes—avoid strange inventions.
- Don’t let your spiral become a snail (even if snails are cute).
- Keep spiral sizes consistent around your word.
- Observe others—collect spiral ideas you like and try them out.
- Flourishes shouldn’t be thicker than your letters.
- Have fun! Switch tools, play, and keep exploring.
Lettering Flourishes vs. Calligraphy Flourishes
My work is rooted in a drawing process that comes from lettering. Calligraphy flourishing, on the other hand, is born from a writing process. Even calligraphers often reach for a pencil when planning more complex pieces.
While both approaches share visual elegance and flow, they differ in technique: in lettering, each letter and flourish is built step by step, while in calligraphy, it’s all about fluid strokes and pen pressure. If you’re curious to dive deeper into calligraphic flourishing, check out this full tutorial on Calligraphy Flourishing.
Want to Keep Learning?
Check out my website for workshops (LIVE and self-study), and creative inspiration with a lot of free resources—all about flourishing.
www.the-flourish-club.com
Final Words
Thanks for following along! I hope this little tutorial helped you understand more about flourishing and encouraged you to explore it further. Think of this composition as your bridge—a first step toward creating flowing, elegant flourishes with confidence. More bridges are waiting. Ready to cross them?
Pin me!

Stay updated with my tutorials and get instant access to the Lettering Crate –
A growing library of free lettering & calligraphy resources that includes –
About the author

lettering artist and the host of the Flourish Club. Flourishes were the main reason why i started lettering 10 years ago. I was amazed by the quality of flourishes and swashes which can enhance your lettering to a masterpiece.
So i started to gather any bit of knowledge i could get. With the Flourish Club, that wisdom is collected and well prepared to help you overcome all possible struggles on your journey because I‘ve been there.

