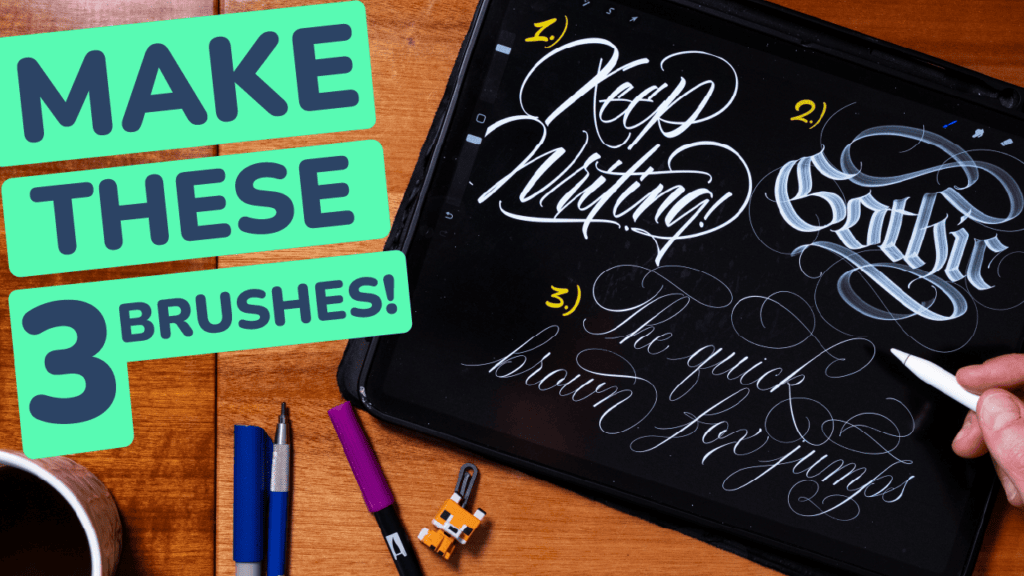
Creating your own brushes in Procreate might seem intimidating at first, but once you understand the fundamentals, it becomes one of the most powerful skills you can learn as a lettering artist.
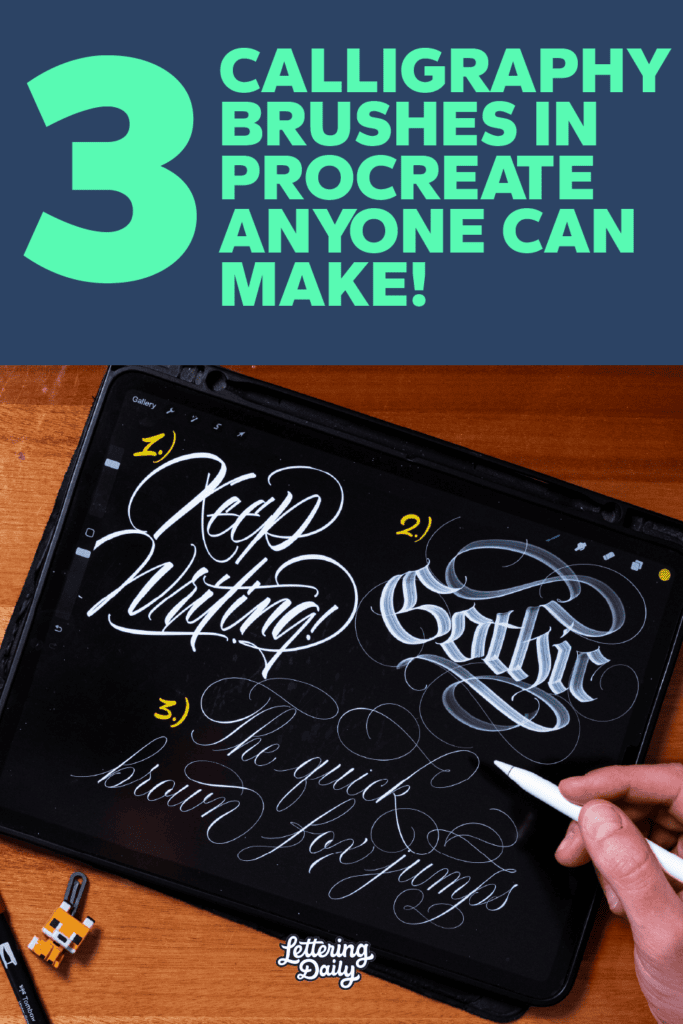
Instead of relying on pre-made brushes, you can design tools that match your exact style, pressure, and flow. In this guide, you’ll learn how to create three essential Procreate calligraphy brushes:
- Modern brush lettering (brush pen style)
- Blackletter broad edge brush
- Copperplate script brush
By the end, you’ll understand how to make a Procreate brush from scratch and how to tweak the settings to get the exact look you want.
In case you prefer to watch, I also made a YouTube tutorial to guide you through the process –

Why Create Your Own Procreate Brushes?
Procreate already comes with a huge library of brushes, but creating your own gives you full control.
Every brush in Procreate is built on two core elements:
- Shape source (the stamp of the brush)
- Grain source (the texture inside the stroke)
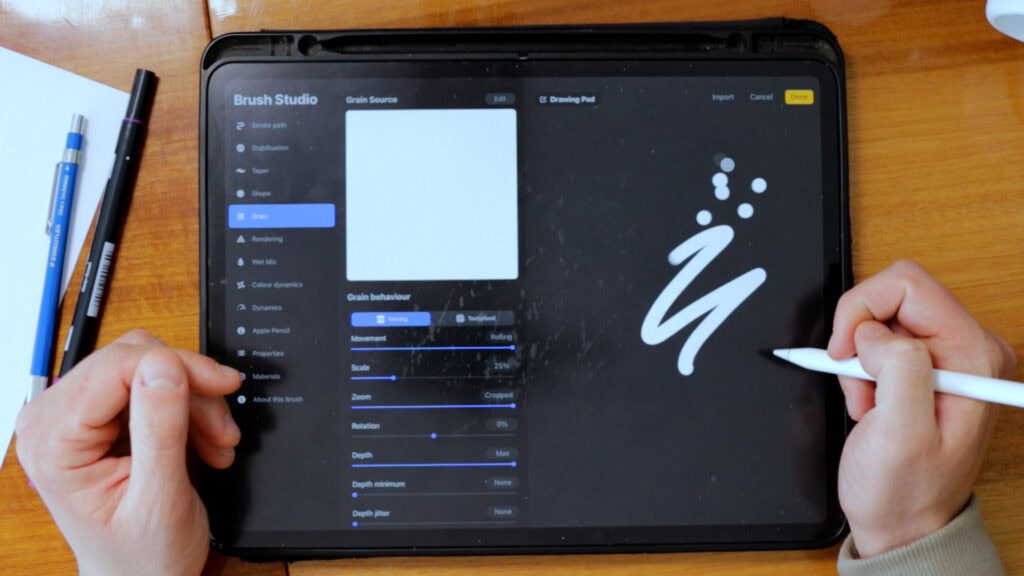
These two elements form the foundation of every brush, and together with the settings, they determine how your strokes behave.
There are A TON of different settings for you to tweak inside the brush studio – and all of them will create a different effect for your brush.
However, when creating a calligraphy brush, you only need to tweak a few settings.
The best part?
I’ll show you exactly what settings you need to change for your brush – step by step.
Once you understand this, you’re no longer just using brushes… you’re engineering them.
Brush 1: Modern Brush Calligraphy
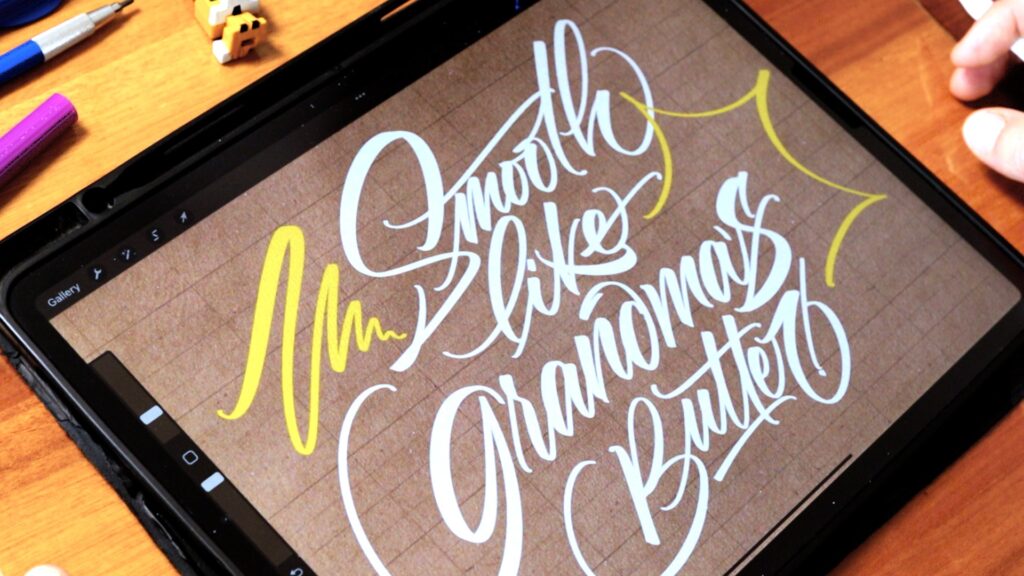
This brush mimics a brush pen and is perfect for smooth, flowing lettering.
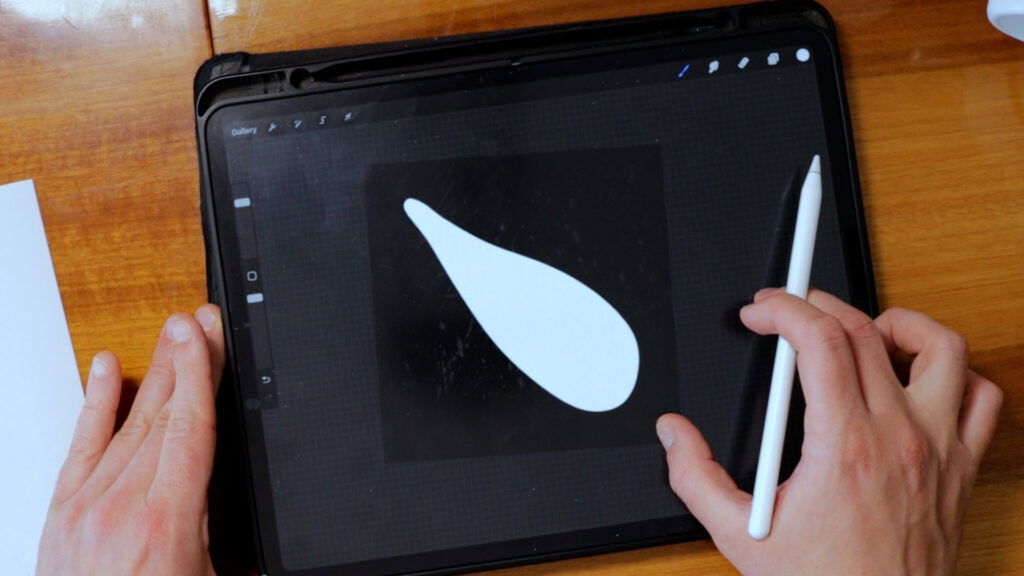
Step 1 – To make this brush, open up a square canvas inside of Procrate.
Turn the background in black.
Step 2 – Using a solid brush (use the technical pen brush from the stock library) create a tear drop shape like this –
Step 3 – Select it, and swipe 3 fingers down the screen and hit the copy option.
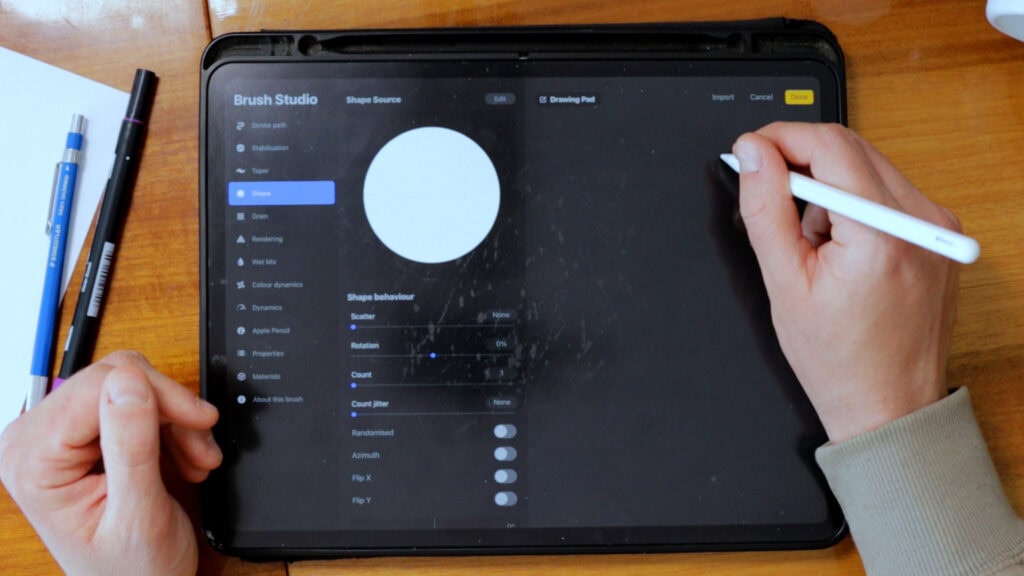
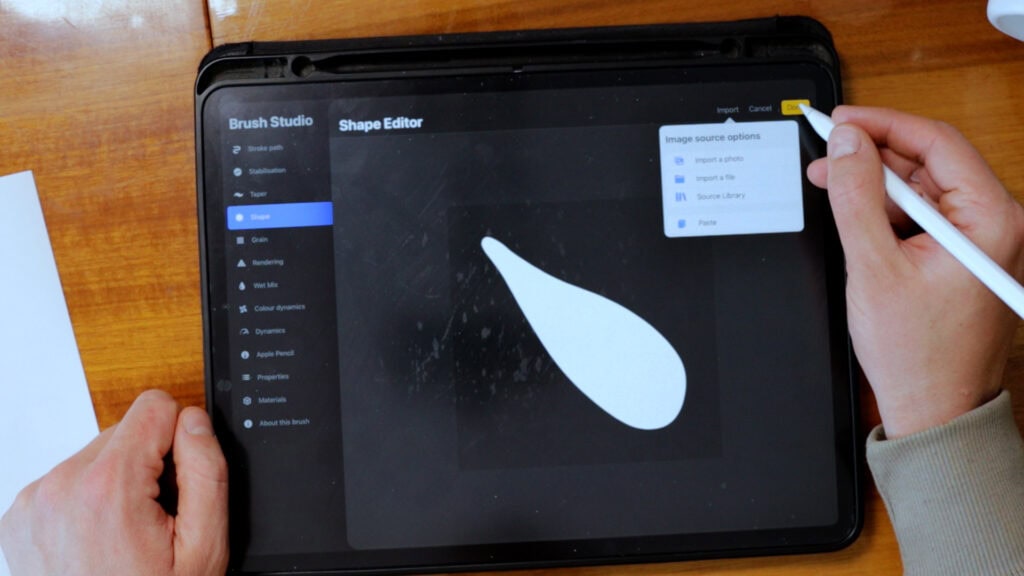
Step 4 – Head over to the brush library, select the + icon on the top right to create a new brush.
Step 5 – Go to the shape option from the left menu and paste the new shape you just made.
Step 6 – Perfect, all there’s left to do is to tweak the specific settings. Follow the list of settings underneath.
Key Settings:
- Stroke path – reduce everything to 0%
- Stabilisation – Streamline amount – 65% Pressure – 10% Stabilisation ammount – 8%
- Apple pencil – Pressure size – 100% (max) Opacity 0%
- Propreties – Maximum size 85% Minimum size 9%
Feel free to try out and tweak these settings to find the ones that suits you best. Some people enjoy more while others less stabilization for example.
This is your go-to brush for:
- Quotes
- Social media lettering
- Everyday calligraphy practice
The goal here is control + smoothness.
Brush 2: Gothic Calligraphy Broad Edge Brush

Gothic calligraphy brushes behave completely differently.
For this brush we will make an imitation of a real flat brush (the one with hairs).
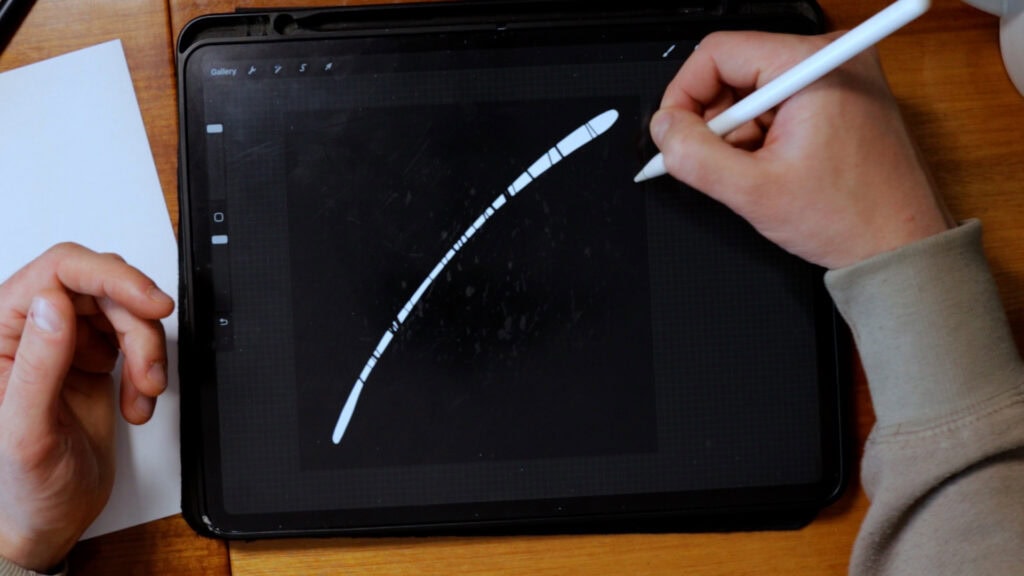
Step 1 – Open up a square canvas with a black background and create a white colored shape that looks like this –
Step 2 – Using an eraser delete randomly bits and pieces of the shape. This will create our dry brush texture later on.
Step 3 – Hit the selection tool, swipe 3 fingers down and copy the shape. Then head over to the brush studio, open a new brush and paste this shape.
Step 4 – Follow the settings underneath to create your gothic calligraphy brush.
Key Settings:
- Stroke path – reduce everything to 0%
- Stabilisation – Streamline amount – 64% Pressure – 15% Stabilisation ammount – 9%
- Shape – Turn on the Azimuth option – very important!
- Apple pencil – Pressure size – 0% (keep in it in the middle) Opacity 100%
The magic comes from:
👉 stroke direction, not pressure
Brush 3: Copperplate Calligraphy Brush
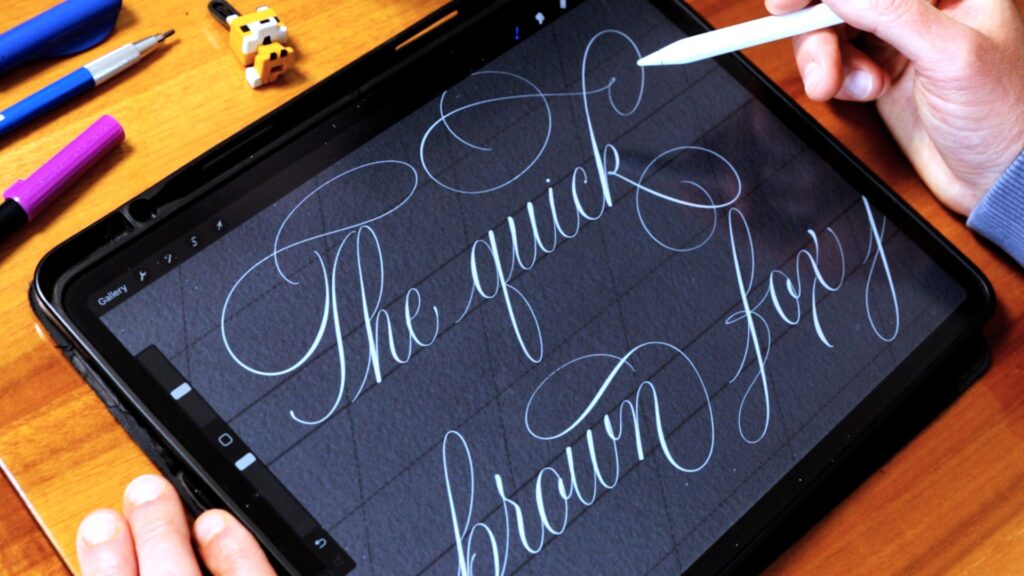
Copperplate calligraphy relies heavily on pressure variation and fine control.
Step 1 – Like we previously did, create a square canvas and a black background. Then create a shape that looks like this –

Step 2 – Create a new brush and paste this bad boy as your new shape.
Key Settings:
- Stroke path – reduce everything to 0%
- Stabilisation – Streamline amount – 90% Pressure – 15% Stabilisation ammount – 15%
- Apple pencil – Pressure size – 100% (max) Opacity 0%
- Propreties – Maximum size 25% Minimum size 0% (none)
This brush is ideal for:
- Elegant scripts
- Wedding calligraphy
- Flourishing
Here, the brush should feel almost alive under your hand.
Final Thoughts
Learning how to make brushes in Procreate unlocks a completely new level of control over your lettering.
Instead of adapting to someone else’s tools, you create tools that adapt to you.
And once you understand the system:
- You can build any brush
- You can replicate real tools
- You can develop your own signature style
The real secret?
Experiment.
Tweak settings. Break things. Adjust again.
That’s where the good stuff happens.
Until the next one!
Pin me!
About the author

Hey, I’m Max Juric, and I’m deeply passionate about calligraphy and hand lettering.
I’ve spent years honing my skills in the art of lettering, working with hundreds of clients from all over the world on design projects such as logotypes, branding, custom lettering, murals, and more.
But my journey doesn’t end there. I’ve also dedicated myself to sharing my knowledge and expertise with others, creating a wealth of resources including tutorials, articles, and podcasts.
It’s been incredibly rewarding to see thousands of people engaging with my content each month. Knowing that I’m helping fellow enthusiasts grow and develop their skills makes me really happy.
Welcome to Lettering Daily, your hub for all things lettering and calligraphy. Whether you’re a seasoned pro or just starting out, I’m here to inspire and guide you on your lettering journey. Stick around, and let’s explore the world of letters together!


you have provided soo much information!
I have downloaded brushes onto the iPad in the past. not an easy task. (my husband is wary of doing such things. the last time I downloaded, he used the iPad afterwards & the iPad wanted to restart. he was not too happy about this event. so I always make my own brushes via YouTube. now that you have explained all of the above, I may be able to venture out on my own.) thanks!!!!
Thanks again, Marian 🙂
Great article!
Thanks! 🙂
Thank you for the information !!
No problemos! 🙂 Thanks for reading.
I found an ios app for procreate brush sharing: BrushesMaster,which is amazing
, You can import procreate in batches by dragging and dropping on the iPad, and built-in 20,000 brushes, which is amazing.
Hmm thanks for sharing that 😀 I will check it out.
Your articles have been such a helpful source to understand iPad lettering in general. So a big THANK YOU!
I want to create a brush for Arabic calligraphy – it is written with an angled reed pen. Its a bit like a parallel pen but with a chiselled tip, pretty much like highlighter markers. Would the brush shape be different? If so, how can I get started please?
Hey AJ, that is a pretty specific question and im afraid i don’t have a simple answer to that. I think the best course of action is to create a parallel pen brush look-alike and then tweak the pressure and angle settings. It will take you some trial and error before you achieve the desired result but I do think it’s doable.
Wow! It’s useful!! Thanks for sharing~
Cheers!
Do you still share your brushes?
Hey Ivy, absolutely! You can find them all inside the Lettering Crate 🙂
I hope i’m doing this right-
If you need any help don’t hesitate to ask 🙂
wow I will enjoy using these free brushes
Glad to hear that 🙂
Amazing article and so useful! Thanks for breaking it down 😀
Thank you for the kind comment! You are most welcome 🙂
Thank you for great information!
You are super welcome 🙂
Where can i download the shape dk? Thanks for the tuts btw.
Hey Dedy! The shape can be found in the Lettering Crate which is our official resource library. Once you join with your email you will get a password and a link to the page where you can download the shape along with all the other freebies 🙂
Thanks! I would love to try it, where can I download the shape source?? 🙂
You can find all of the freebies in our resource library – a.k.a the Lettering Crate. There is a signup form on every post on the website as well as the sidebar.
How do I download the shape? Thank you ?
Just drop your email and you will get access to the Lettering Vault 🙂