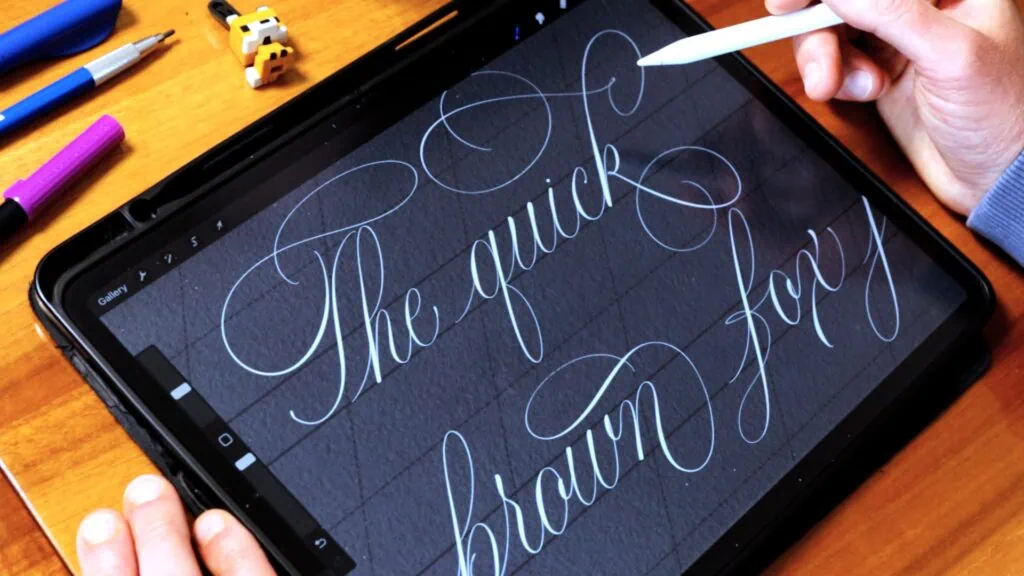
How To Create A Procreate Brush For Lettering

How to create a Procreate brush for lettering - Lettering Daily

This post and the photos within it may contain affiliate links. If you purchase something through the link, I may receive a commission at no extra charge to you.


Creating a Custom Lettering Brush in Procreate may seem a bit daunting at first…

…but it doesn’t have to be!

imagine if you could turn your existing Procreate Brushes into a Custom Lettering Brush, and use it in ways that fit your unique style.

Or even better:

How about turning ANY Procreate Brush into a Custom Lettering Brush? Chalk, watercolor, acrylic…  

…you name it.

Once you understand the fundamentals of Brush creation, the possibilities are endless.

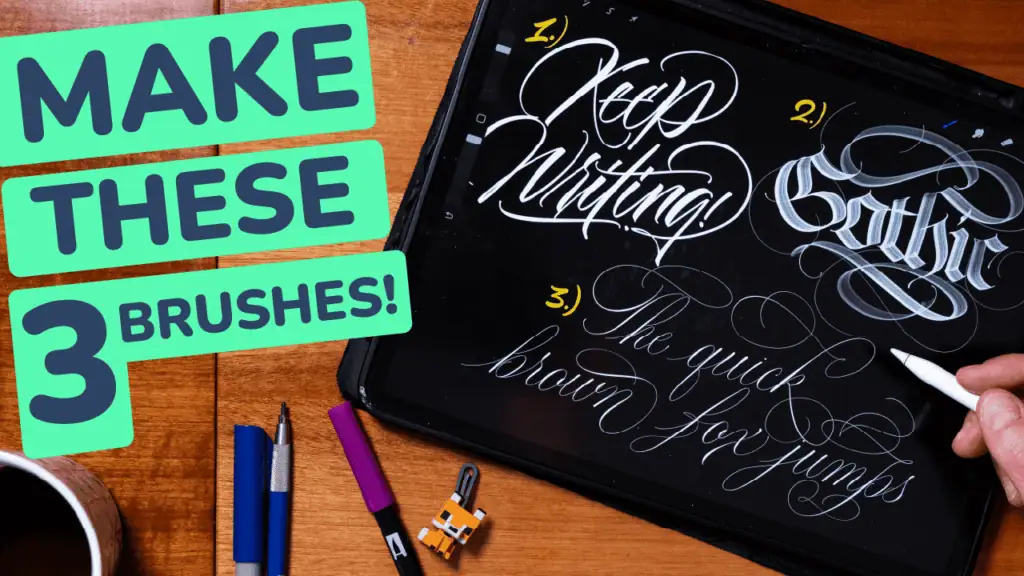
In this article you are going to learn how to create your very own custom brush step by step!

On top of that, you will also get a FREE lettering brush + a custom shape that you can use to create your very own brush while following the steps of this tutorial.

Before we jump right into it, let’s have a quick view on some of the things we will cover in this article –

  • The current state of iPad Lettering

  • The essential Tools

  • The Shape & Grain Source

  • The fundamental Brush Settings

  • FREE downloadable Procreate brush + custom shape

So without any further ado, 

Here’s the full Tutorial on how to create a Custom Lettering Brush in Procreate

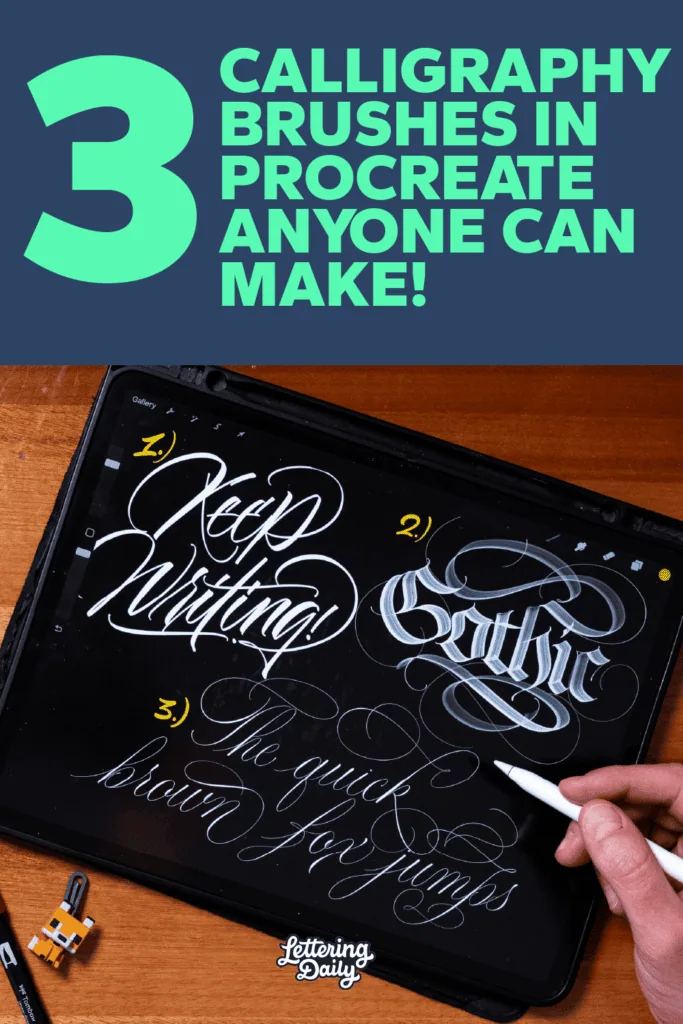
Pin me!

How to create a Procreate brush for lettering - Lettering Daily

Hey everybody!

This is Dong Kyu aka Calligraphy DK and I am super excited to finally share a Tutorial on how to create a Custom Lettering Brush in Procreate!

It is easily one of the most frequently asked questions I’ve gotten ever since the beginning of my iPad Lettering journey back in 2016, and considering the rising popularity of this trending hobby, the following Tutorial will most likely continue to remain relevant for quite a while.

The current state of iPad Lettering

As mentioned above, iPad Lettering has quickly turned into a very popular hobby over the course of only 4 years and continues to catch the attention of not only professional artists, but also casual Lettering enthusiasts who happen to own an iPad and an Apple Pencil.

By taking a quick look on Instagram at the current Hashtag usage in 2019, we can clearly see just how many people decide to keep both pen and paper in their bags and opt for their trusty iPad instead:

How to create a Procreate brush for lettering - Lettering Daily

*March 26, 2019

The ability to go paperless is indeed attractive, however, the real beauty of iPad Lettering can be found in the software department:

The Procreate App offers an incredible amount of features for artists in various creative fields and with its own dedicated Calligraphy section, it is safe to assume that the team behind the multi-award winning application, is well-aware of the ever increasing iPad Lettering Community.

It has industry-leading performance, an elegant user interface and of course, the ability to import, create and share Custom Brushes!

With that in our backs,

Here are the essential tools you will need in order to create a Custom Lettering Brush:

Shape & Grain Source

First things first:

Understanding the Shape & Grain of your Brush is the single most important step towards creating a Custom Lettering Brush.

These two sources can literally make or break your Brush. They form the core, the foundation.

You can think of them as the engine of a car.

A bad engine is going to affect the performance  negatively no matter how many fancy paint coatings you apply.

In other words: Regardless of the settings,

Bad Shape & Grain Source = Bad Brush

One tip is to simply ask yourself:

How does the Shape & Grain of my actual Pen look like?

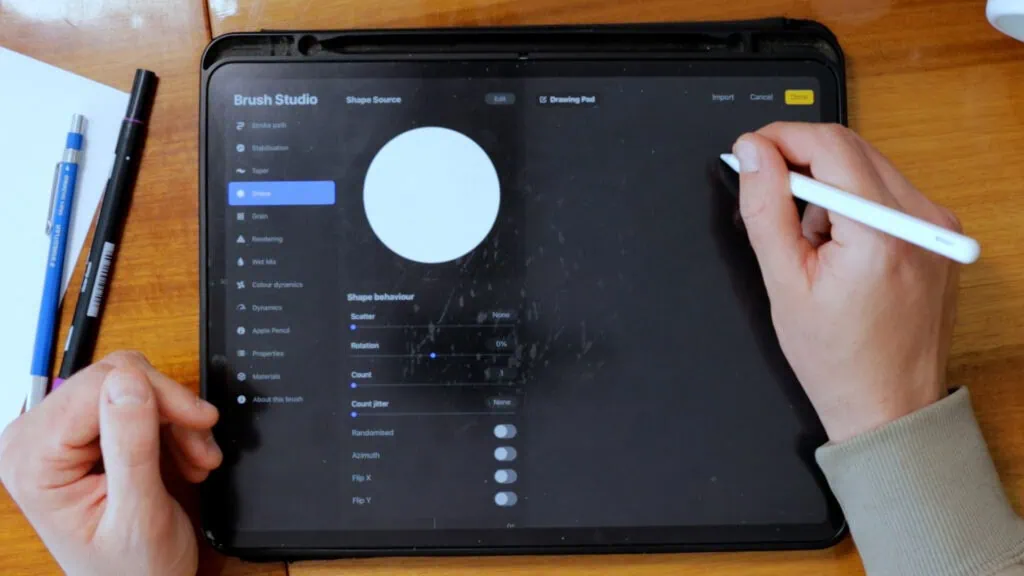
Shape Source

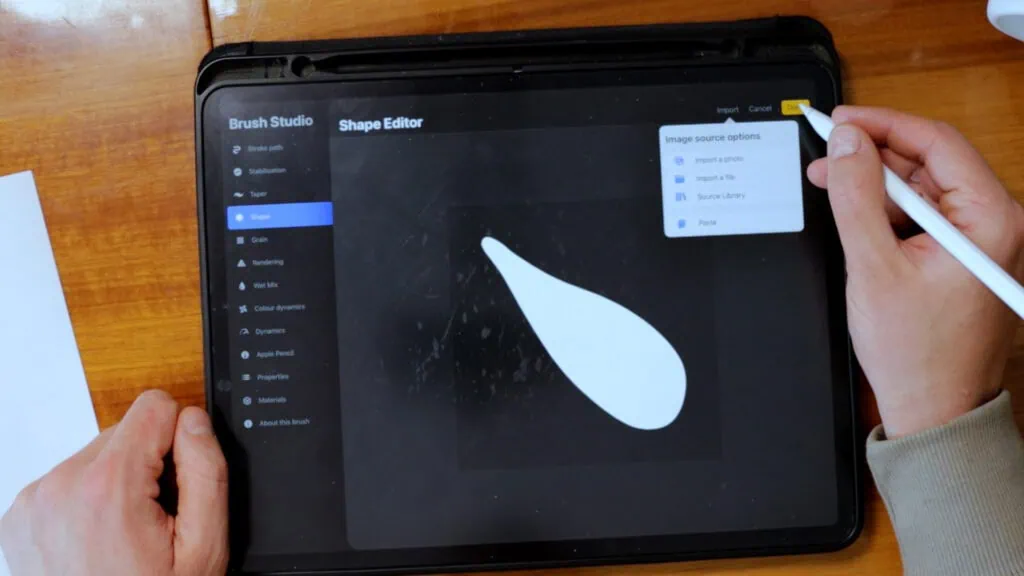
The Shape Source is just like a stamp. The image you select as the Shape will be repeatedly “stamped” over the course of a stroke.

Let’s say you select a circle as the shape, you’re going to notice every time you tap, the same circle will appear on the screen.

How to create a Procreate brush for lettering - Lettering Daily

*Circle Tap

Now, a proper stroke is basically just a result of repeated taps so the more taps or circles you add the smoother the line will look and eventually turn into a stroke.

How to create a Procreate brush for lettering - Lettering Daily

*Circle repeated Taps

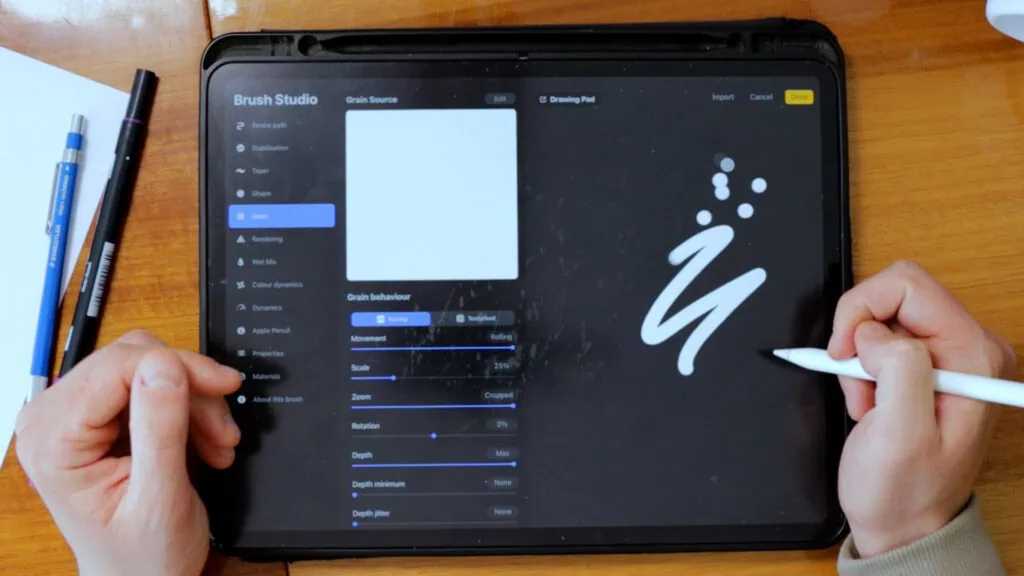
Grain Source

The Grain Source on the other hand behaves sort of like a paint roller.

Whenever you paint a stroke, the grain is “rolled” inside the shape and on to the canvas.

Let’s say we pick a floral pattern as our grain and add it to the shape.

You will notice, instead of just being white the circle now actually contains the floral pattern inside of it.

How to create a Procreate brush for lettering - Lettering Daily

*Cirlce Shape with Floral Pattern

Therefore,

One might also refer to the shape as a container – It contains the grain.

Here’s a visual that summarizes the last few paragraphs:

How to create a Procreate brush for lettering - Lettering Daily

*Procreate Artists’ Handbook

to see the Shape & Grain in action, check out this video!

Brush Settings

Let’s face it:

There are a TON of settings in Procreate.

Not only that, each of them affects your Brush in a different way.

Some might change the size and opacity, while others don’t change anything at all.

Question is:

Where do I start?  

Take a closer look at the Brush Setting’s Window.

Here’s a breakdown of all the Tabs:

  • Source

  • General

  • Pencil

  • Dynamics

  • Grain

  • Shape

  • Stroke

Notice something?

You see, it is designed to guide the User from General to Specific.

From right to left.

How to create a Procreate brush for lettering - Lettering Daily

*Brush Setting’s Window

So it makes sense to continue with the General Settings after selecting the Shape & Grain Source, right?

Right.

Oh and one last thing:

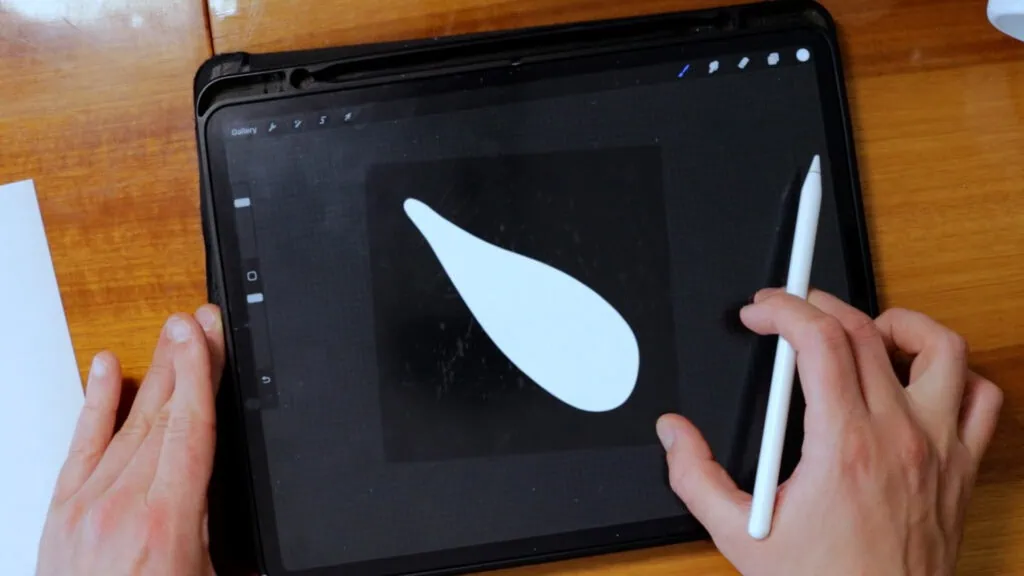
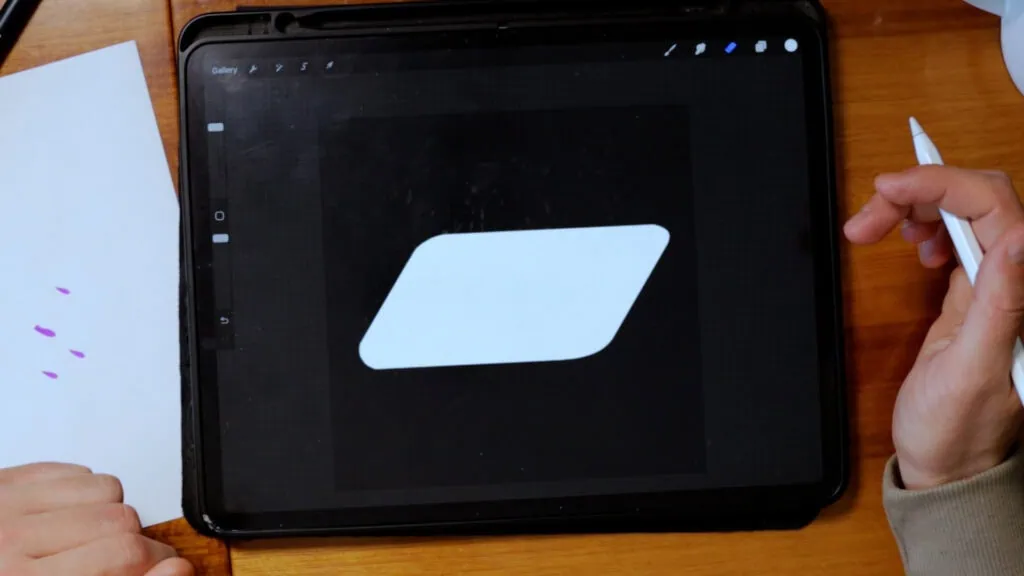
These are the Shape & Grain Sources I’m going to use for the following example:

How to create a Procreate brush for lettering - Lettering Daily

*Custom Shape Source available for Download

How to create a Procreate brush for lettering - Lettering Daily

*Bark Grain available in Pro Library

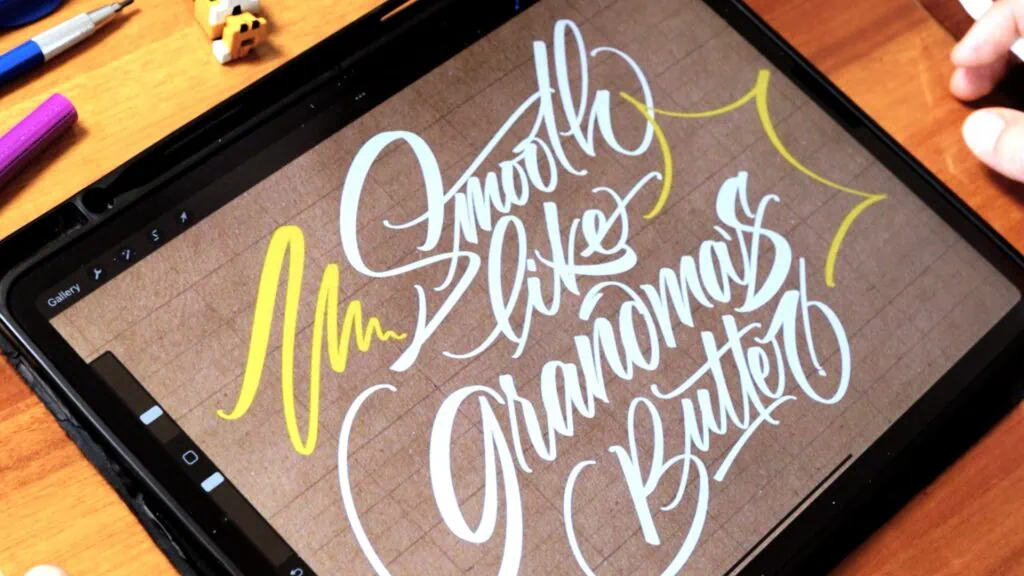
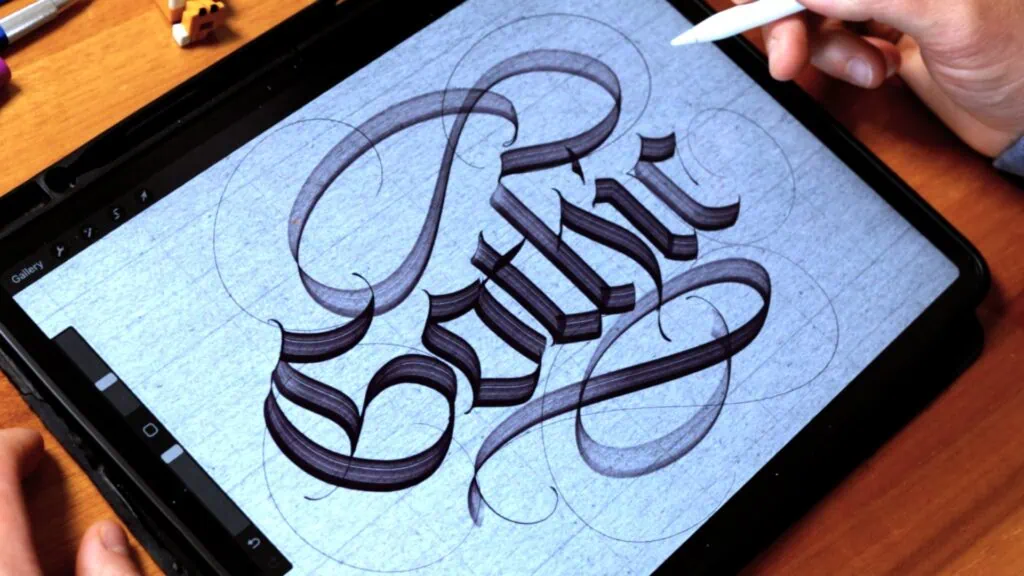
It is a Custom Procreate Lettering Brush reviewed by a lot of Lettering Artists – Perfect for Brush Lettering.

 1. General settings

Here we can manipulate:

  • Brush Properties

  • Brush Behaviour

  • Size Limits

  • Opacity Limits.

In this section, thankfully, we don’t have to change anything except for the size.

By default, it is set at 100% which is a little too big for my taste.

I personally like to apply a lot of pressure doing my Downstrokes so I’m going to reduce the maximum size to around 50%.

If you’re someone who likes to apply less pressure, keep it at 100%.

OK wait – See what I did there?

When it comes to Brush creation, it is all about adjusting settings to fit your specific needs.

How to create a Procreate brush for lettering - Lettering Daily

*Size adjusted to 50%

 2. Pencil settings

First, Pressure Setting:

Pressure Size = MAX.

This allows our Brush to become pressure-sensitive.

Do NOT forget that.

Otherwise your Brush will not behave naturally.

How to create a Procreate brush for lettering - Lettering Daily

*Pressure Size set to MAX

Pressure Opacity:

Often has a similar effect to Fall Off which will be explained later in the article.

Changing both settings may result into overkill.

Pressure Bleed:

You know how the ink spreads all over the place if you try to write on a tissue with a Fountain Pen?

This setting replicates exactly that according to the amount of pressure applied. Good stuff.

Tilt Setting:

I don’t personally tilt my Apple Pencil when I do Brush Lettering on the iPad, however, feel free to increase the Tilt Size if you prefer it that way.

 3. Dynamics settings

Next, Dynamics Settings.

Here we have three different modes:

  • Normal – No special Dynamics settings.

  • Glazed – Uniform & Transparent Brush behaviour

  • Wet Mix – Wet look for Watercolour Brushes

These modes are very dependant on the Brush itself.

The one I found works best for my kind of style is Glazed.

Normal – does not have any special effects on the Brush itself which is not suitable for this example.

Wet Mix – adds another layer of paint based customization to your Brush. Dilution, amount of paint applied & pulled, etc. – Again, great for Watercolour Brushes!

How to create a Procreate brush for lettering - Lettering Daily

*Brush Rendering set to Glazed

 4. Grain settings

Texture is crucial for a unique Lettering Brush.

And the Grain Setting helps you control and manipulate it.

In our case – This is how:

  • Movement – 15%

  • Scale – 40%

  • Zoom – 8%

  • Rotation – 0%

  • Filter – Improved

How to create a Procreate brush for lettering - Lettering Daily

*Grain Behaviour & Grain Filtering Settings

Movement:

When set to “Stamp” (0%) the Grain will not roll at all. Instead, it will smear the Grain.

When set to “Rolling” (100%) the Grain will apply the Grain Texture like a paint roller.

The secret to a nice and unique Grain Texture often lies between those two settings.

Scale:

This setting allows to manipulate the size of the Grain Texture inside the Shape.

Zoom:

When set to “Cropped” (0%) the Grain Texture will scale independently from the Brush Shape.

When set to “Follow Size” (100%) the Grain Texture will scale with your Brush Shape.

Again, finding a balance between those two settings will often result into beautiful Textures.

Rotation:

When set to “100% Inverse” (-100%) the Grain will rotate inversely to the Shape direction.

When set to “Static” (0%) the Grain direction will be locked.

When set to “Follow Stroke” (100%) the Grain will follow the Stroke direction.

Personally, I like to keep my Rotation “Static”.  

Quick information about the Grain Filtering:

None – disables the filtering – May cause jaggedness.

Classic – mimics filtering of earlier versions of Procreate.

Improved – applies Antialiasing – Smoothens texture.

Now, I know this may seem a bit random, but I can guarantee you that this will result into a nice texture.

How to create a Procreate brush for lettering - Lettering Daily

*Grain Texture Preview

That being said, the Grain Setting is only half the story.

As we move further to the left side, each setting not only becomes more and more specific, but also very much dependent on the style and preference of the user.

 5. Shape settings

The remaining half can be found and adjusted in the Shape Setting.

It is known as:

  • Scatter – None (Avoid scatter)

  • Rotation – 0 (Static)

  • Randomized – Off (Avoid random directions)

  • Azimuth – ON!

  • Filter – Improved (Same as Grain Texture)

How to create a Procreate brush for lettering - Lettering Daily

*Shape Settings – Azimuth turned ON

Azimuth:

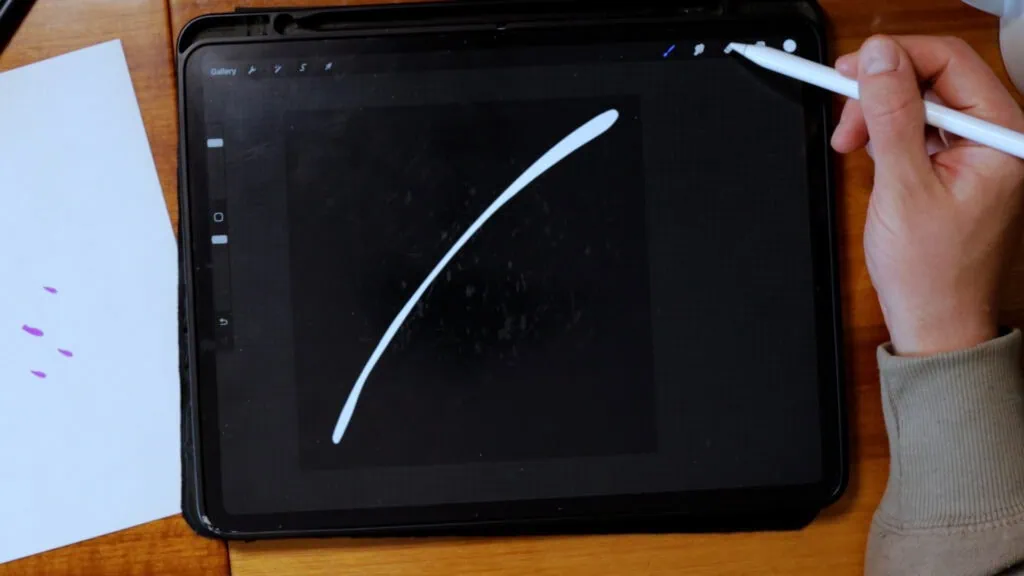
This handy feature allows the direction of the shape on the canvas to be the same as the direction of the Apple Pencil.

So it behaves just like a real Brush nib.

 6. Stroke settings

Finally, the last page…

… and also the most customizable.

Starting with the Stroke Properties:

  • Spacing – 0% (Avoid spaces in stroke)

  • Streamline – 40% (Adding smoothness & control)

  • Jitter – 0% (Avoid distance in stroke)

  • Fall off – 0% (Avoid length reduction)

How to create a Procreate brush for lettering - Lettering Daily

*Stroke Properties

A few words about Streamline:

It is OKAY to use it. Heck, I even recommend it.

Given the lack of friction, it is nearly impossible to get really smooth lines without Streamline.

So do not feel bad about using this feature.

Increase & adjust it however you please.

 7. Stroke Taper

This section is divided into Pressure Taper & Touch Taper.

Here’s what they stand for:

Pressure Taper :

Setting to control the Taper applied to your Stroke when using an Apple Pencil.

Touch Taper :

Setting to control the Taper applied to your Stroke when using a Finger.

Thus, we will only focus on Pressure Taper:

  • Taper Amount

  • Size (Controls the Size Taper)

  • Opacity (Controls the Opacity Taper)

  • Pressure

  • Tip

  • Tip Animation

How to create a Procreate brush for lettering - Lettering Daily

*Stroke Taper Settings

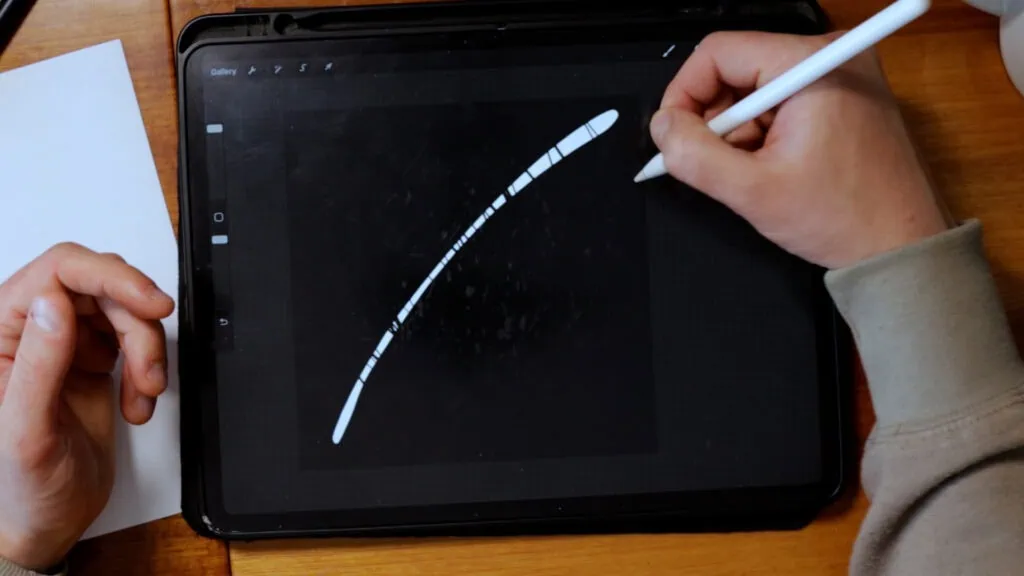
Taper Amount :

Two sliders. Left and right.

They indicate the Start(Left) & End(Right) of your Stroke.

The closer the slider to the center, the more Taper will be applied to your Stroke.

For Brush Lettering, applying Taper to the Start & End of the Stroke is very much dependent on the overall Shape, Style and Preference.

In most cases, I find myself adjusting the Right Slider in order to achieve a sharp End Stroke.

Size :

Controls the amount of Size Taper applied to the Brush.

Higher % = More tapering of the Brush Size

Opacity :

Controls the amount of Opacity Taper applied to the Brush.

Higher % = More tapering of the Brush Opacity

Pressure:

Taper according to the applied Pressure.

Higher % = Increase Taper effect

Tip :

Controls the Shape of the Tip of your Brush Stroke.

Lower % = Sharper Stroke Tip

Higher % = Rounder Stroke Tip

Tip Animation :

Toggles the animation of your Stroke Tip.

OFF = Animation after you lift off Apple Pencil

ON = Real-time Animation as you write

Alright, I have to admit.

This one’s more for the advanced user.

For Beginners, leaving the Taper Settings untouched won’t be a problem in most cases. It’ll be just fine.

However, there’s one thing to note once you feel comfortable enough creating Basic Lettering Brushes:

These are the settings that will take your Brushes to the next level!

FREE downloadable brush + custom shape!

Here you can get your freebie.

I’ve included the brush that i used as an example for this tutorial as well as the custom shape for it.

This way you can follow the steps of the tutorial and create your very own custom lettering brush!

Drop your email below, and you will get access to the Lettering Crate – an exclusive member area where you can download the brush along with all the other freebies from Lettering Daily.

[INSERT_ELEMENTOR id=”7026″]

Conclusion

Phew. Congrats.

You’ve made it all the way down here to the very end.

I would like to take a moment and say thank you.

But I’d also say:

It’s about time to start creating.

The first step?

Get your free brush shape source and start playing with the settings.

Additionally, you can watch the Video Summary of this Tutorial here:

http://youtube.com/watch?v=FU02q4AQhcw

Modify. Experiment. Have fun.

This Lettering Brush includes all the settings we’ve changed throughout the entire article and is going to help you to start adding your own.

If you do, I’d love to see your finished Brushes!

Tag me on Instagram (@calligraphy_dk) or Facebook (@calligraphybydk) to show off your new Custom Brushes.

Oh, and one very last thing –

Feel free to check out my shop where I offer a variety of other custom Procreate brushes. 

They are all optimized to work flawlessly with the Apple Pencil and suitable for any type of project – all crafted with care and attention to detail.

You can check it out here!

Still have Questions?

Simply leave a comment and I’ll be happy to clarify.

About the author

28 thoughts on “How To Create A Procreate Brush For Lettering”

  1. you have provided soo much information!
    I have downloaded brushes onto the iPad in the past. not an easy task. (my husband is wary of doing such things. the last time I downloaded, he used the iPad afterwards & the iPad wanted to restart. he was not too happy about this event. so I always make my own brushes via YouTube. now that you have explained all of the above, I may be able to venture out on my own.) thanks!!!!

  2. I found an ios app for procreate brush sharing: BrushesMaster,which is amazing
    , You can import procreate in batches by dragging and dropping on the iPad, and built-in 20,000 brushes, which is amazing.

  3. Your articles have been such a helpful source to understand iPad lettering in general. So a big THANK YOU!

    I want to create a brush for Arabic calligraphy – it is written with an angled reed pen. Its a bit like a parallel pen but with a chiselled tip, pretty much like highlighter markers. Would the brush shape be different? If so, how can I get started please?

    1. Hey AJ, that is a pretty specific question and im afraid i don’t have a simple answer to that. I think the best course of action is to create a parallel pen brush look-alike and then tweak the pressure and angle settings. It will take you some trial and error before you achieve the desired result but I do think it’s doable.

    1. Lettering Daily

      Hey Dedy! The shape can be found in the Lettering Crate which is our official resource library. Once you join with your email you will get a password and a link to the page where you can download the shape along with all the other freebies 🙂

    1. Lettering Daily

      You can find all of the freebies in our resource library – a.k.a the Lettering Crate. There is a signup form on every post on the website as well as the sidebar.

Leave a Comment

Your email address will not be published. Required fields are marked *

This site uses Akismet to reduce spam. Learn how your comment data is processed.