
In this article, I will show you how to create custom hand-drawn and handwritten fonts using your iPad and the Fontself app.
The process is super easy and intuitive.
Even if you have 0 experience with font making, you’ll be able to turn your lettering, calligraphy, or handwriting into a fully working font.
Here is a quick overview of the tutorial –
- Tools needed to create the font
- A quick tour of the Fontself app
- Step-by-step process to make the font
- Final overview of the Fontself app
Note – this article was sponsored by Fontself, but all opinions are my own.
In case you prefer to watch, I also create a YouTube video –

Tools needed to create the font
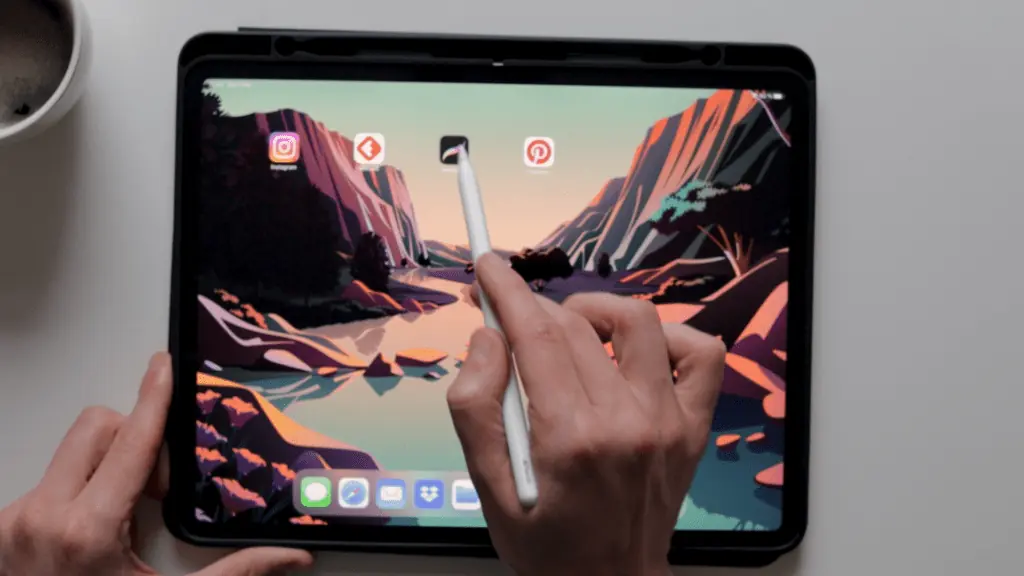
To create my font, ill be using the iPad Pro and the Apple Pencil.
I’ll also use the Procreate app for sketching and, of course, the Fontself app to create my font.
You can download the Fontself app onto your iPad for free using this link – https://apple.co/3HoNN4k
If you don’t have Procreate, you can also sketch your letters on paper or draw the letters straight into Fontself.
A quick tour of the Fontself app
Fontself originally started as an Illustrator and Photoshop extension, which adds font creation features to Adobe’s software.
I don’t consider myself a type designer, but I did create a few handwritten fonts in the past with this add-on.
And for those, I always used Fontself as it was super affordable and intuitive to use.
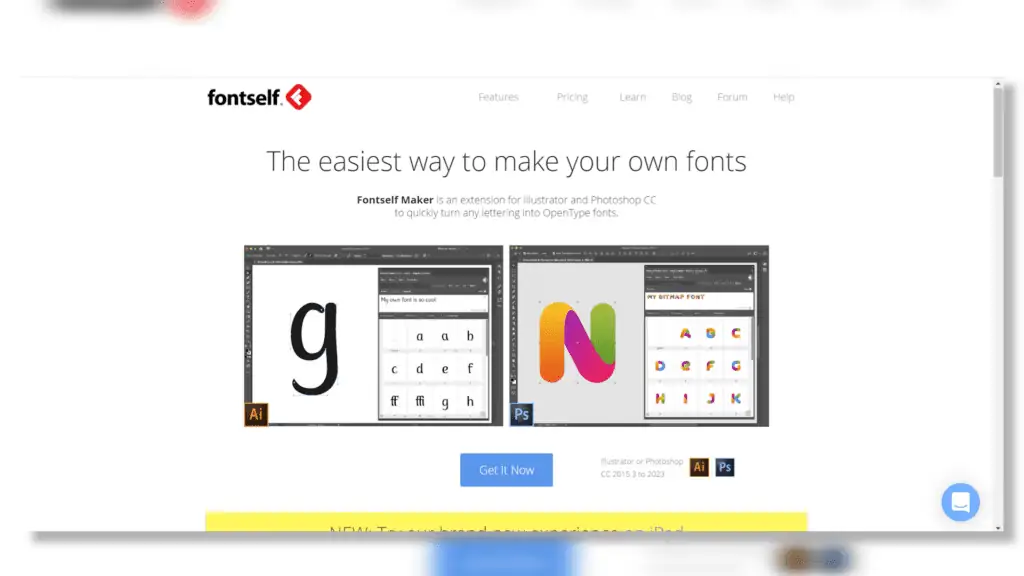
Well, Fontself is now broadening its focus toward the iPad. Making font creation even easier and more fun than ever before.
This Fontself app is free to download and use.
There is a one-time fee of a little above 10$ to export fonts, but that fee allows you to export as many fonts as you want.
It will also unlock other cool features I’ll show you later.
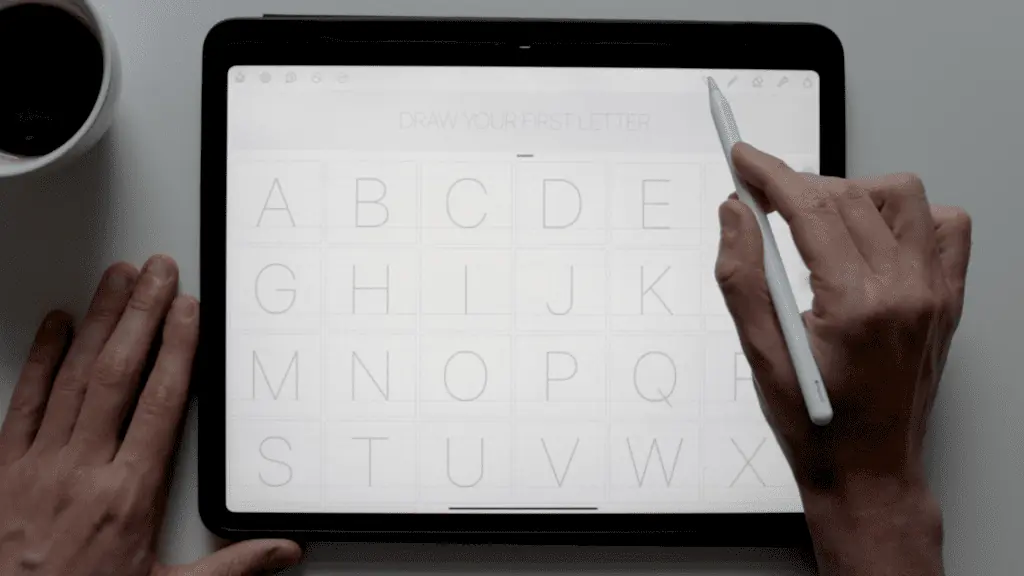
Once you download the app and open it, you’re greeted with a minimalist interface.
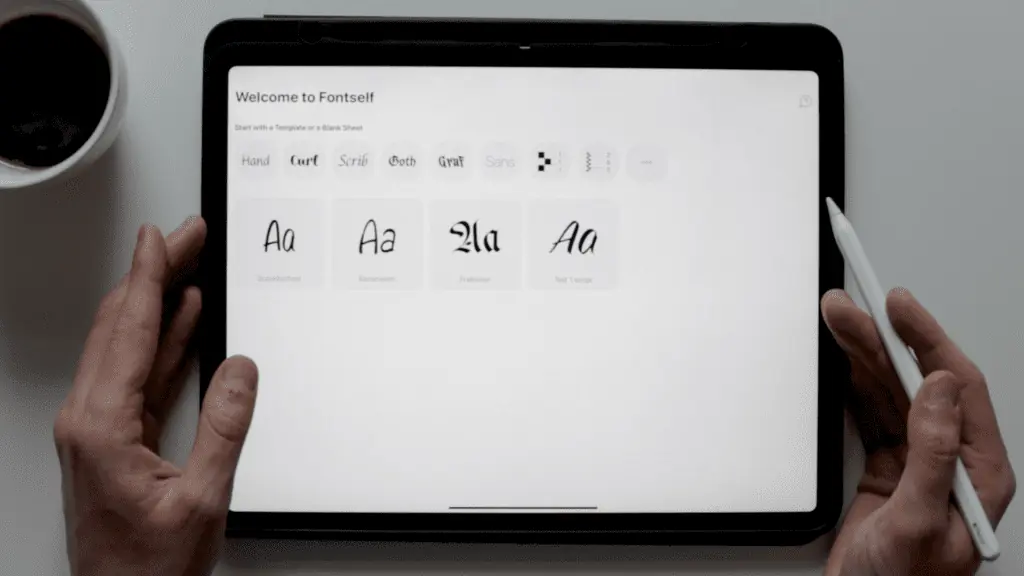
You have several style templates to choose from, or you can choose a clean one with just guidelines.
Underneath, you can see the fonts that you have already created.
For the font I’m going to create, I’ll select the Sans template.
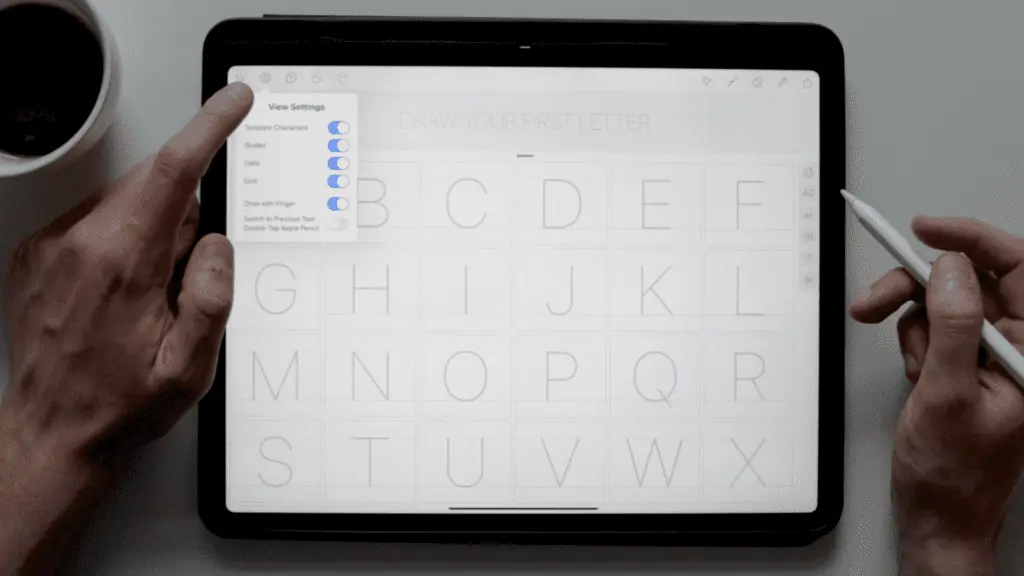
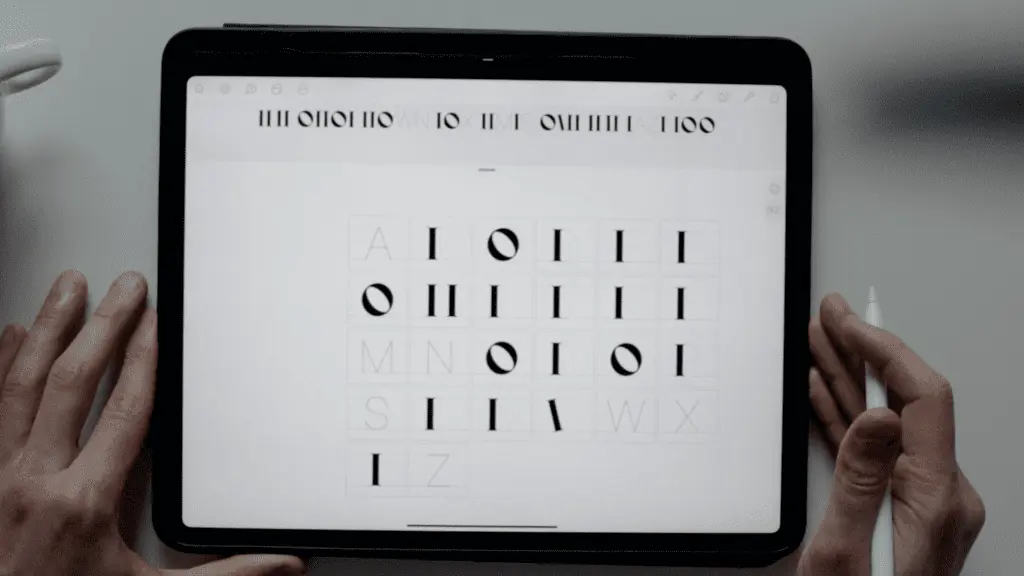
Now you can see the whole alphabet with a few options on all sides of the screen.
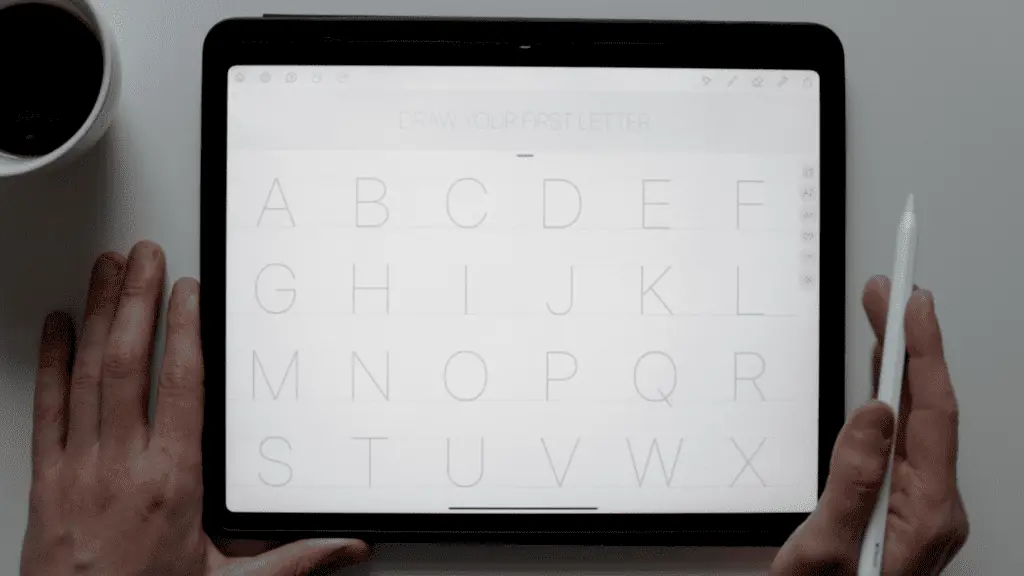
On the top left corner, you can tweak some settings for the guidelines by tapping the little wheel icon.
I like to keep all the settings turned on.
On the top right side, we have a selection tool which is absolutely fantastic, and I love it.
I’ll show you how it works once I start creating the font.
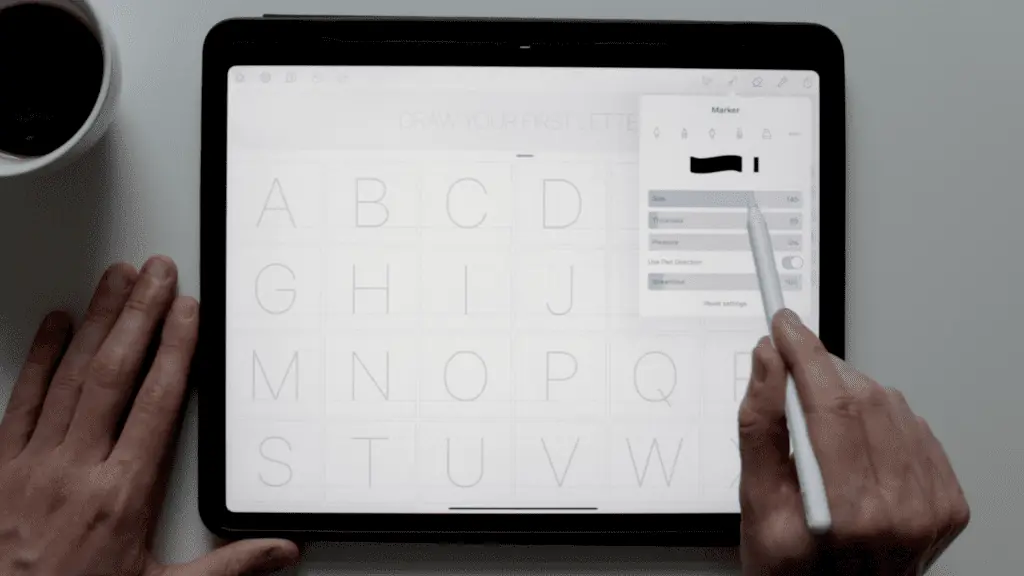
Next up are the brushes.
Not a super broad selection, but for our needs – more than enough.
The brush settings are very simple yet similar to the ones in Procreate.
Definitely, something I really liked.
Next up is the eraser, followed by spacing settings.
The spacing of your font is made automatically, and rather than controlling the spacing of each individual character (like you can in the Photoshop and Illustrator extensions), you can adjust the settings as a whole.
Both for letters and words.
It works pretty well, but we’ll see that better once I create the font.
Finally, are the export and showcasing options plus a few quick guides on how to install your fonts on other apps.
Which is also a super cool feature.
Once I finish my font, I’ll show you more of that.
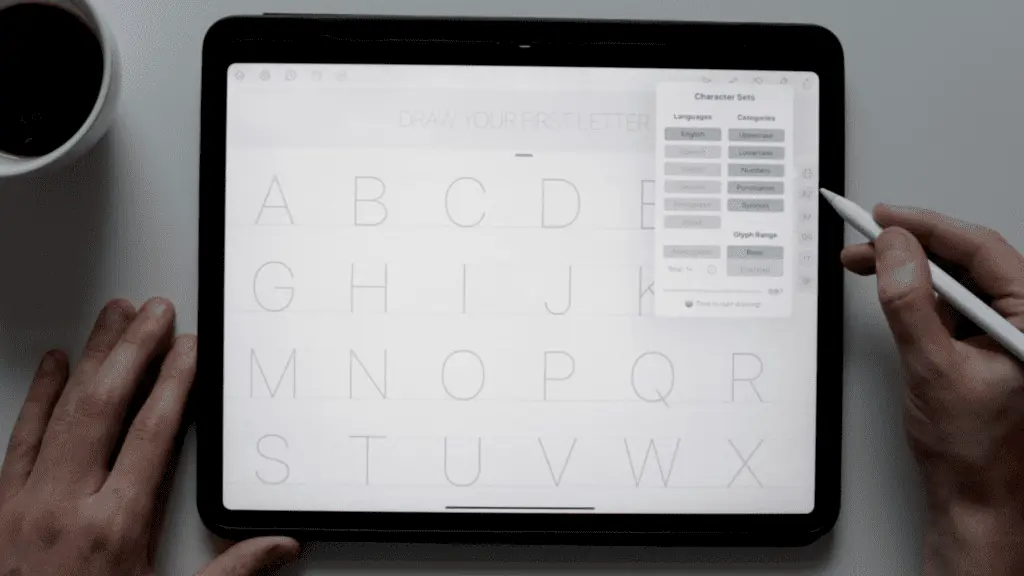
The last menu on the right allows you to quickly scroll through the capitals, minuscules, numbers, and glyphs.
You can also select and deselect various languages and categories from this menu.
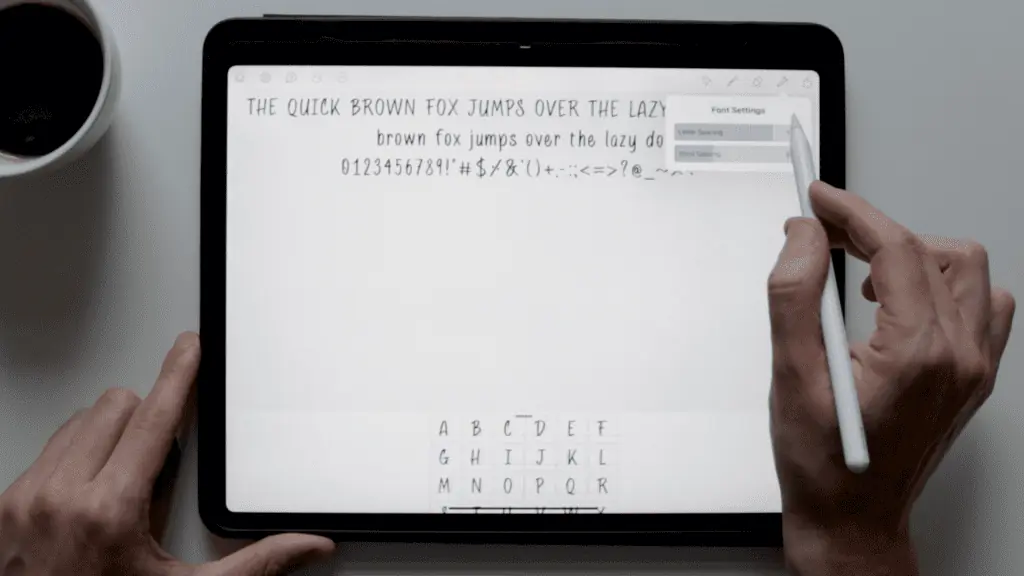
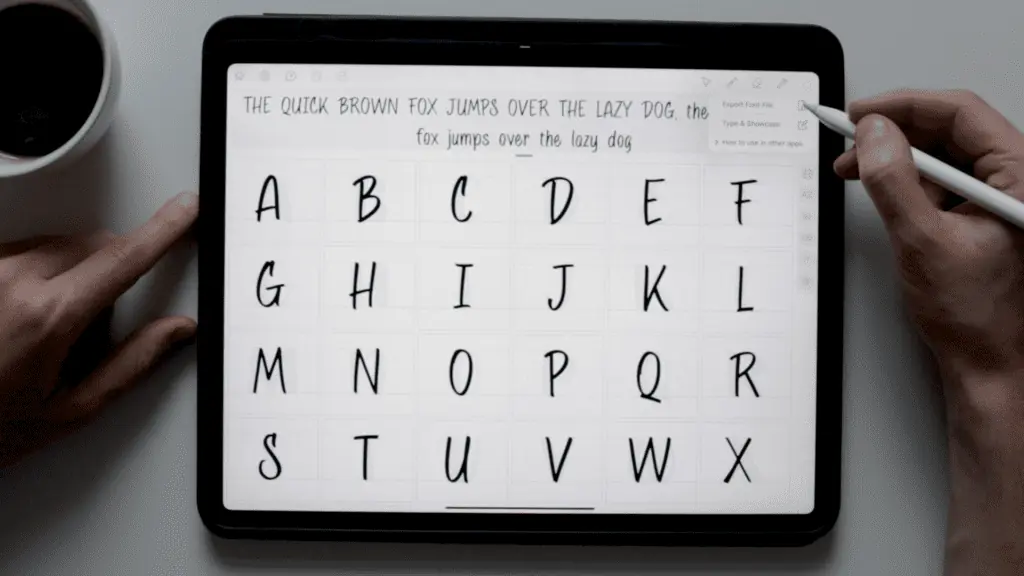
Another cool feature appears once you start writing the letters.
As soon as I put down a letter, you’ll see the famous pangram appearing that says – The quick brown fox jumps over the lazy dog.
It’s a popular sentence used to display fonts since it contains all the letters of the alphabet.
As you keep writing the letters, they appear in the sentence above.
The same goes for the lowercase letters, aka minuscules.
Ok, that covers it, and I think we’re ready to start drawing our font.
Step-by-step process to make the font.
The first thing we need to do is determine what type of font we’re going to create.
I’ve already created a few fonts using my handwriting, like this right here, but for this article, I wanted to challenge myself a bit more and make a hand-lettered font from scratch.
Step 1 – Finding inspiration for your font
One of my favorite places to search for inspiration is Pinterest.
I didn’t just find some inspiration. I found an overwhelming amount of inspiration.
LIKE A LOT.
I was super amazed by the massive variety of shapes and styles.
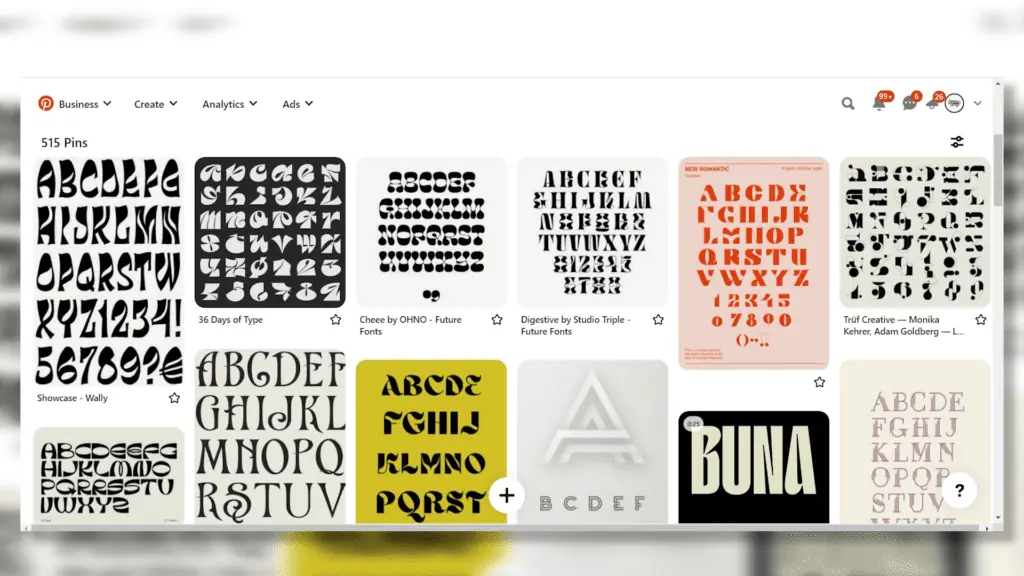
If you want to do the same, check out my Pinterest board, where you’ll find all the images I saved.
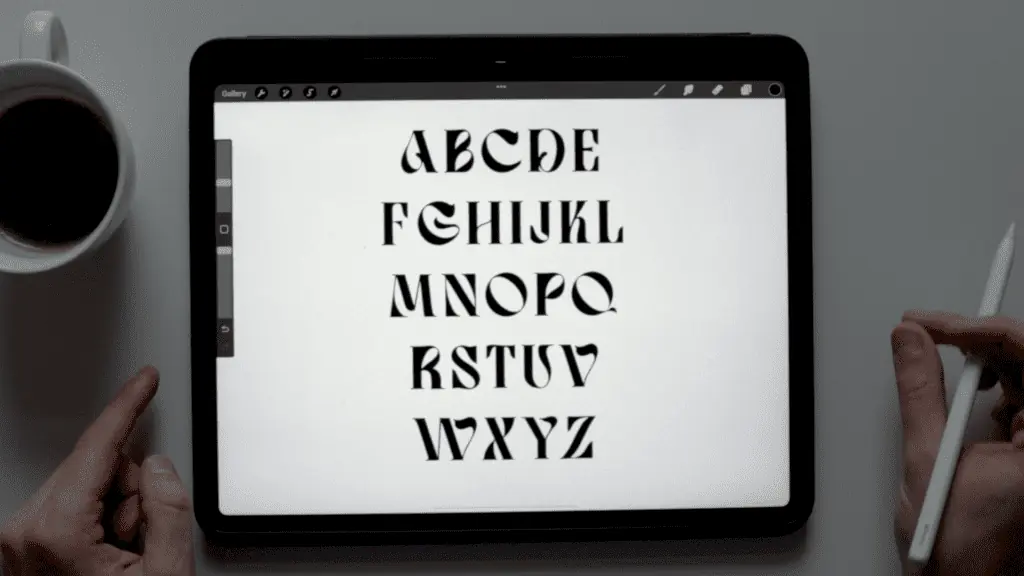
While cruising through endless styles and shapes, I decided to create a high-contrast display font.
Display fonts are usually created with the intent to be used on larger sizes for titles and headings and not so much for longer chunks of text.
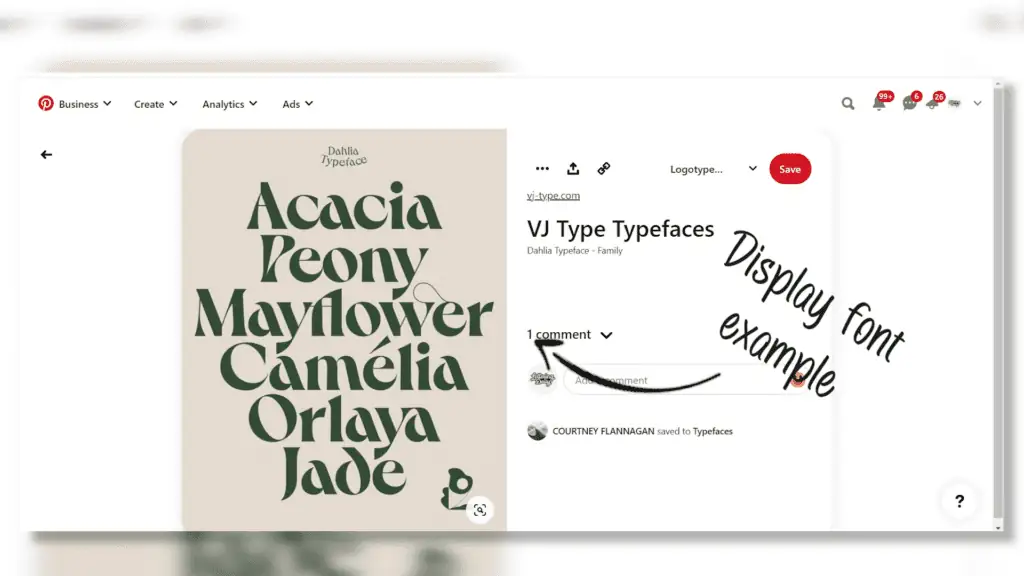
One big reason I decided to go with a display font was that they look funkier, contain more variability, and, I guess creative freedom.
With that in mind, I decided to create only capital letters.
Step 2 – Sketching your letters
I took my notes and ideas, opened the Procreate app, and started sketching.
Sketching is the most crucial step of the whole process.
Sketching (especially with a pencil) allows you to quickly and roughly lay down various ideas.
Often, even after 10-15 minutes of sketching, you surprise yourself with new ideas you didn’t have at the beginning of the process.
I HIGHLY recommend you don’t skip this step.
Here is my sketch for the font.
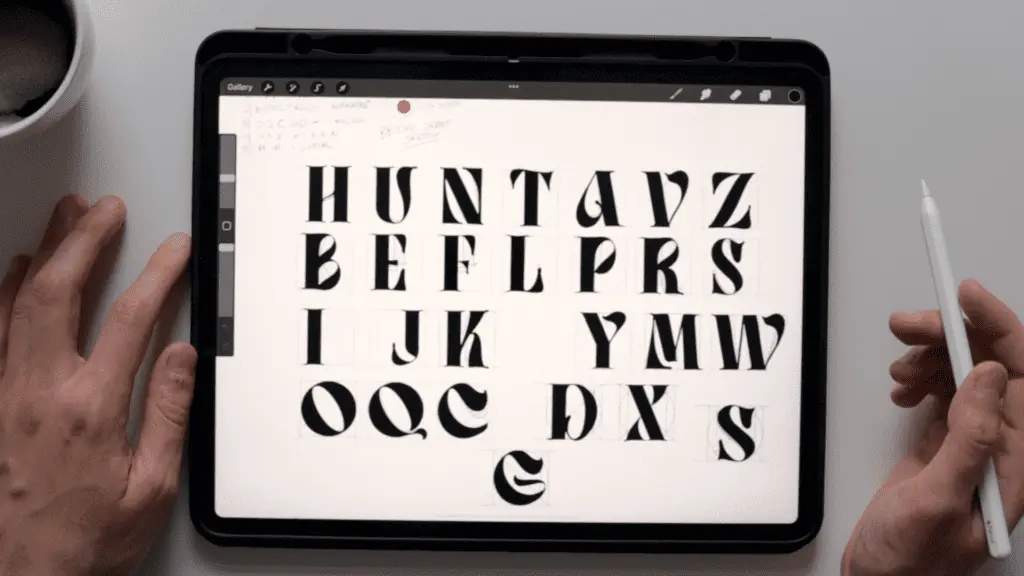
You don’t need to Procreate for this. You can also sketch on paper.
Or, if you’re super confident about the font style you want to create, you can start drawing your letters directly into Fontself.
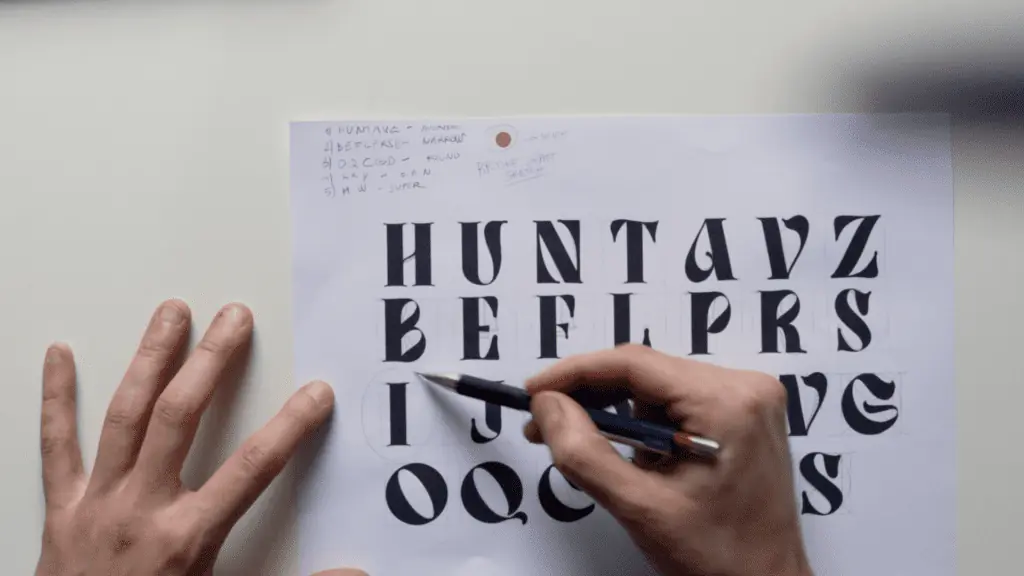
Step 3 – Set up your sketch as a reference
Having a visual reference of your sketch in front of you will be of great help.
This way, you don’t have to stop, go back, find your sketch, etc. You can get into a flow state and create the whole font rather quickly.
The way I did this was by printing out the font.
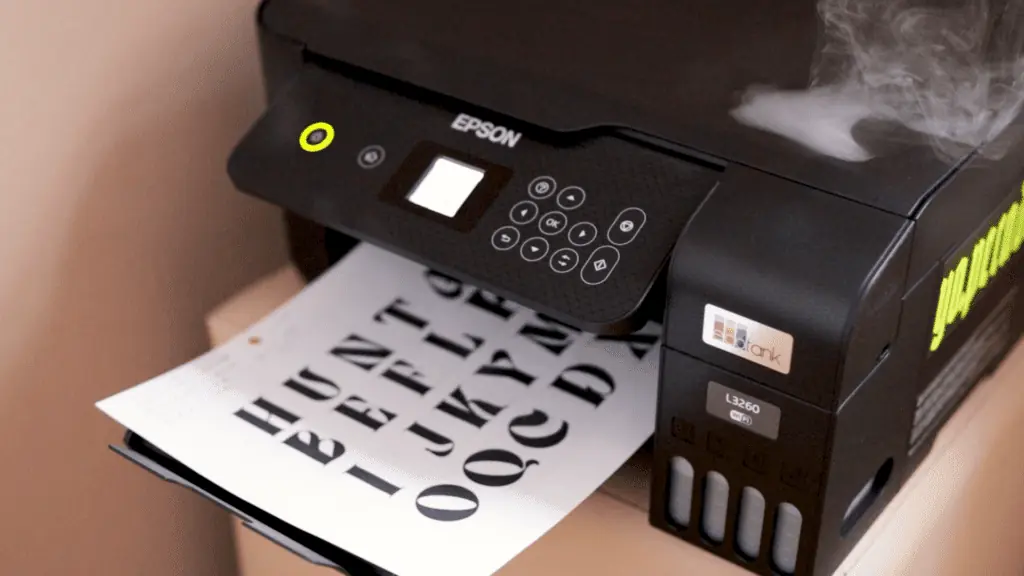
If you don’t have a printer, you could open up the image on your computer screen or phone.
If you sketched your letters on paper, keep the paper in front of you.
Step 4 – Identifying the similar parts of your letters
A lot of letters share similar parts, and by copying/pasting these parts, we make the process more efficient and increase the consistency of our letters.
Thankfully the awesome selection tool in Fontself allows you to do exactly that.
The most frequent part I can identify is the thick stem which appears in most letters.
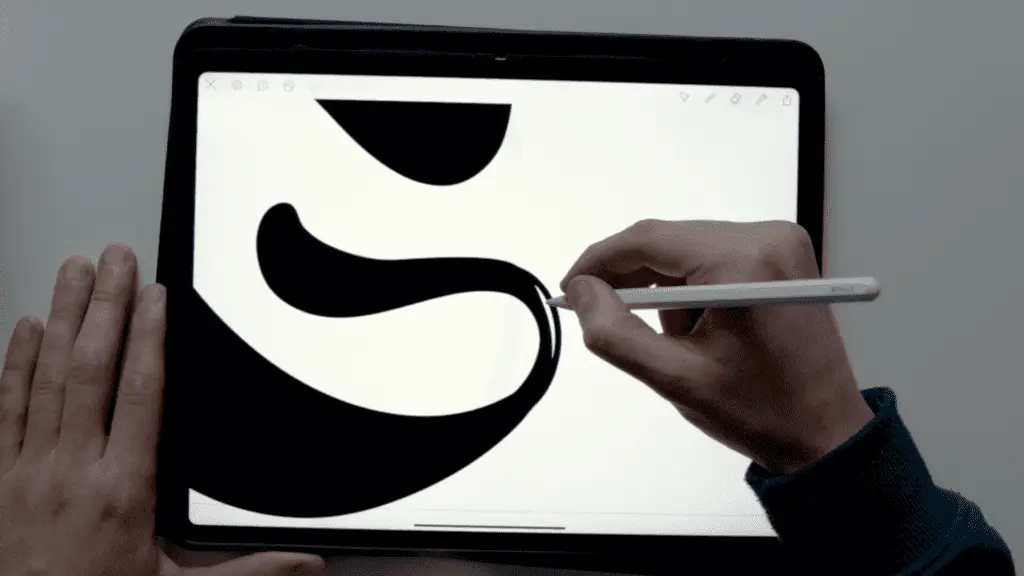
So, I will double tap on the square of the letter B, which will open a larger window allowing me to focus solely on that letter.
A great feature for adding more details.
I’m going to draw a line and hold it, which will trigger the automatic shape feature. The same way you would do it in Procreate.
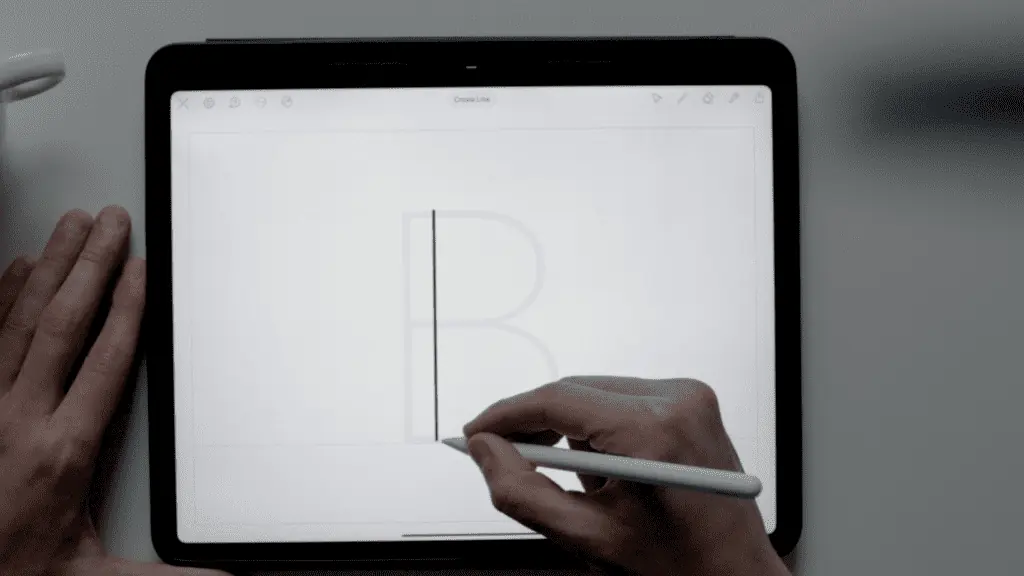
It works well with other shapes, and it’s super helpful to get nice clean lines.
I add the little rounded serifs on each side, and I’ll fill the shape with color by simply tapping and holding onto it.
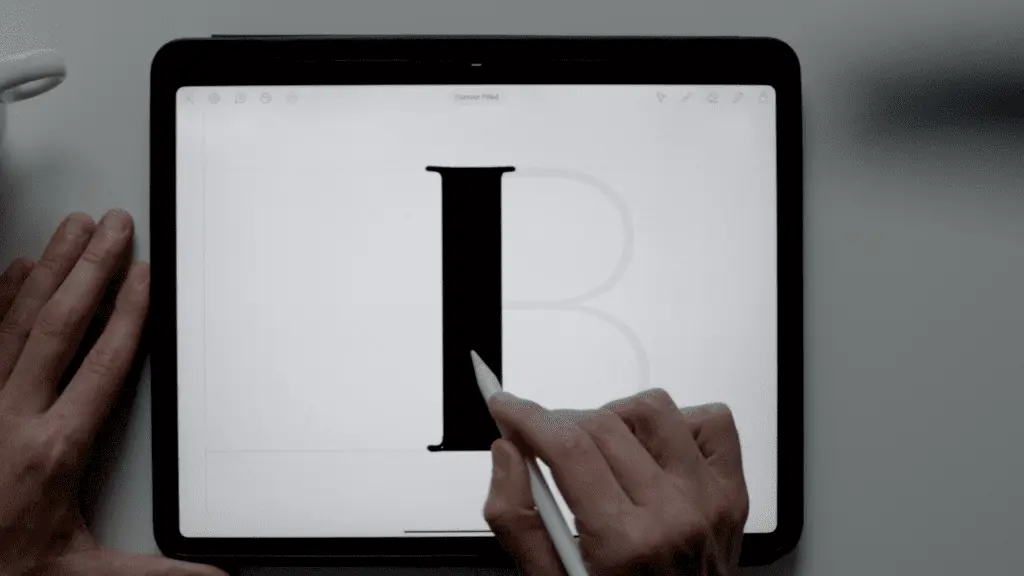
Another handy feature.
I can quickly undo and redo each stroke. Two fingers for undoing and three for a redo. Again, just as in Procreate.
Ok, so I have my shape. Now, I’ll grab the selection tool, select the object, and copy it.
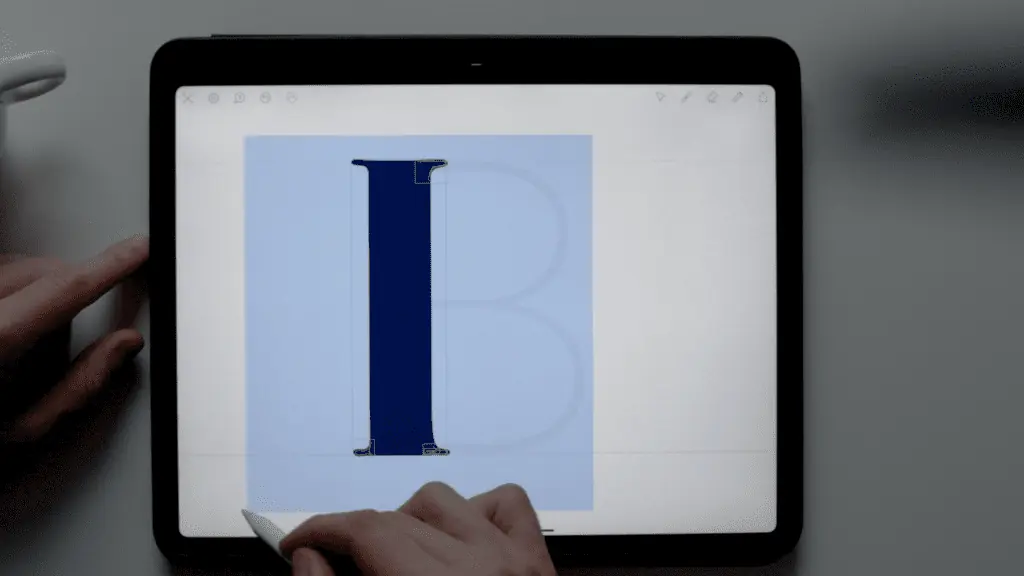
The selection tool also allows you to move objects around, increase their size, rotate them, etc.
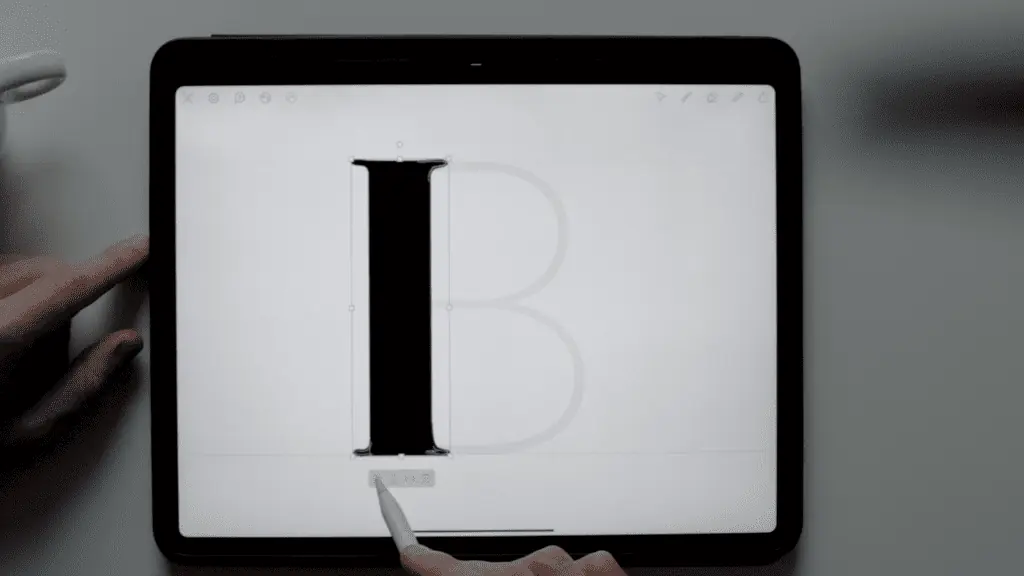
Ok, once I’ve copied my stem, I’ll start pasting the shape in all the letter boxes that will use that shape in one way or another.
I can also copy and paste similar letters such as the O, G, C, Q, etc.
Of course, I don’t want to copy and paste every single detail; otherwise, I lose the organic touch that a hand-lettered font should have.
Step 5 – Create the rest of the letters
Now that we have copied and pasted the most frequently used parts, we can focus on creating all the other unique pieces and details.
Keep an eye on proportions as well as the counter spaces.
In the YouTube video, you can see the whole process.
Having the reference image of your sketch will be of great help in this step.
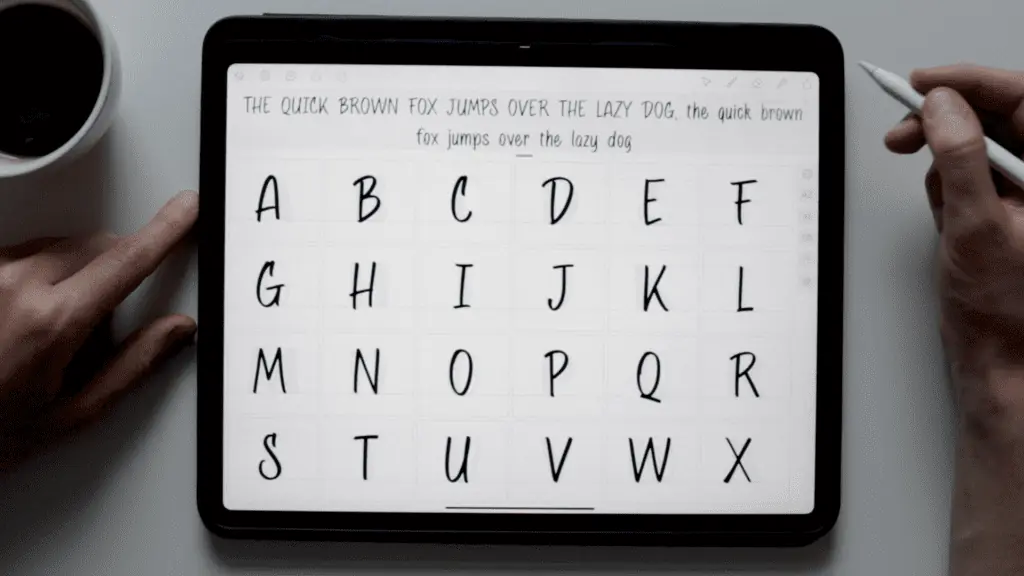
As I keep creating these letters, you can notice in the above preview how they’re starting to show and form the pangram – the quick brown fox jumps over the lazy dog.
Step 6 – Adjust the spacing of your letters
Good. Once you’re done drawing/writing your letters, it’s time to adjust the spacing.
As mentioned, the spacing is controlled by a single setting for all letters rather than individually.
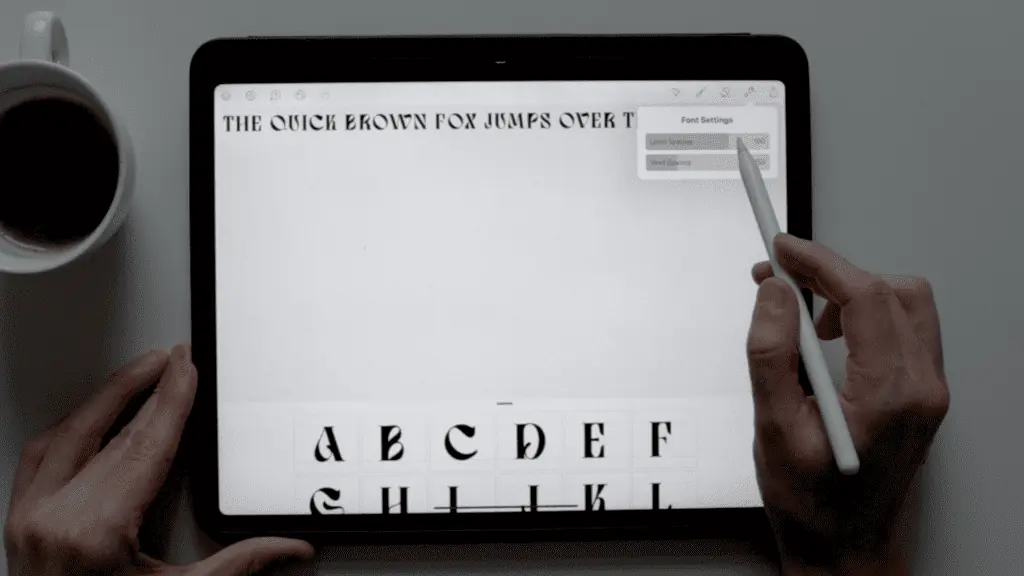
You can also adjust the spacing between the words.
Step 7 – Showcasing the font and exporting it
All that is left to do is check out what your font looks like and export it.
As mentioned earlier, Fontself has these features built-in within the app.
The showcasing options will allow you to display your font in premade graphics.
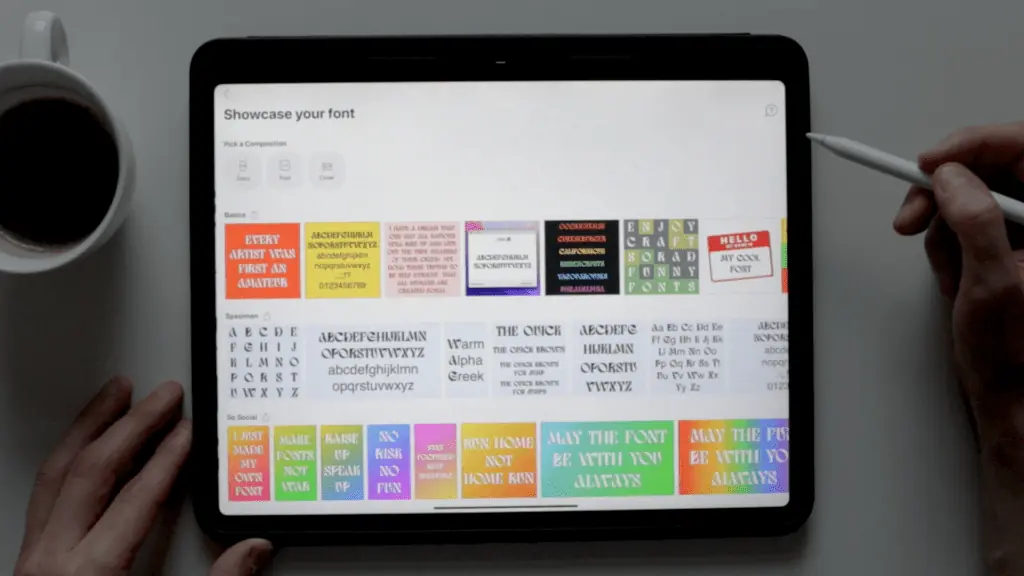
You can change the settings of these graphics and export them in various sizes and formats ready for sharing on social media platforms.

This is a fantastic feature as it allows you to see what your font looks like and share it with the community.
You’ll also find a few mini-tutorials on how to export and install your new font on various apps.
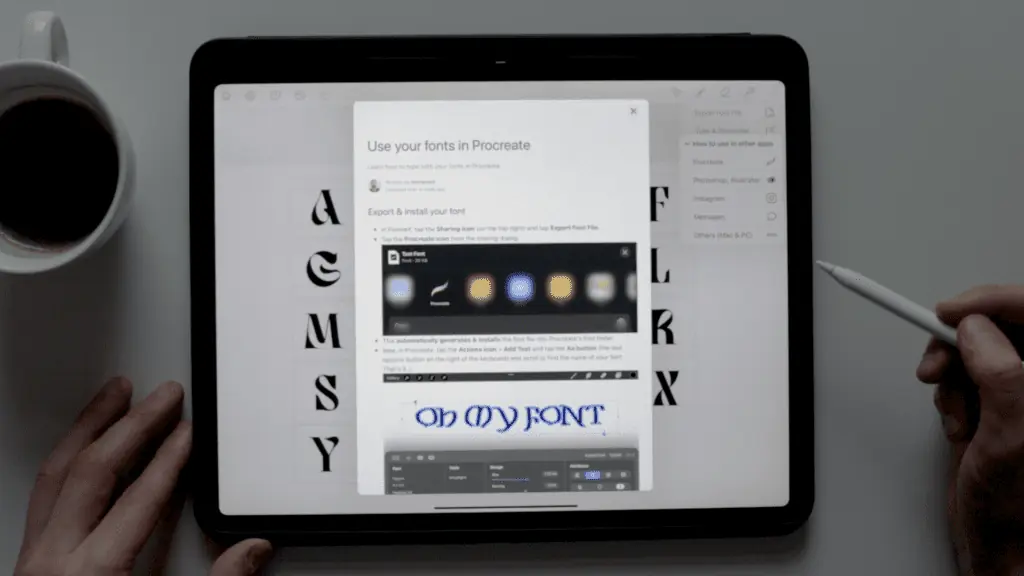
These are premium features that you’ll unlock with that 10$ one-time fee I mentioned at the beginning of the article.
If everything works great, it’s time to hit the export button.
The final step is naming your font, and that’s it!
Final overview of the Fontself app
Let’s begin with the things that I like about Fontself.
It’s fun, easy, and intuitive to use.
I like that you can do everything within the app, and the fact that it requires literally 0 experience to create a fully working font is amazing.
It’s also very affordable. It’s free to use, and you just need to pay a one-time fee of a little above 10$ to export as many fonts as you want.
There are many really cool features that can streamline your workflow.
Such as –
- The selection tool
- The copy-paste feature
- Being able to see a real-time preview
- The automatic shapes
- And so much more.
The style templates are also great for getting started.
I also really like the fact that many things are similar to Procreate. It made me feel like I’ve used the app before despite it being my first time working with it.
This iPad app is fairly new, and it already has a ton of updates and improvements, and a lot of new and cool stuff is coming up.
The creators are awesome and listen to the feedback from their users.
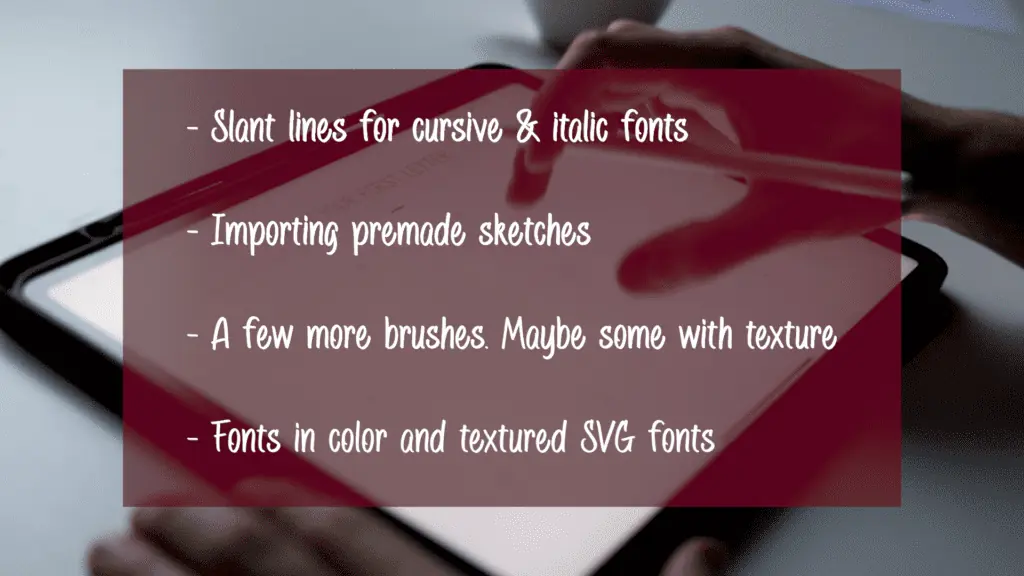
As far as things I would like to see improve, here are a few things.
- Slant lines for cursive & italic fonts
- Importing premade sketches
- A few more brushes. Maybe some with texture.
- Fonts in color and textured SVG fonts
All of these things I mentioned are not deal breakers by any means.
These are just some thoughts I gathered while using Fontself.
I already shared my feedback with the creators, and I’m without a doubt that it’s just a matter of time before these things come to life.
Final Words
And there you have it, folks!
That’s how you can create handwritten and hand-drawn fonts using the iPad and the Fontself app.
All in all, it’s a fantastic app suited for both beginners and more seasoned lettering artists.
Give it a spin, make a font, and I assure you that you won’t regret it.
Now let me ask you something – If you would create a font, in what style would you make it?
Let me know by dropping a comment below.
Until the next one,
Stay AWESOME!
Pin me!

Stay updated with my tutorials and get instant access to the Lettering Crate –
A growing library of free lettering & calligraphy resources that includes –
About the author

Hey, I’m Max. I’ve been drawing and messing around with letters since 2011. I don’t have a formal art degree—my background is actually in the kitchen as a former chef and on the streets painting graffiti with my friends. Over the last decade, through a ton of trial and error, I somehow turned that obsession into a full-time gig. These days, I design custom logotypes for global brands and paint large-scale murals. I started Lettering Daily just to create the kind of honest, no-BS tutorials I wish I’d had when I was starting out. Stick around, and let’s draw some letters.

The app isn’t free. It costs $19.99…
“Making handwritten fonts on your iPad has been met with positive feedback from users who value creativity and personalization. With the right apps and tools, creating custom fonts is a breeze. Users appreciate the intuitive process, allowing them to effortlessly transform their unique handwriting into digital fonts.
The ability to use these fonts in various applications and design projects adds a personal touch to their work. Handwritten fonts bring a sense of authenticity and originality to digital content, making it stand out in a sea of generic typefaces. iPad Pro price in Dubai is AED 3299. “
greetings, dignified blog on lardaceous loss. said helped.