welcome back!
The way you present your hand lettering today is much more than just taking a quick shot and posting it online.
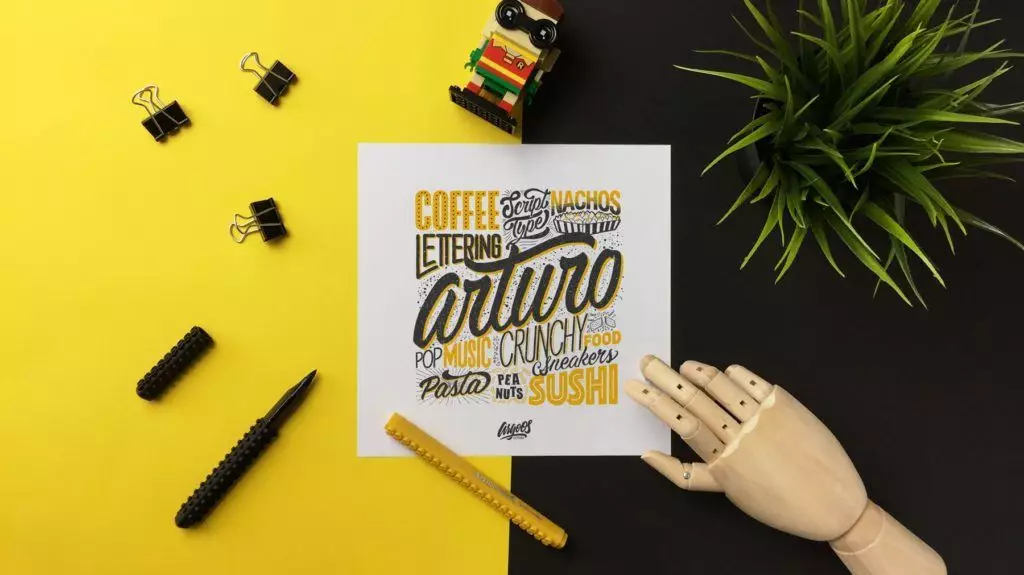
Lucky for you we have partnered up with Arturo (a.k.a. argoos.letters) who is a true expert when it comes to presenting his hand lettering artwork!
Arturo will guide you through a step-by-step process which will bring your presentation game to a whole new level!
Without further ado, we are shifting the spotlight to the man it self!
Enjoy 🙂
HOW TO PRESENT YOUR HAND LETTERING
Hello World!
I am happy to see all your happy faces 😀 my name is Arturo, I am a professional graphic designer born in Peru and currently located in Germany. In October 2016, after a lot of procrastination,

I created my Instagram account to give up to a weakness of mine, Lettering and Brush Script. The account was created to track my progress since I was very well aware of lettering, but I had never had a brush pen (Crayola Marker) in my hands.
A few weeks in, I decided to bring my other passions into the mix, photography and décor, and this is how my Instagram project begun, a seamless, ongoing, lettering flatlay. After months of practice, I have sharpened more my photography skills and today I am here to share some of my knowledge with you!
Let’s start!
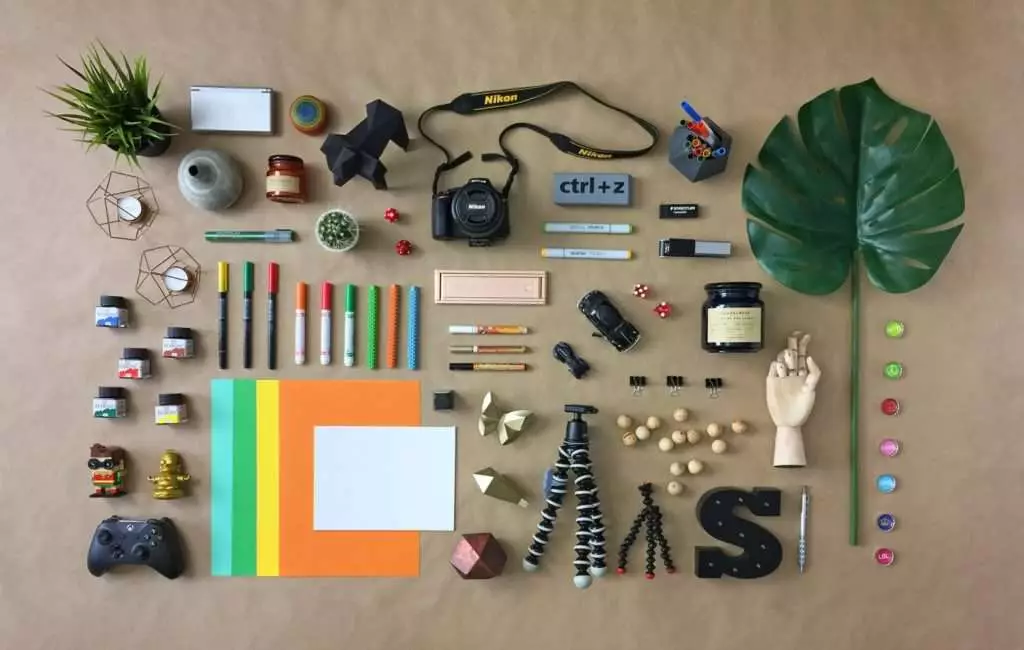
You will need
- Camera or Smartphone (optional Tripod)
- Photo App I will use the default cam
- Lettering Artworks
- Props: The tools you used, related items, décor
- White Cardboard Stock (Foam)
- Paper in different colors and sizes
- A window or door (daylight)
1. The camera
For starters, I do personally like better the look that I get from DSLRs Cams photos, but the reality is that the best camera is the one you have in your hands, if you have a DSLR, excellent! Use it.
This time, to be as universal as possible, I will use my smartphone to take all my photos (iPhone 6 Plus) nowadays smartphones have great cameras capabilities, if you have a relatively modern smartphone; than we are all set to take great images. Now, let us talk first about a few basics:
2. Lighting
Photography in Greek means “Drawing with lights” and even though we are not talking about photography per se, light and a good lid scene, can make your work look professional and very “shareable” or be condemned to be smash under the other millions of images that are uploaded to Instagram daily.

Different photos require different lighting, but it is always best to use natural light. Make sure to take them in the daytime with enough light shining through your windows.
Using natural diffuse light always makes your photos look 1000 times better than if you use indoor (yellow-warm) lighting.
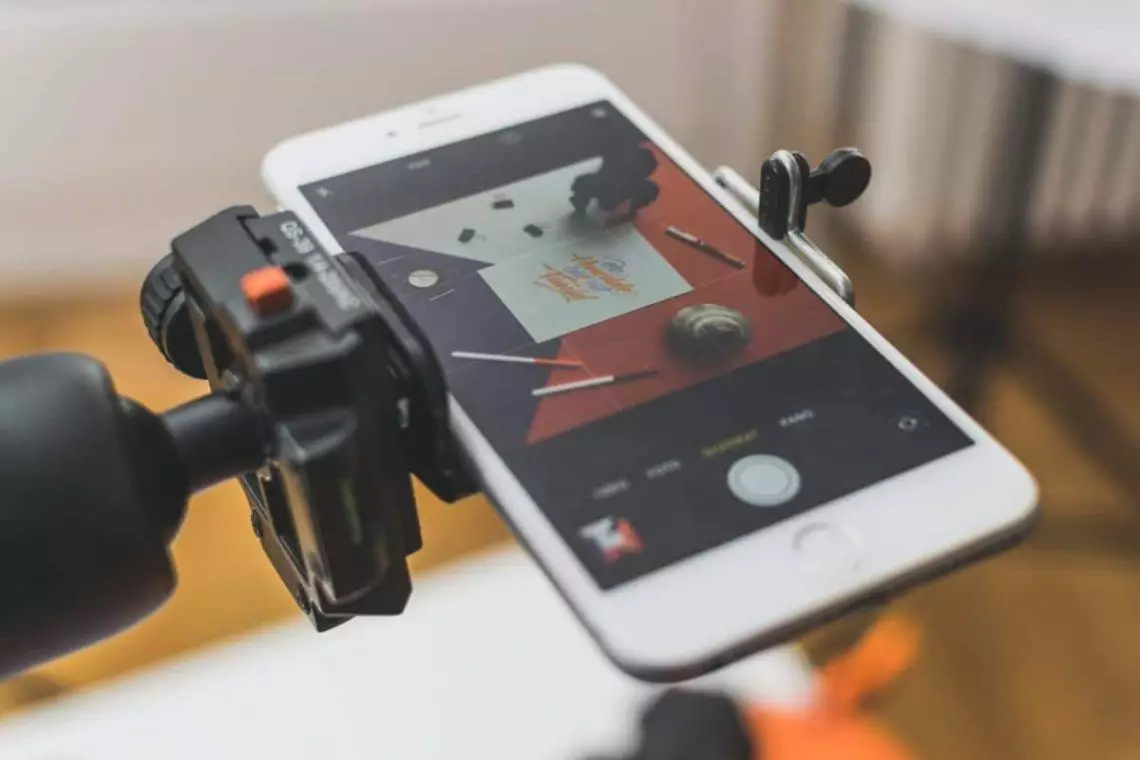
Here you can see the set-up I am using for all the pictures made for this tutorial.
If the sun is up and shining through your window, you might need to diffuse your light, to diffuse your light you just need a semitransparent fabric, paper, or even a white t-shirt.
This will help make your shadows look soft and nicer, try to avoid double shadows, this happens when you have more than one source of light. We are still in winter here in Germany, which means, no sun for me 🙁 .
When you are taking a picture next to a window or a glass door like me, a white light “bouncer” is a simple technique that can make a huge difference.
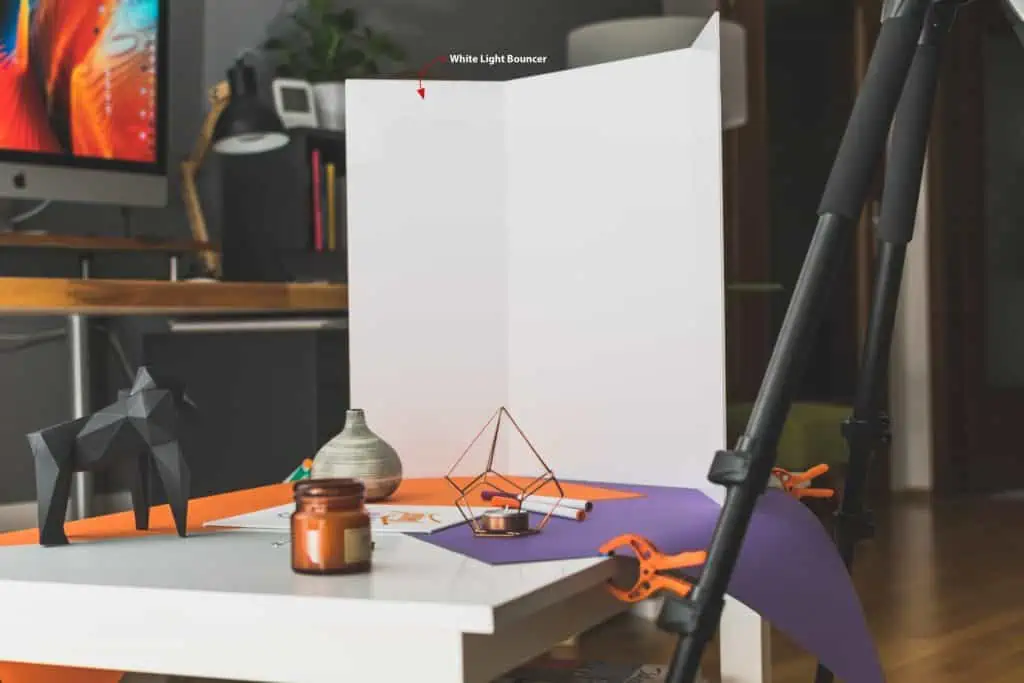
Here I am using a white foam board with two slit cuts dividing the board in 3 parts, that way it can stand by itself. If we place this “bounce” board in the opposite side of our light source, we will get less shadows and more allover lighting (global illumination)
Without Bouncer, photo is dark, right side with strong shadows
With Bouncer, photo is brighter, right side with soft shadows
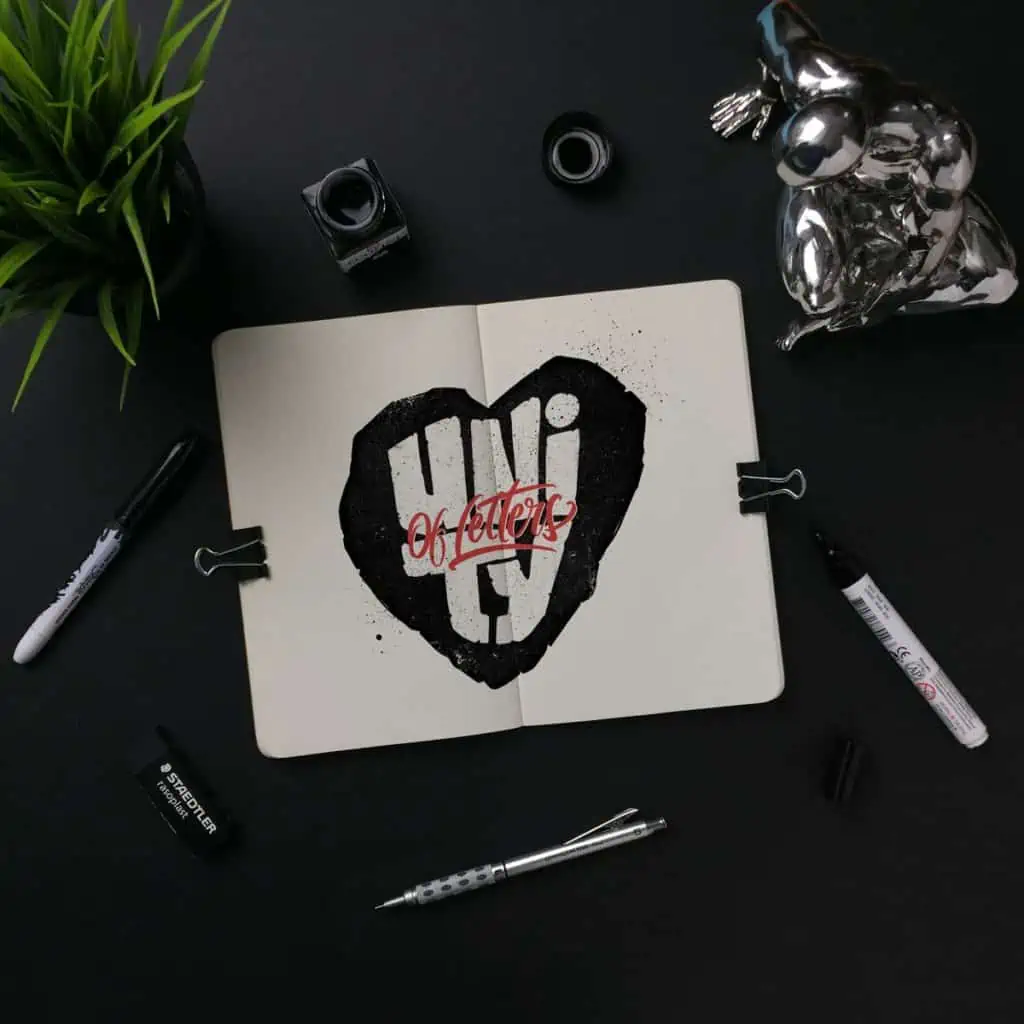
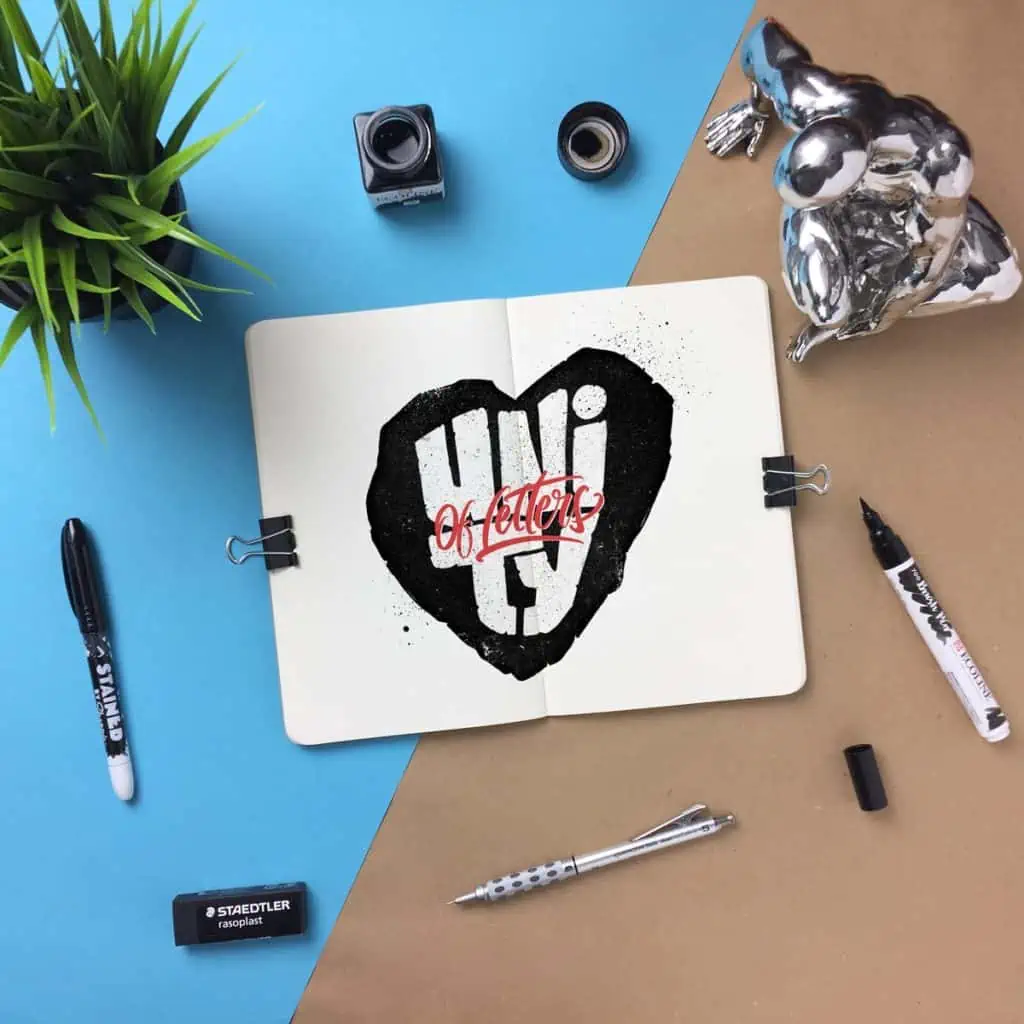
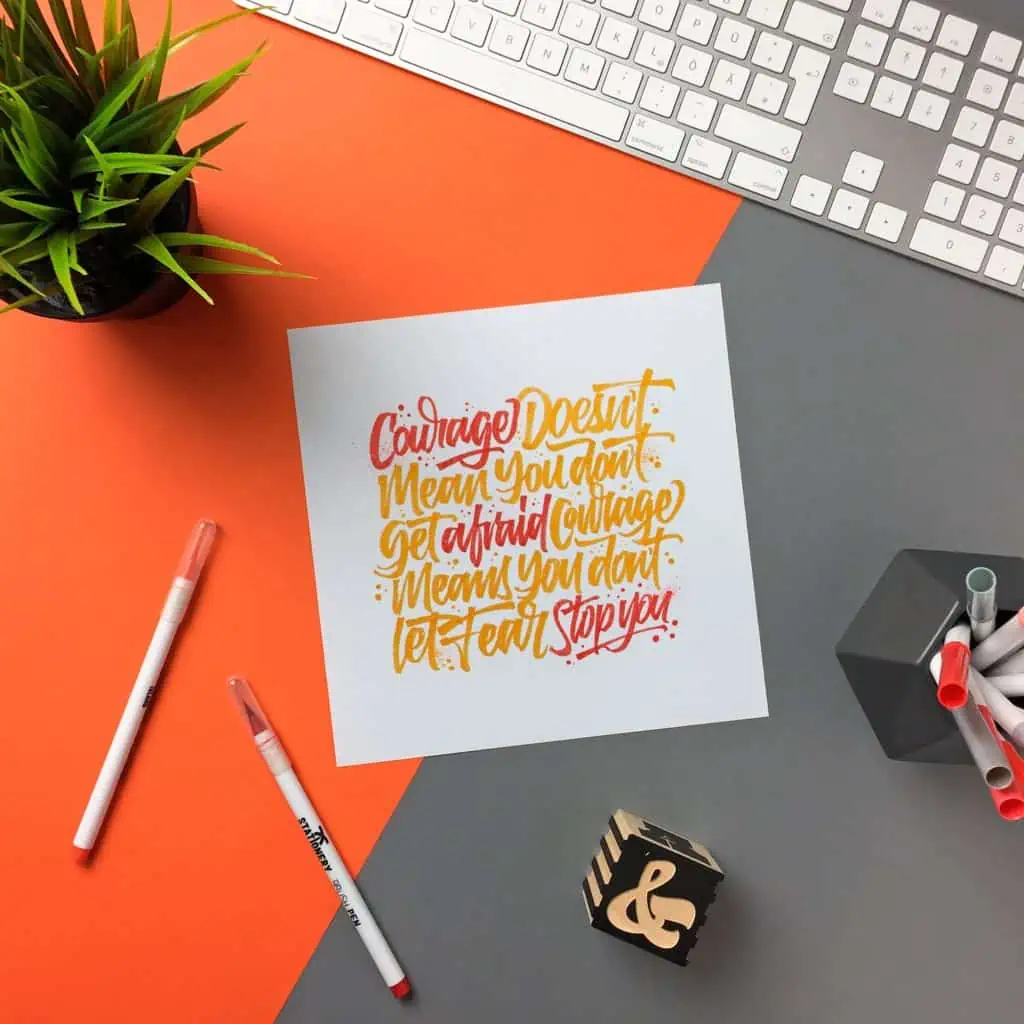
3. Background
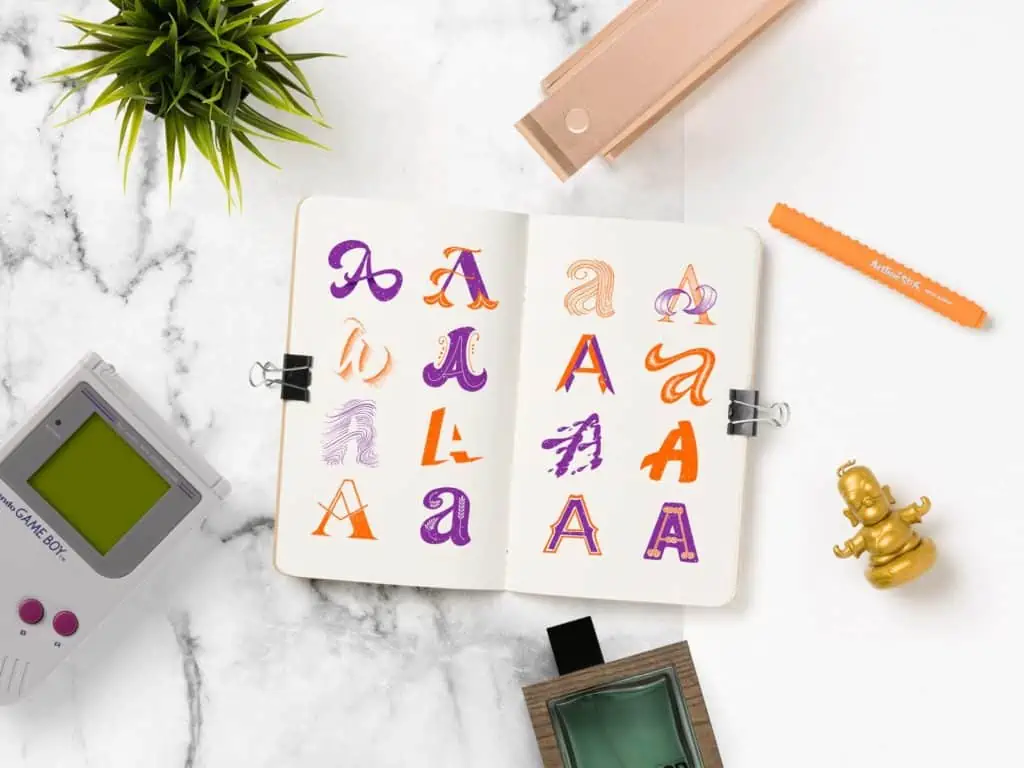
A background will help us define the “vibe” of our photos. In my Instagram project I use white paper, which helps me create my seamless pattern, besides being airy and minimal, which is something I personally like.
Depending of the work we are presenting and the style and concept of our feed, we can use different materials or Backgrounds to achieve a certain look.
Black stock paper, craft paper, marble, wood or colored paper, the background can change the look of the image dramatically.
4. Composition and spacing
Now that we have our cameras, know a bit more about lightning and our background is defined,
we should start laying out our surface or scene.
We will take decisions along the way depending of the angle we are going to photograph.
For these examples, I am going to shoot from the top to down.
If possible, set your camera to see a perfect square and lay your artwork down, that way you can see your scene the way is going to appear in Instagram without second-guessing.
If you are going to use a top-down set up as me, make sure that your phone is level.
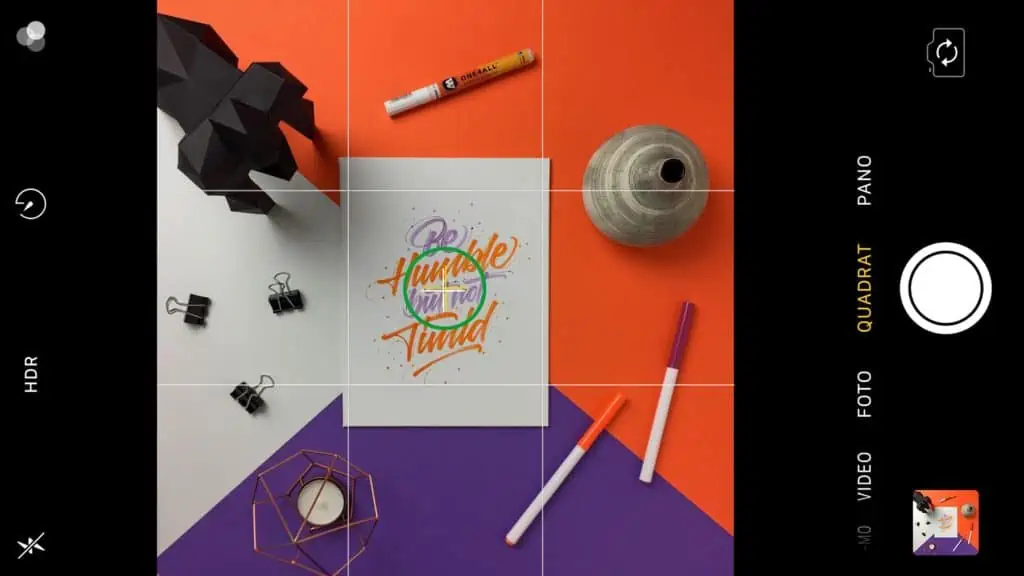
Yellow + White Cross, means Phone is not Level
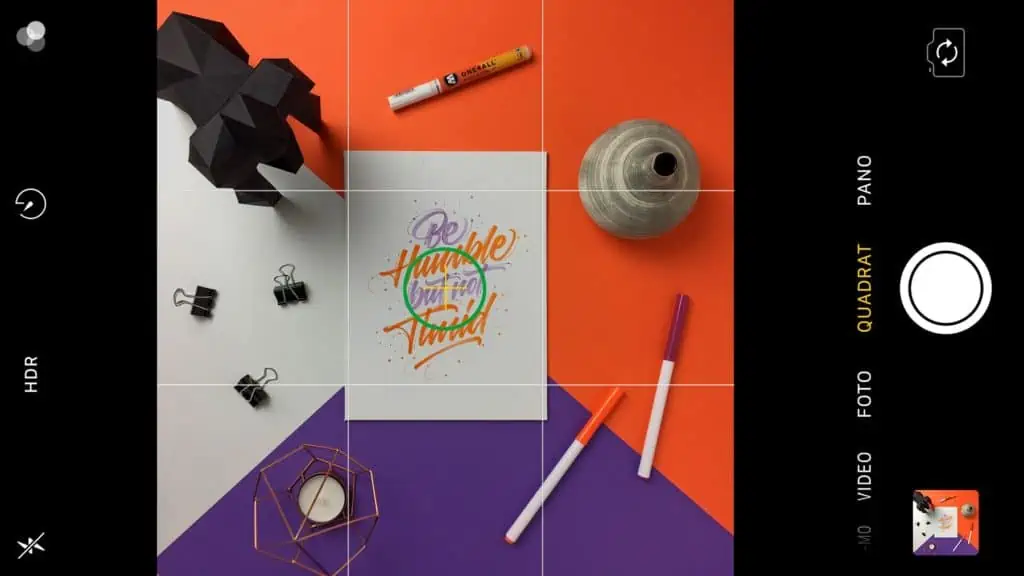
Yellow Cross, means Phone is Level
Set the focus on the artwork and the exposure in the area of your choice, keep an eye on the artwork, we want to make it look well lid, without overexposing.
Lock the focus by taping and holding the screen in the area of interest for a second.
Here is where a tripod comes handy, so you don’t have to constantly move your camera, if not available is not going to be the end of the world.
Keep your hands steady, take a deep breath, hold it and snap your first photo – this is a trick I use to avoid camera shake– I have a couple of tripods available, so I will use one to make it easier for me 😀

5. Rule of thirds
The basic principle behind the rule of thirds is to imagine breaking an image down into thirds (both horizontally and vertically) so that you have nine parts. The theory says, that if you place points of interest in the intersections or along the lines, your photo becomes more balanced and will enable the viewer of the image to interact with it more naturally.
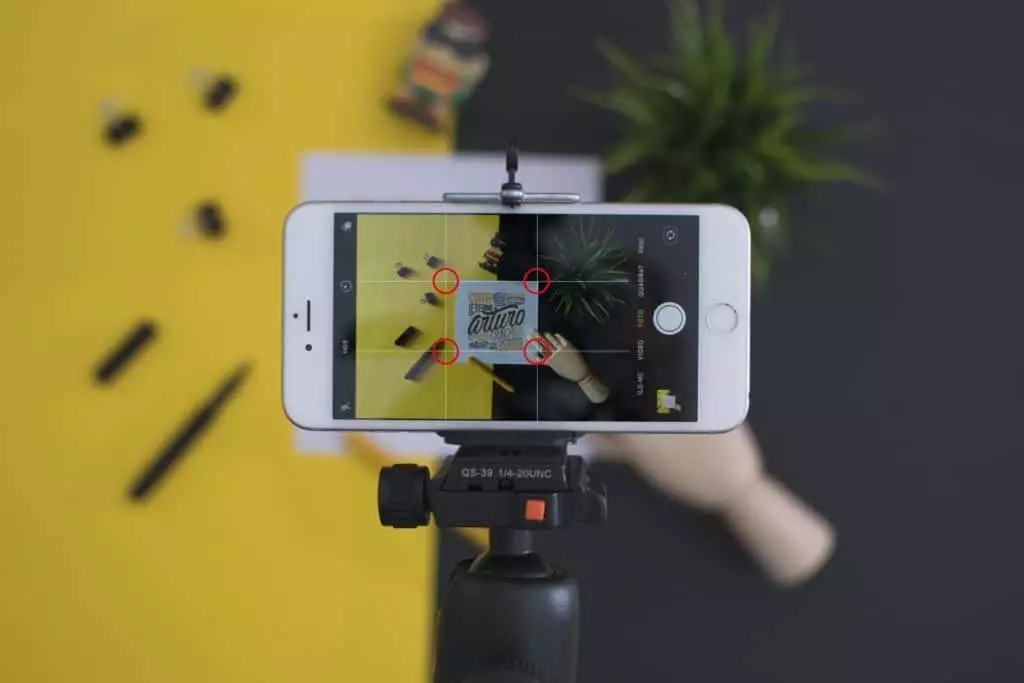
This also applies for the lines touching the edges of our frame, if your smartphone offers this feature, go ahead and turn the guides on.
This is not something we have to use, but something we can definitely take in our advantage.
As you can see in the image, I guide myself with the grid, but I don‘t place all my objects exactly to match the grid. This is something that is not set in stone!
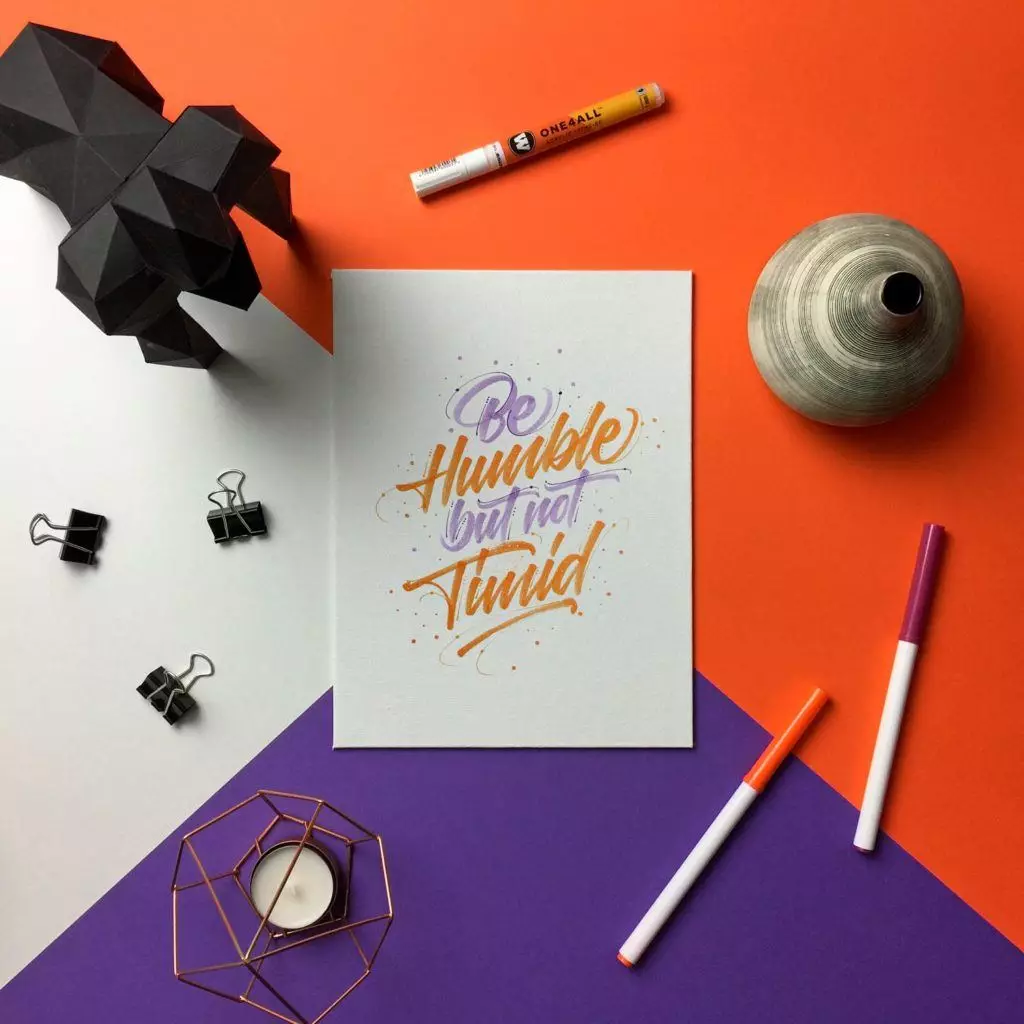
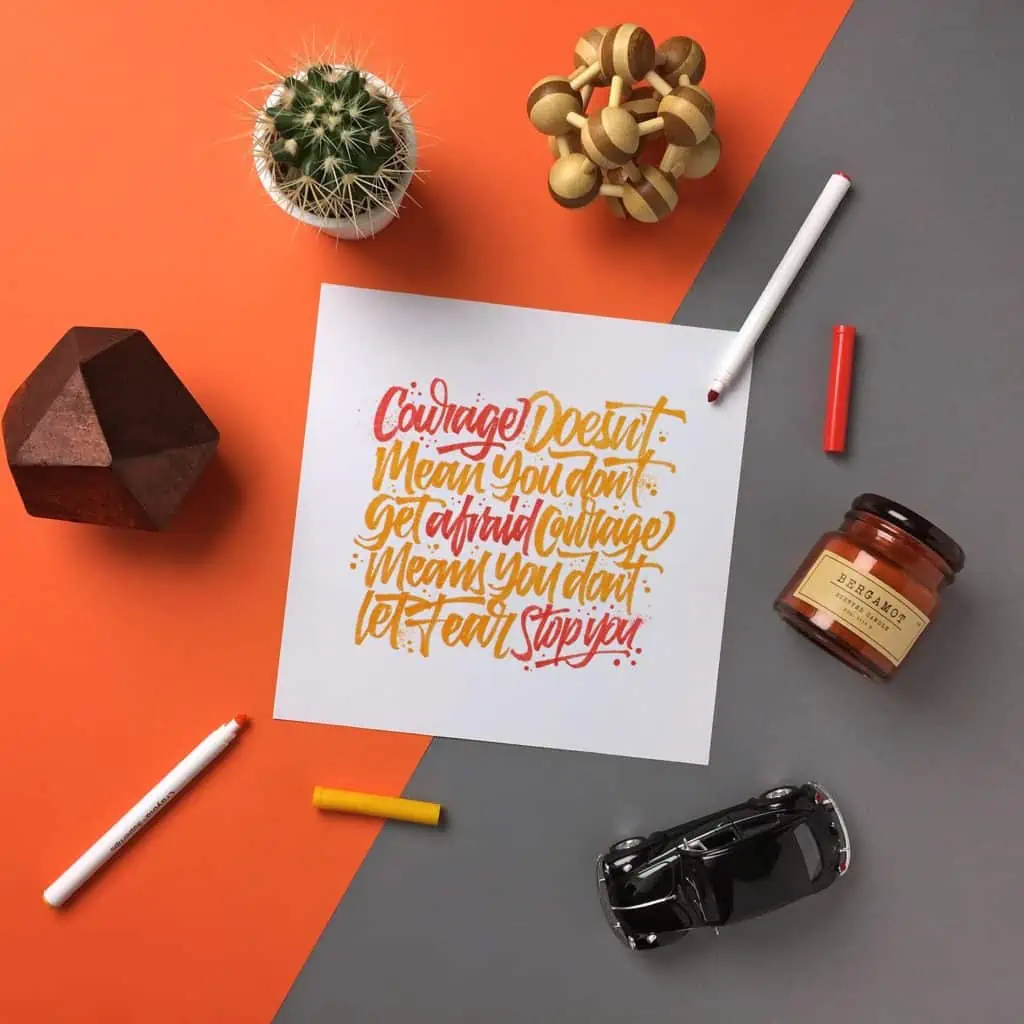
6. Props
“Prop” is a term used in filmmaking, is a short form of “property”, and refers to the items owned by or belonging to a character.
In this case, our props are the tools we use to create our work, items or elements that are related, or items that help us to tell better our story or items that simple goes well with the colors in our artwork.
Add your props to your scene, but keep it simple though you don’t want your scene to look cluttered, so make sure to balance the space between your items.
Don’t be afraid to rearrange things for the perfect photo! Sometimes moving even one item will make a huge difference and get you the photo you are looking for, avoid having your props all side by side.
Try having some of the bigger props going out the frame to create the illusion that the scene is “bigger”.
Always judge your Scene looking it in your phone.
The scene might look different in your photos.
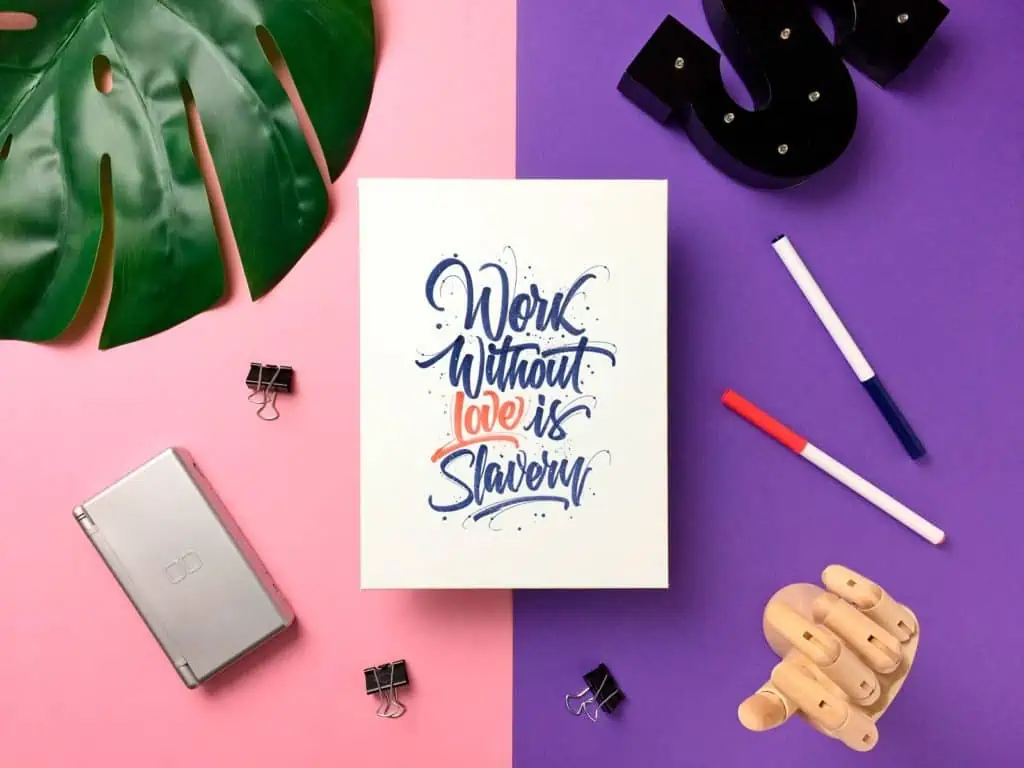
7. Experiment
All right guys and gals! We covered all the basics you need to add up your photo game, the only thing left is that you practice, as always, the more you do it, the more you will learn, presenting your work is very important, it is useful not only for social media, but also for your portfolio.
I encourage you to experiment!
Change the background, mix backgrounds, textures, use all your props in one color, create your own props, add shadows blocking some lights, change the angle, add layers, etc.
Have fun!
Final words
And there you have it friends.
These are just a few tips that will undoubtedly help you take better photos of your work.
You don’t need any special or expensive equipment.
You just need good natural light and a bit of planning. Take your time, don’t rush it and I’m sure you will do great!
If you have any questions for me, don’t hesitate to drop a comment below.
Until the next one,
Stay AWESOME!

Stay updated with my tutorials and get instant access to the Lettering Crate –
A growing library of free lettering & calligraphy resources that includes –
Pin me!
About the author

Hey, I’m Max. I’ve been drawing and messing around with letters since 2011. I don’t have a formal art degree—my background is actually in the kitchen as a former chef and on the streets painting graffiti with my friends. Over the last decade, through a ton of trial and error, I somehow turned that obsession into a full-time gig. These days, I design custom logotypes for global brands and paint large-scale murals. I started Lettering Daily just to create the kind of honest, no-BS tutorials I wish I’d had when I was starting out. Stick around, and let’s draw some letters.

Hi,
I bought the tripod linked from your article thinking that there was an overhead option on it
Did I buy the wrong one or does it needs an extension?
Right now, the way it is set up, we would see the legs of the tripod in the shot.
If you can help me with that that’d be awesome! and thanks for the article!
Hey there, sorry for the inconvenience! What are you using for taking the photos? a camera or a smartphone?