If you’re just starting with hand lettering, here’s the good news: you only need two things — a pencil and some paper. That’s it.
Seriously, don’t let Instagram or fancy art stores fool you into thinking you need a mountain of supplies before you can begin. Pencil + paper is more than enough to start practicing, explore ideas, and fall in love with lettering.
The Quick Answer
If you’re in a hurry, here’s the basic kit I recommend for getting started:
- Pencil (HB or mechanical — doesn’t matter, just something you like)
- Smooth paper (HP Premium 32 for practice; thicker paper for finished work)
- Fineliner (Unipin or Sakura Micron — reliable, easy to find, beginner-friendly)
That’s literally all you need to dive into hand lettering today.
Everything else I mention below is definitely helpful, but not required. Think of them as upgrades you can add once you’ve got the basics down.
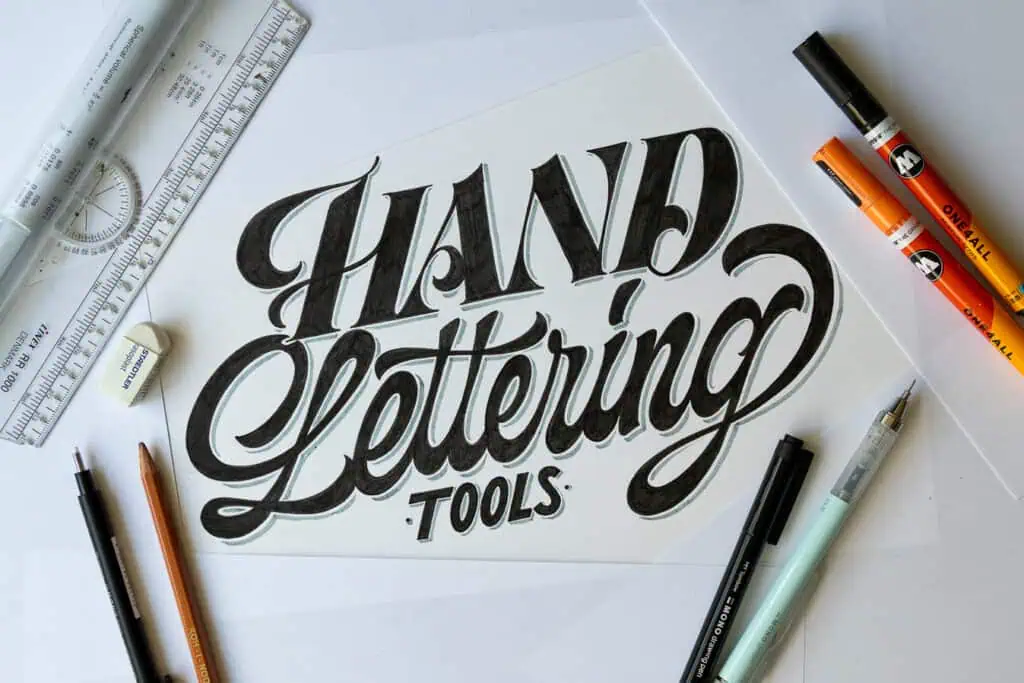
The Essential Hand Lettering Tools
Pencil
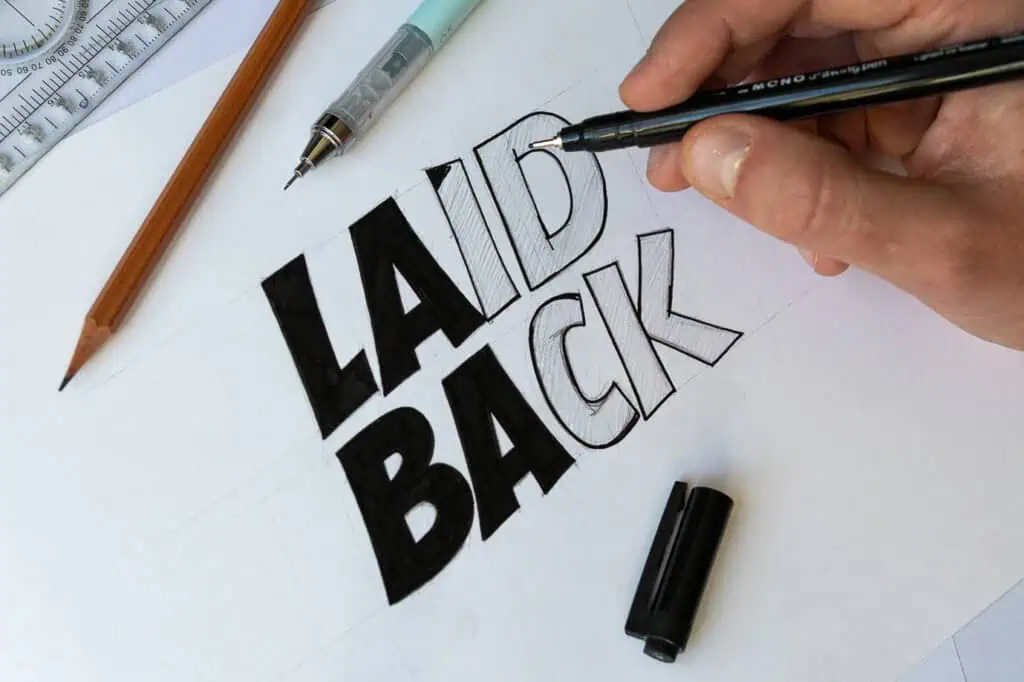
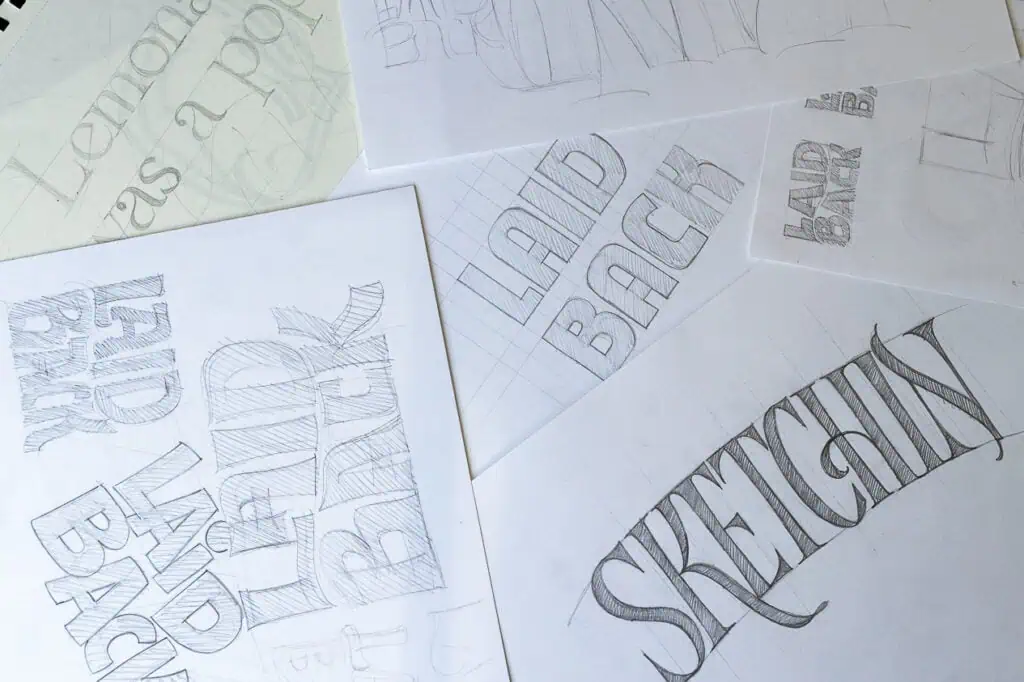
Your pencil is your best friend in lettering. Almost every piece starts as a sketch — and sketches mean freedom. You can mess around, erase, and refine without any pressure.
I recommend keeping it simple: an HB pencil is perfect. Not too dark, not too light — just right for sketching letters. Personally, I use a mechanical pencil most of the time because I don’t have to keep sharpening. But honestly, whatever pencil you’ve got lying around will do.
👉 Don’t overthink this. Just grab a pencil and start building up your letters.

Paper
Paper might sound boring, but it actually makes a huge difference. The smoother the paper, the better your pens will glide — and the longer they’ll last.
For practice, I like using HP Premium 32 — it’s cheap, smooth, and easy to find. Perfect for drills and rough sketches. But honestly, any type of paper you have will work fine with pencils and fineliners.
For final pieces, you’ll want something sturdier like hot press watercolor paper. It’s smooth enough for crisp lines but thick enough to handle ink, markers, or even watercolor washes without bleeding. Aside from watercolor paper, any paper above 180gsm will work great for final pieces (mixed media, bristol, etc.).
👉 Quick rule: smooth paper for practice, thick smooth paper for finished work.
Here’s how I approach paper when I work:
Fineliners
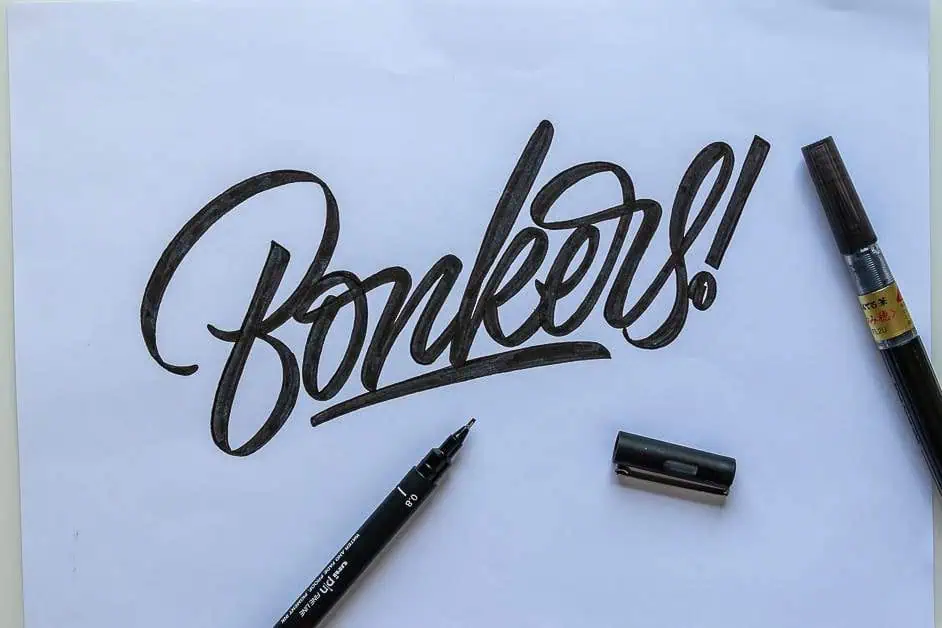
Once you’ve got a sketch you like, you’ll want to ink it — and that’s where fineliners come in. They’re reliable, affordable, and perfect for clean outlines.
My go-tos are Unipin, Sakura Micron, and Tombow Mono pens. Both come in different tip sizes, so you can experiment with thin strokes or bold outlines.
👉 These are “bread and butter” tools for any lettering artist. You’ll probably end up with a handful in your bag at all times.
Do you struggle with inking and outlining your letterforms? Check out my article on the 5 tips on improving your inking technique.
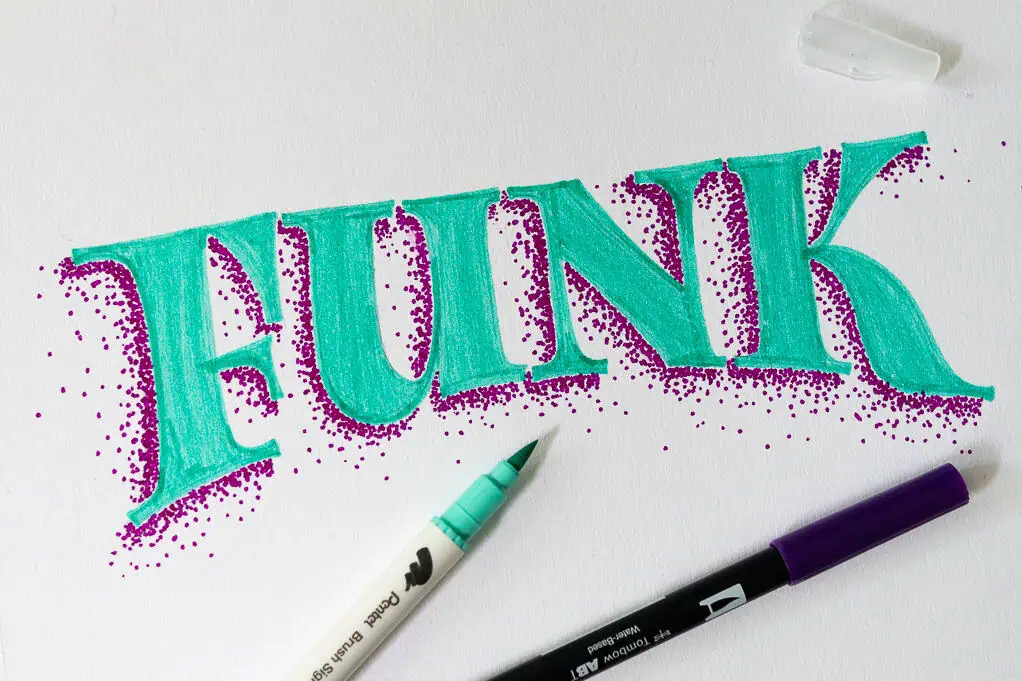
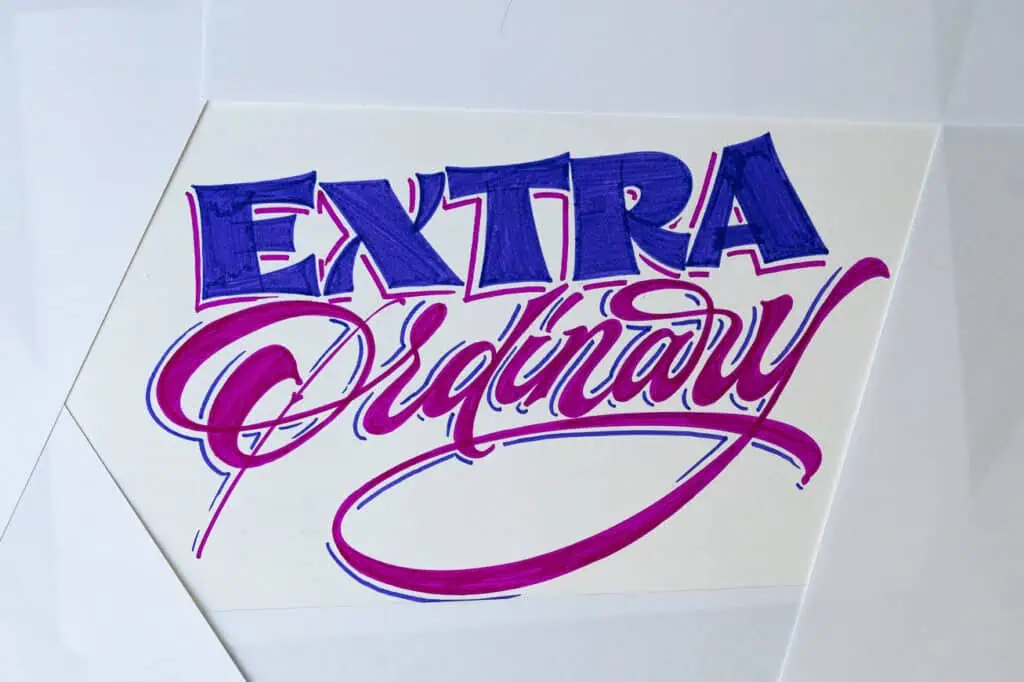
Markers
Markers bring your letters to life. If you’re into bold, colorful work, this is where you’ll have the most fun.
For hand lettering, I recommend acrylic markers like Molotow One4All or Posca. They layer beautifully — you can draw one color over another without smudging.
Alcohol- and water-based markers are also great if you want to experiment with blending and gradients.
👉 If you love color, markers are your playground.
Ruler
Here’s an underrated truth: doing serious lettering without guidelines is extremely difficult, if not impossible. Guidelines help you keep your letters nice and consistent.
Also, if your composition is off, no amount of fancy tools will save it. That’s why a ruler is absolutely essential.
I use a rolling ruler (it has a wheel on the back, which makes drawing parallel lines a breeze). But a regular straightedge works fine too.
If you get serious about layouts, there are more advanced rulers out there that help with grids and perspective — I’ll link to a few resources for those.
👉 Think of your ruler as your secret weapon for keeping your lettering neat and professional.

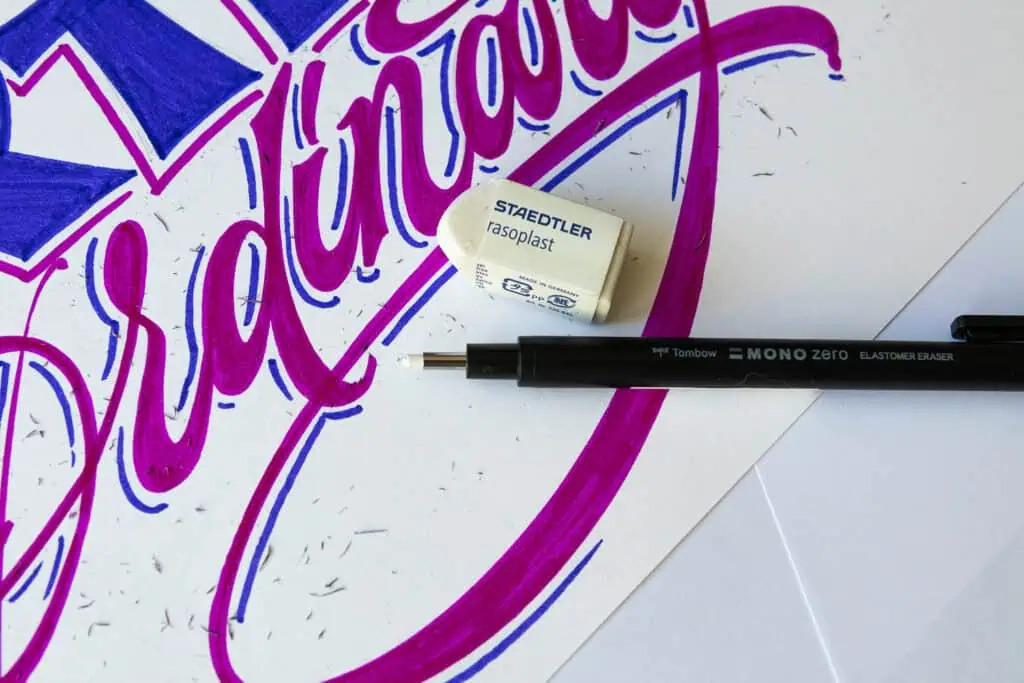
Eraser
Obvious tool, but worth mentioning. A good eraser helps you refine your sketches without destroying your paper.
- Pen erasers are amazing for small, detailed fixes.
- Kneaded erasers are great for lifting graphite gently (and they don’t leave messy crumbs).
- Regular erasers are fine for general use — just avoid the cheap gummy ones that smear.
👉 Get at least one decent eraser — it’ll save you headaches.
Nice-to-Haves (Optional but Super Useful)
Colored Pencils
Great for shading, layering, or adding subtle texture. They’re inexpensive and versatile.

Watercolors
Not super common in lettering, but they can create amazing textures, blends, and backgrounds. Worth playing with if you like experimenting.

Tracing Paper or Light Tablet
One of the most useful “upgrade” tools. You can use tracing paper or a light tablet to layer and refine your sketches — starting rough and working your way up to polished versions.
👉 This is how pros build clean, complex compositions without starting over 10 times.

Final Thoughts
Don’t get stuck gear-shopping. The real progress comes from putting pencil to paper and practicing consistently. Start simple, experiment with the basics, and slowly add new tools as you discover your own style.
👉 Next steps: Check out the Ultimate Hand Lettering Guide for practice tips, or explore the Hand Lettering Alphabet Database for inspiration.

Stay updated with my tutorials and get instant access to the Lettering Crate –
A growing library of free lettering & calligraphy resources that includes –
Pin me!
About the author

Hey, I’m Max. I’ve been drawing and messing around with letters since 2011. I don’t have a formal art degree—my background is actually in the kitchen as a former chef and on the streets painting graffiti with my friends. Over the last decade, through a ton of trial and error, I somehow turned that obsession into a full-time gig. These days, I design custom logotypes for global brands and paint large-scale murals. I started Lettering Daily just to create the kind of honest, no-BS tutorials I wish I’d had when I was starting out. Stick around, and let’s draw some letters.

