This tutorial will teach you how to create an embossed effect for your lettering using the Procreate app.
This is the exact technique I’ve been using, and I’ll guide you through the whole process step by step.
This technique can work for other objects and illustrations as long as they don’t have a complex texture.
Here is a quick overview of this tutorial –
- What is the embossed effect?
- Tools Needed
- The step by step process
- Final words
In case you prefer watching, I’ve also created a YouTube video for this tutorial –

So without any further delay, let’s jump straight into it.
What is the embossed effect?
Here is what embossing is –
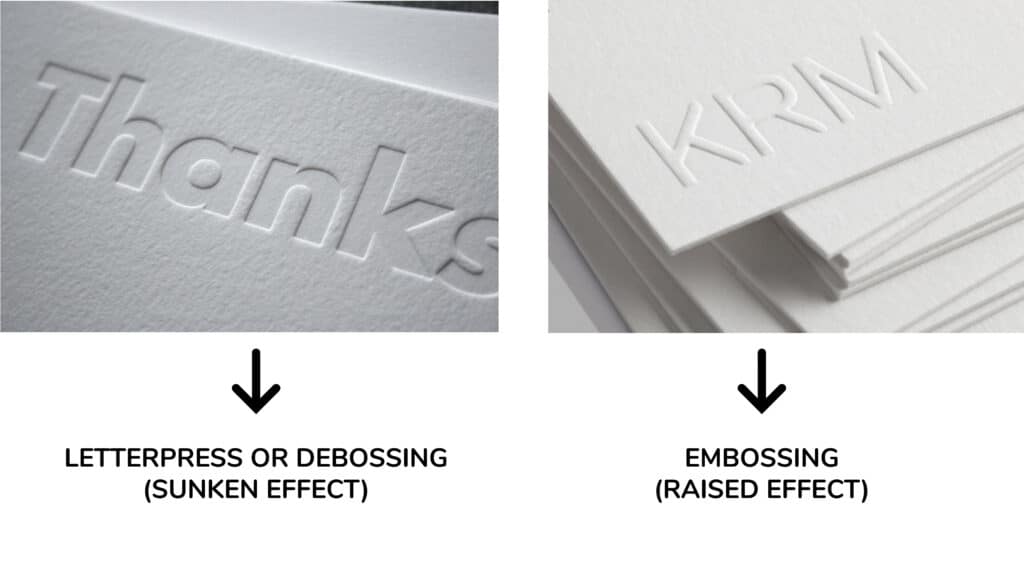
Embossing is the process of producing a raised image or design from the surface of the paper or some other material.
It is the exact opposite of the letterpress effect or also known as debossing.
To create this effect in the Procreate app, we are going to play with shadows and highlights.
But don’t worry, it’s much easier than it looks.
The tools needed
For this tutorial, you’ll need just a couple of things.
Obviously, the iPad Pro, the Apple pen, and the procreate app.
Aside from that, you’ll need a paper textured background and a solid brush with no texture to create your lettering/calligraphy or whatever else you wish to emboss.
I’m using a paper background that I found on Unsplash.com.
As for the brush, ill be using the Smooth Like Sakoora brush from my latest brush pack – The CalligraFUN.
You can get the brush and the paper background in the free CalligraFUN sample pack straight from the Lettering Crate.

With that in mind, let’s start the step-by-step process.
How to emboss your lettering in Procreate – step-by-step
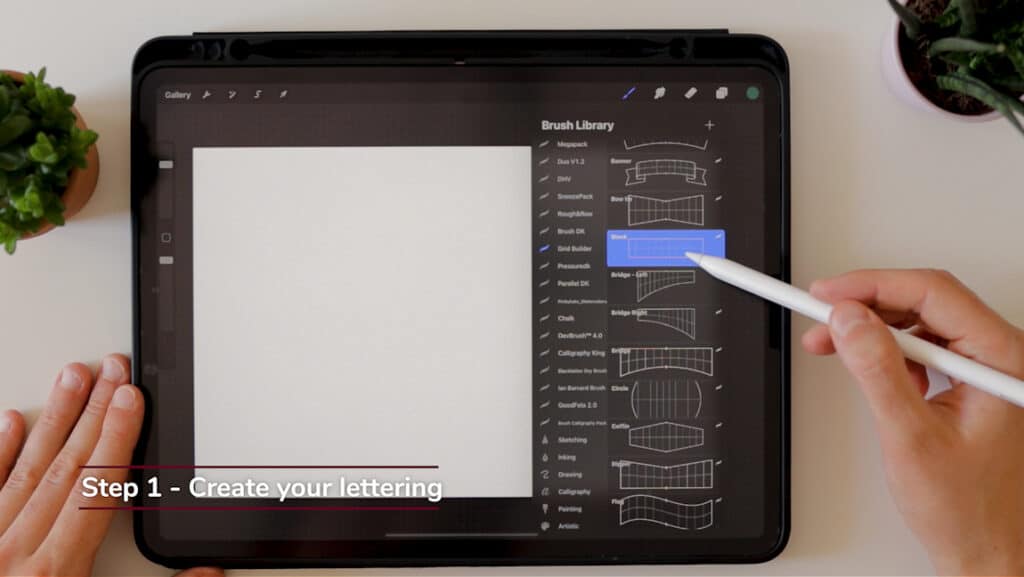
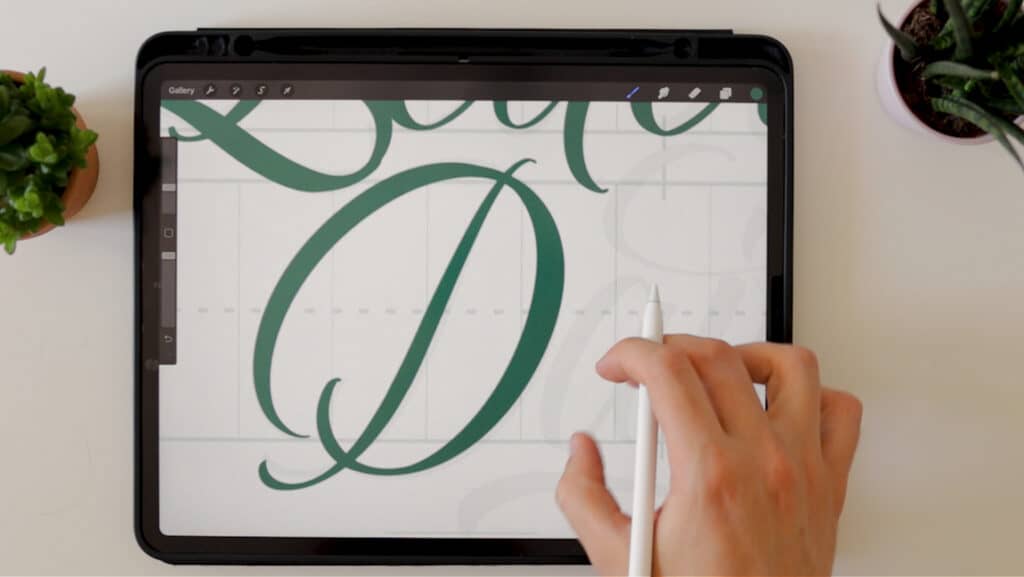
Step 1 – create your lettering.
I’ll begin by laying down some guidelines.
For that, I’ll use the guideline stamps from the Grid Builder brush pack.
I’ll then lower the opacity of that layer and open a new one above it.
In the new layer, I’ll start creating my letterforms with the Smooth Like Sakoora brush.
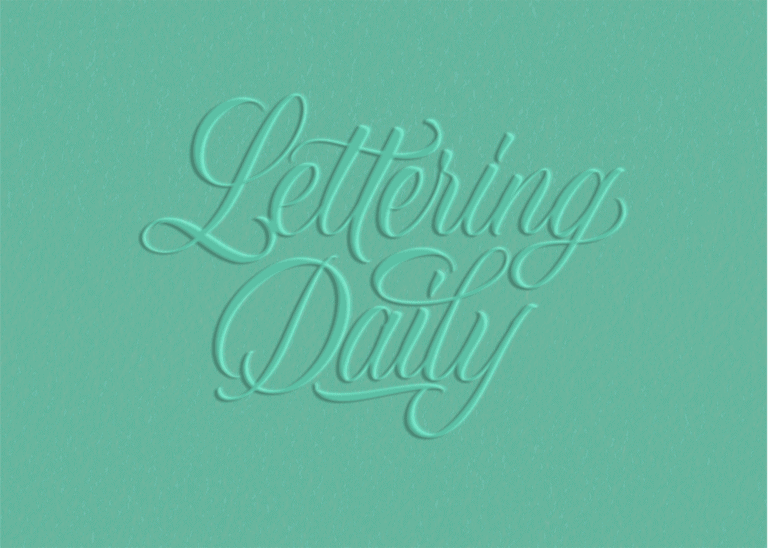
For this example, I’ll be creating some brush calligraphy that says – Lettering Daily.
Once you’re done with your lettering, you can remove the guidelines and, we can move to step number two, which is –
Step 2 – Adding the paper background.
Now, you don’t have to use a paper background necessarily.
I just think that the embossed effect looks way better with it.
Slightly adjust the paper background and move the layer behind the lettering.
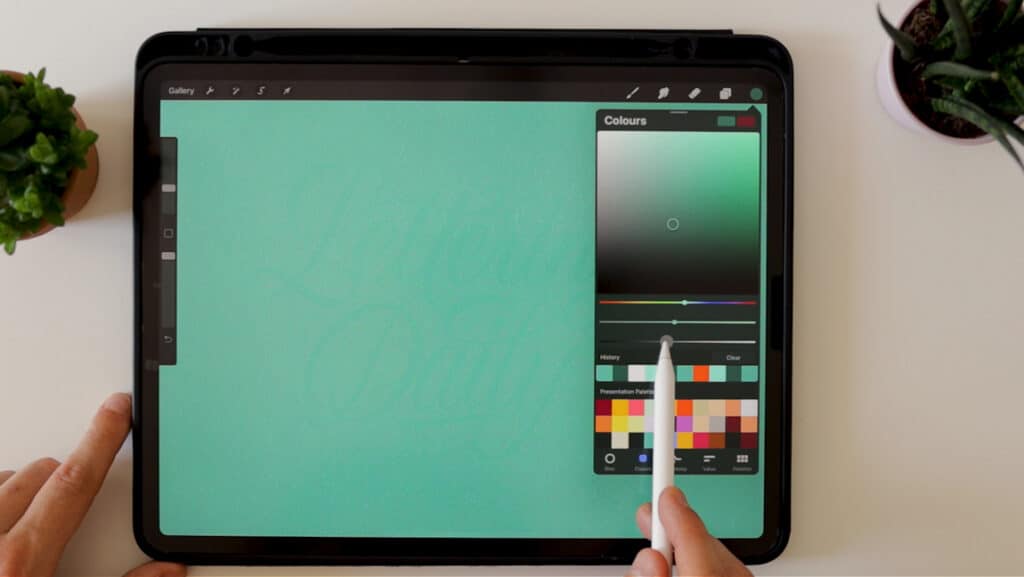
Now select a color and drop it on the paper background.
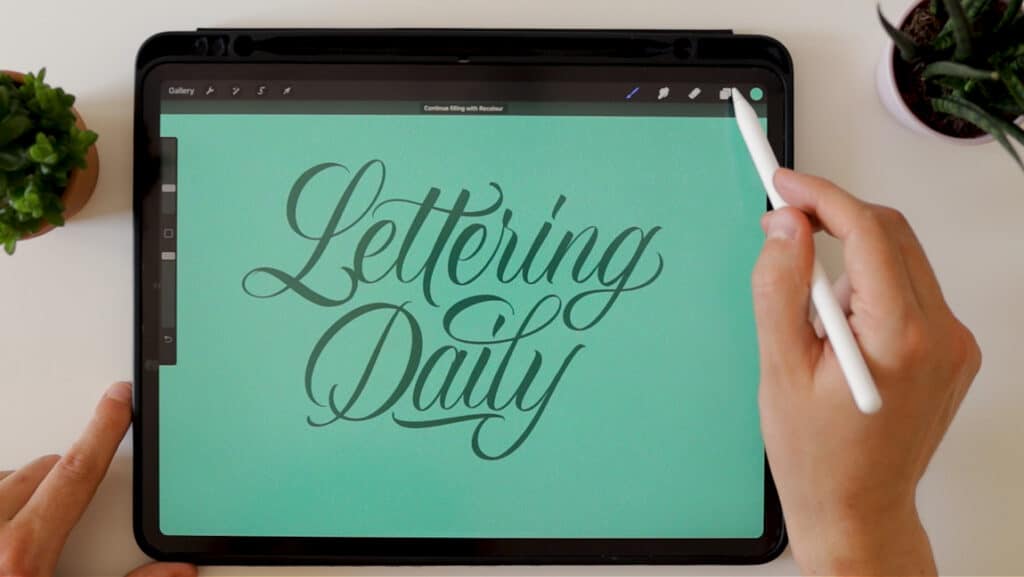
You can pick whatever color you prefer.
I would suggest that you avoid using either super bright or super dark colors.
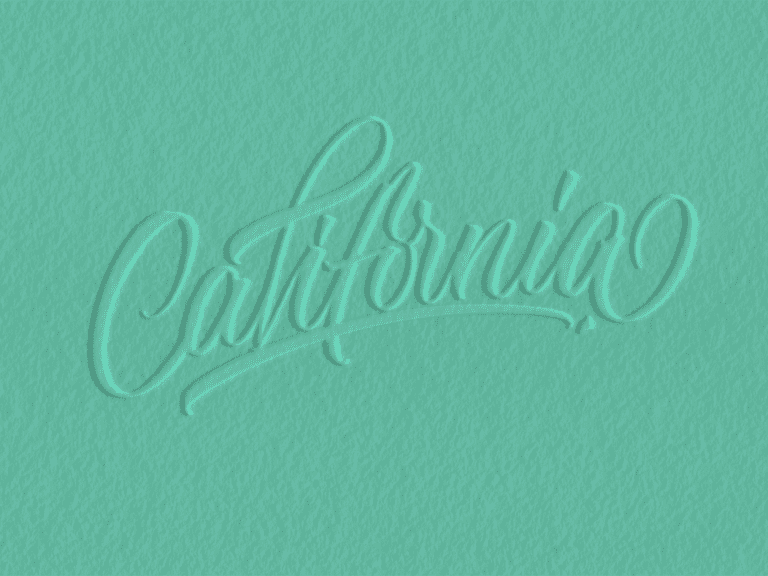
I’m going with this greenish teal color.
Open up the layers panel, and using two fingers, swipe to the right on the lettering layer to turn on the alpha lock feature.
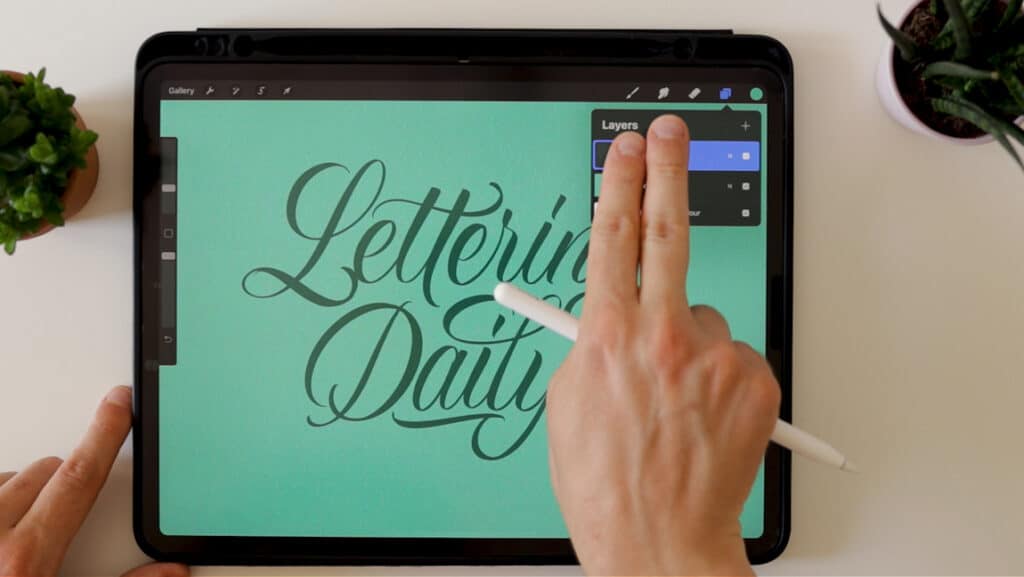
Then tap on the thumbnail image of the lettering layer, and while having the same color you used for your background, select fill layer.
This option will color your whole lettering piece in the same color as your background.
For now, keep the alpha lock on.
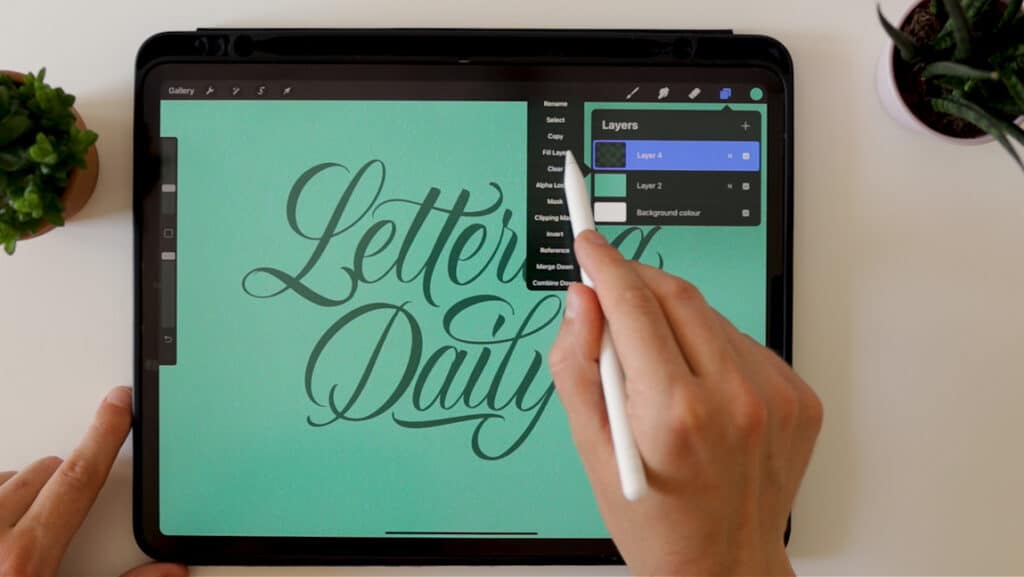
Step 3 is creating the shadow layer.
Now we duplicate the lettering layer, which will serve as the shadow layer.
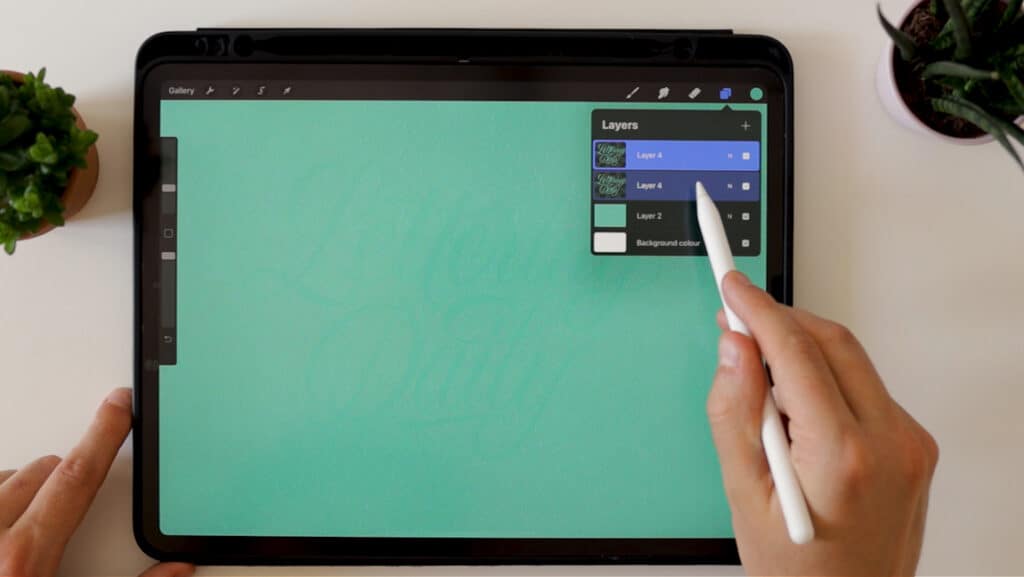
Instead of coloring it in black, select a darker shade of the current color.
The darker shade will give it a much nicer and subtle look.
To do that, head over to the colors panel, and from the bottom menu, select the classic option.
You will see three bars. The top one changes the color, the middle one changes the saturation, and the last one adjusts the brightness of the color.
Slide down the brightness about halfway or so.
Then open up the layers panel, select the lettering layer underneath, tap on the thumbnail image, and hit the fill layer option.
Once you’re done with that, turn off the alpha lock mode by swiping to the right on the layer using two fingers.
Go over the adjustments panel, select Gaussian blur and slide it over just a tiny bit. To about 3-4%
You might want to increase the gaussian blur a bit more if you have thicker letterforms or objects.
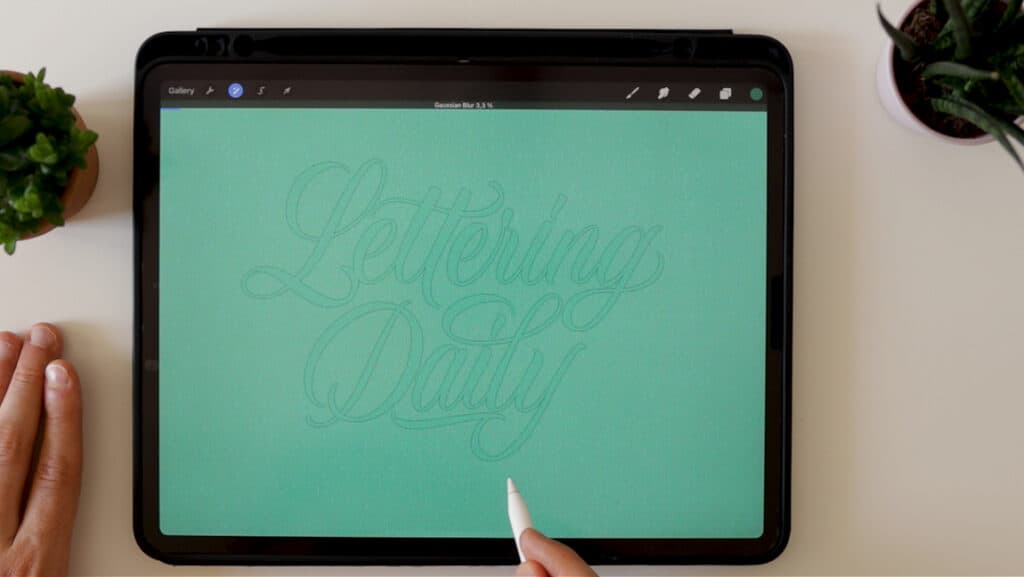
Now it’s time to create the shadow by moving this darker and blurred lettering layer to one of the sides.
Where you put it depends on where is the source of light coming from.
Always place the shadows on the opposite side of the light source.
So if your light source comes from the top left, the shades will be on the bottom right side.
If the light comes from the top right, the shadows will be on the bottom left side. You get the gist.
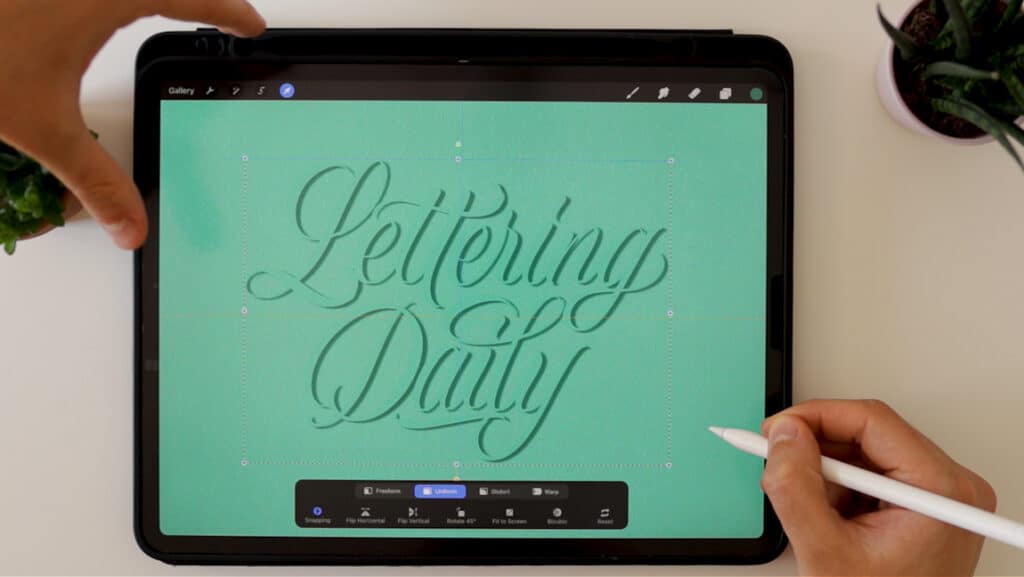
In my example, I have decided that the light source is coming from the top right, which means that my shadow will be cast on the bottom left.
Good, now the visibility of the lettering piece is slowly coming back.
Step 4 – highlights.
Think of this step as the exact opposite of what we just did.
Select the shadow lettering layer, and duplicate it.
The highlight layer should be placed above the shadow layer and under the main lettering layer.
Now we need to select a bright color for our highlights. Instead of just going for white, we will choose a brighter tone of the main color.

Just like we did in the previous step for the shadows.
So I select the main color and using the classic colors option, I just increase the brightness.
I then fill that layer, and I turn off the alpha lock mode.
Because I duplicated the shadow layer, which already has gaussian blur applied, I don’t have to do it again, so we can skip that.
Now all I need to do is place the highlights lettering layer in the exact opposite direction of the shadow layer. In my case, that would be on the top right.
Okay good. As you can see, this already gives us kind of an embossed effect, but we’re still not done.
We still need to adjust some details.
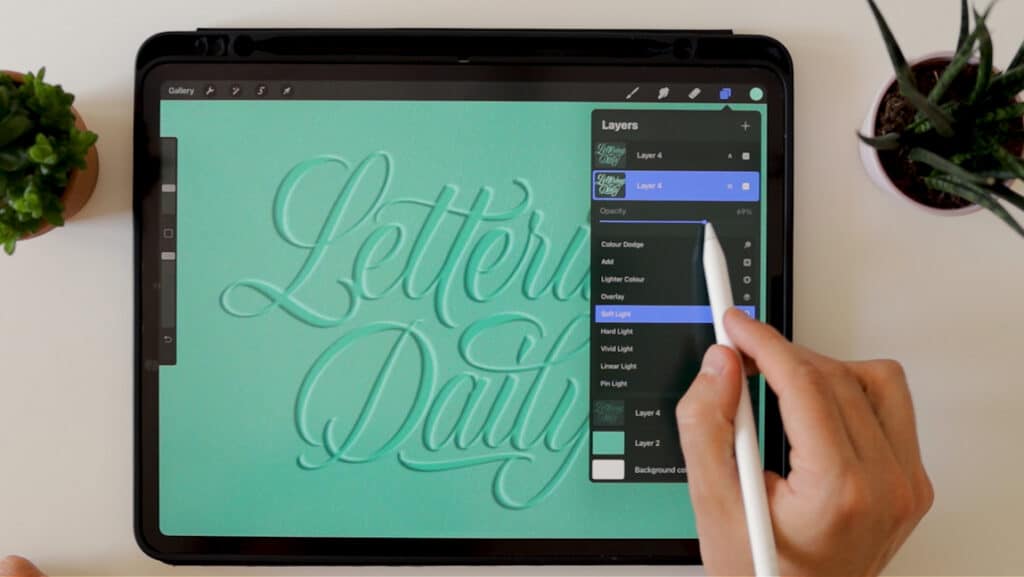
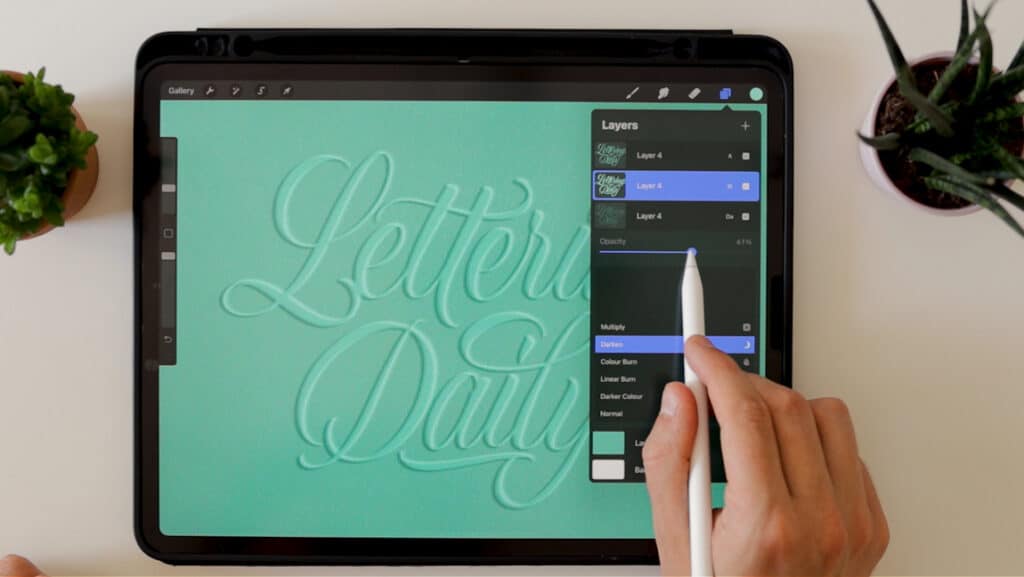
Step 5 – adjusting the blend modes.
Change the bottom shadow lettering layer to the darken blend mode.
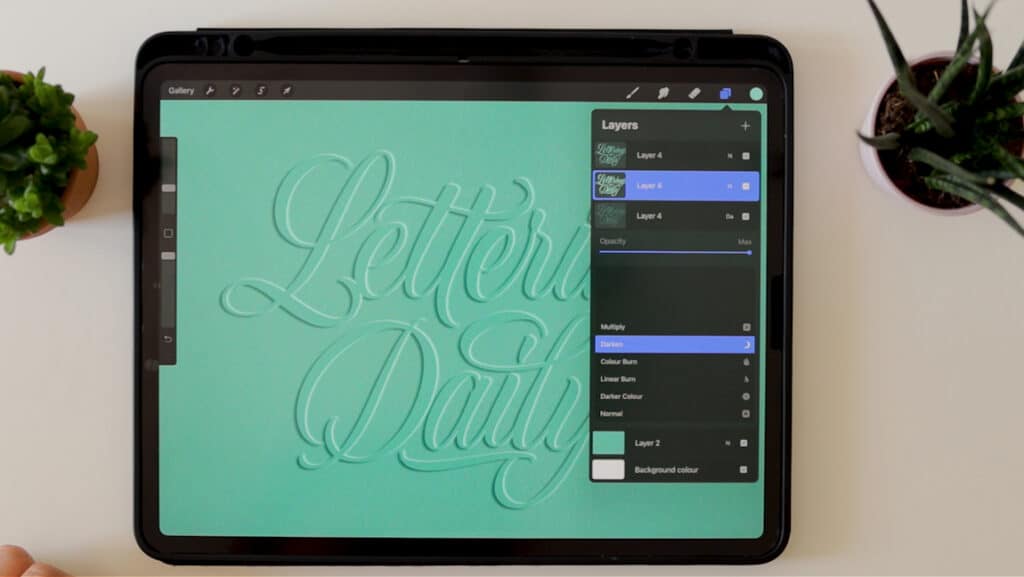
Next, change the middle highlights lettering layer to the soft light blend mode.
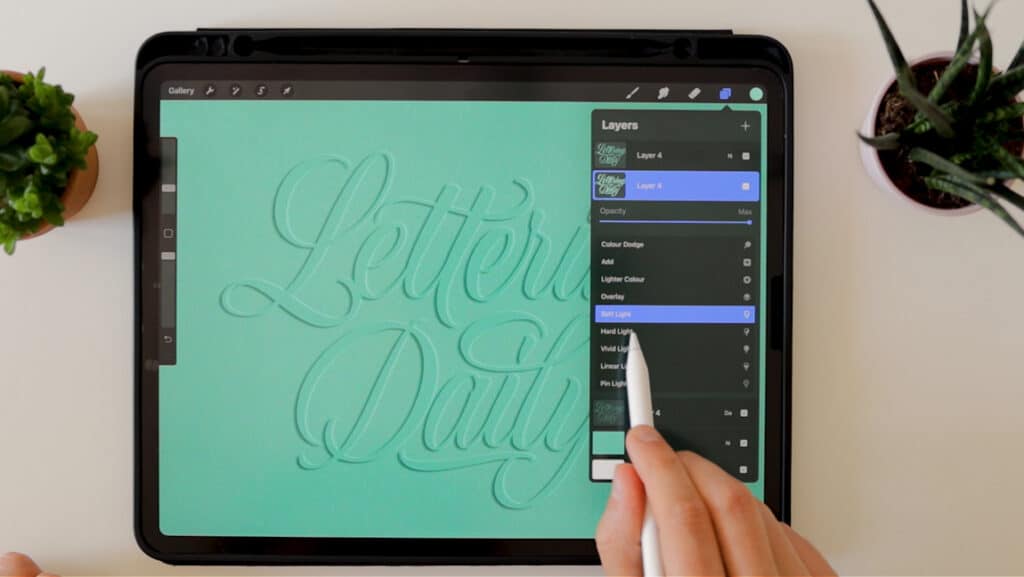
And finally, change the main lettering layer to the add blend mode.
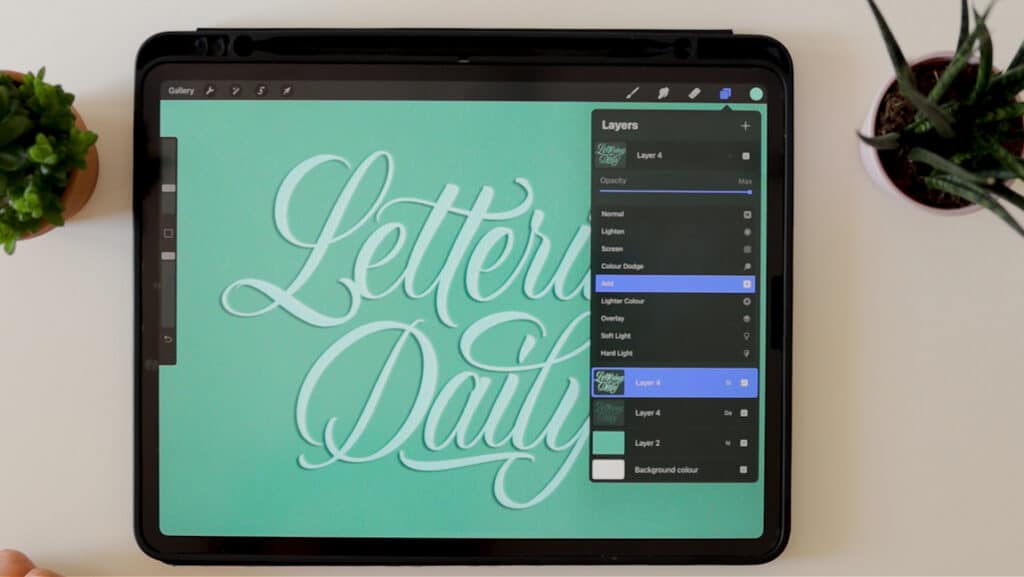
I know it may seem that it looks worse now, but bear with me because there is one final step to go.
Step 6 – adjusting the opacity.
Now, for this, there isn’t a fixed number. However, I’ve noticed that with different colors, you’ll get slightly different results.
Here is how I’m doing it here.
Reduce the opacity of the main lettering layer to about 15%.
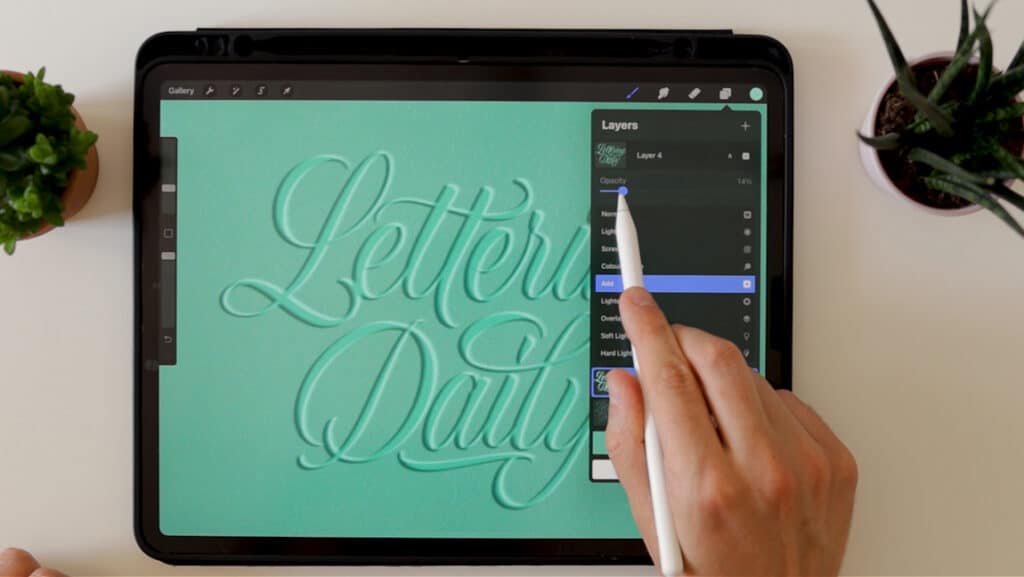
The highlights layer at 70% and the shadows layer at around 65%.
Again if you are using a different color, you might want to adjust the opacity up or down slightly.
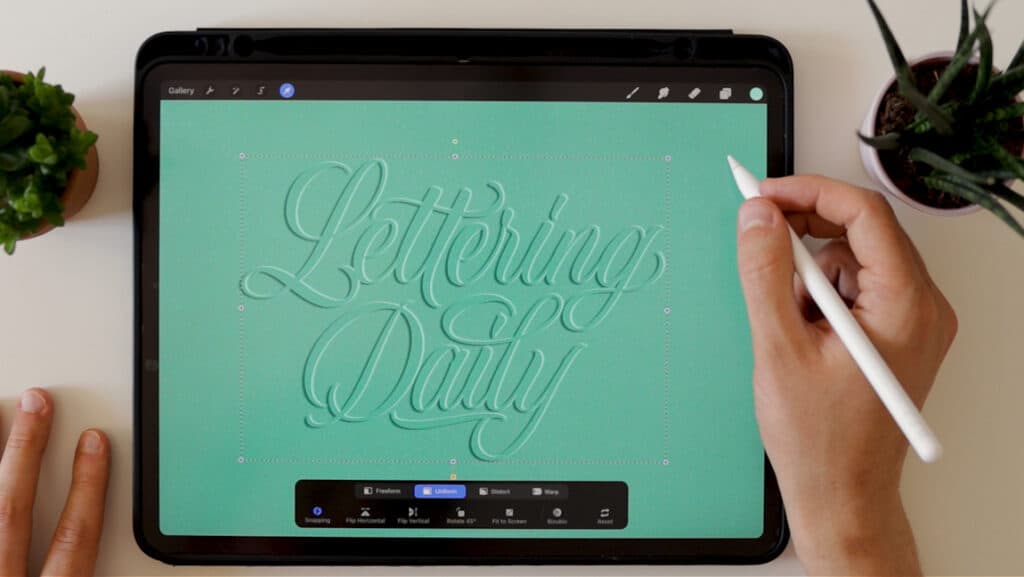
The idea is to get a subtle, raised, and round-looking effect.
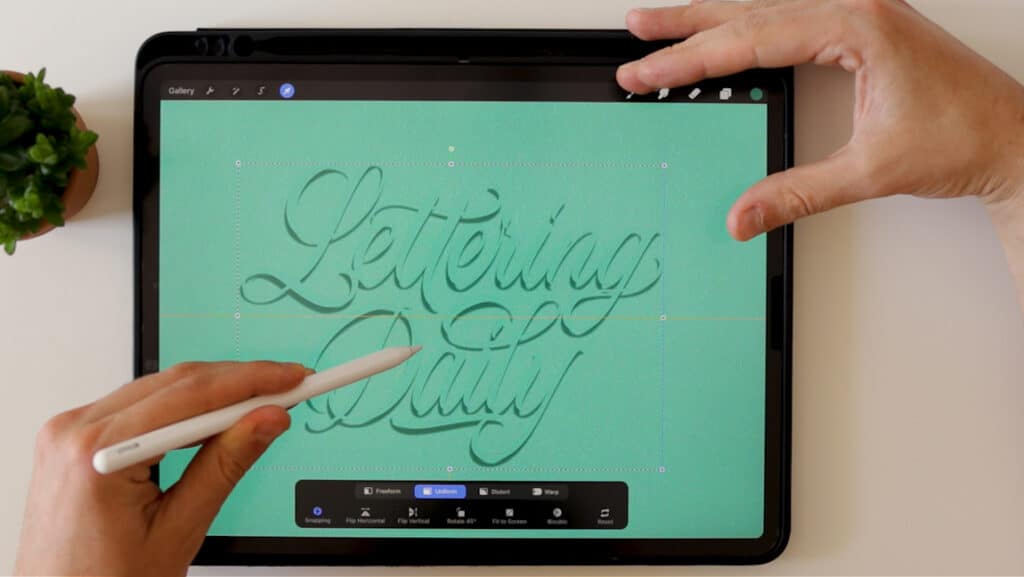
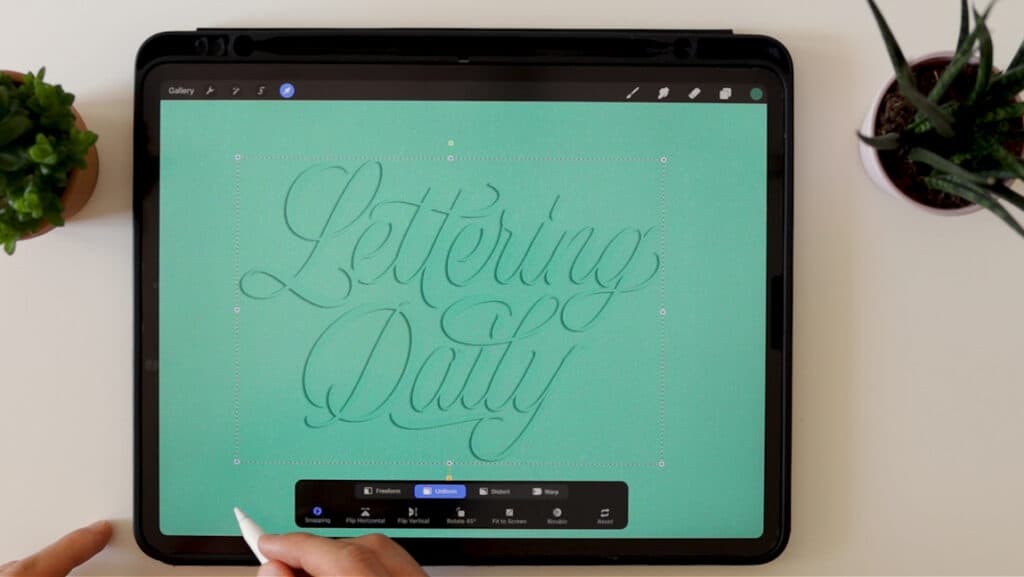
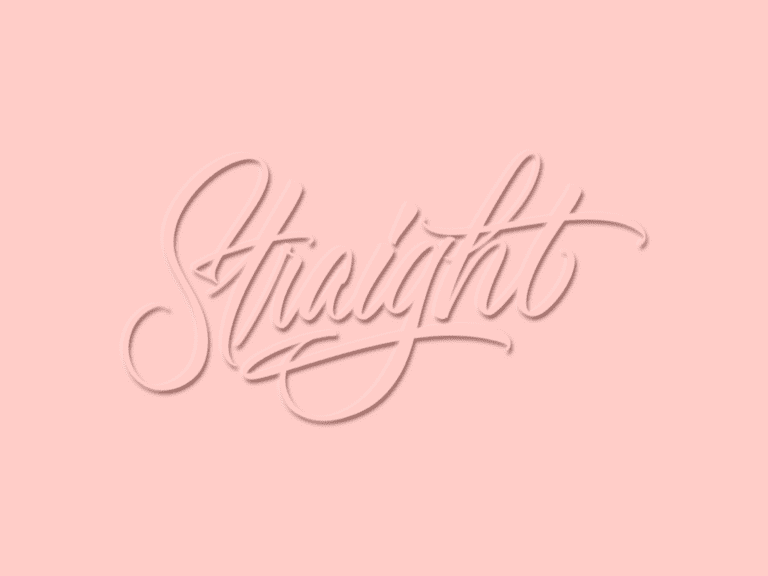
Here is the final result –

All that is left to do now is resizing, centering, and exporting it in your favorite file format.
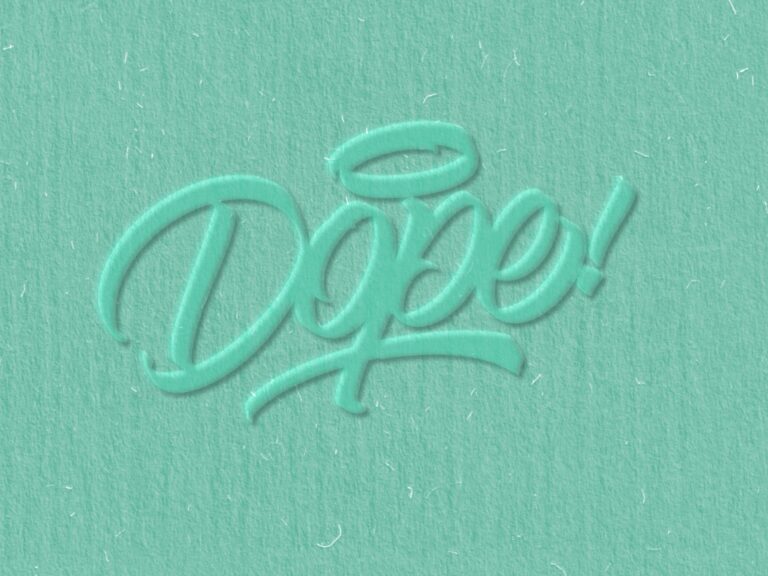
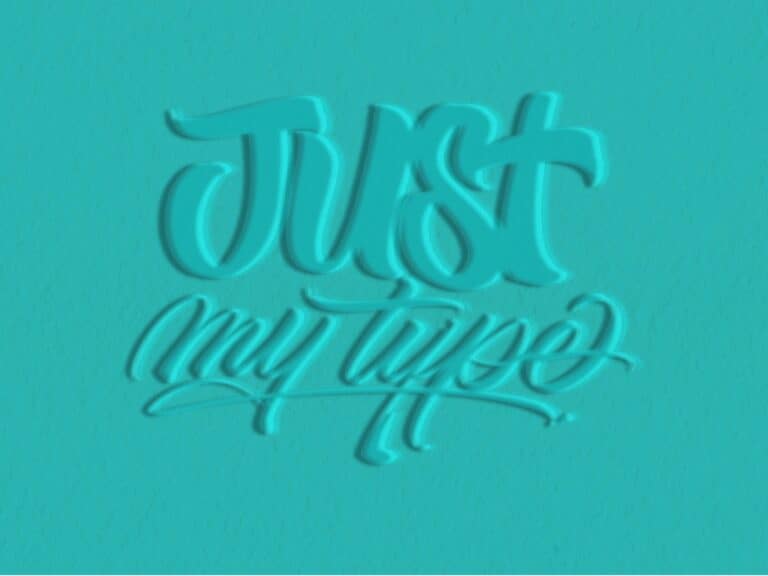
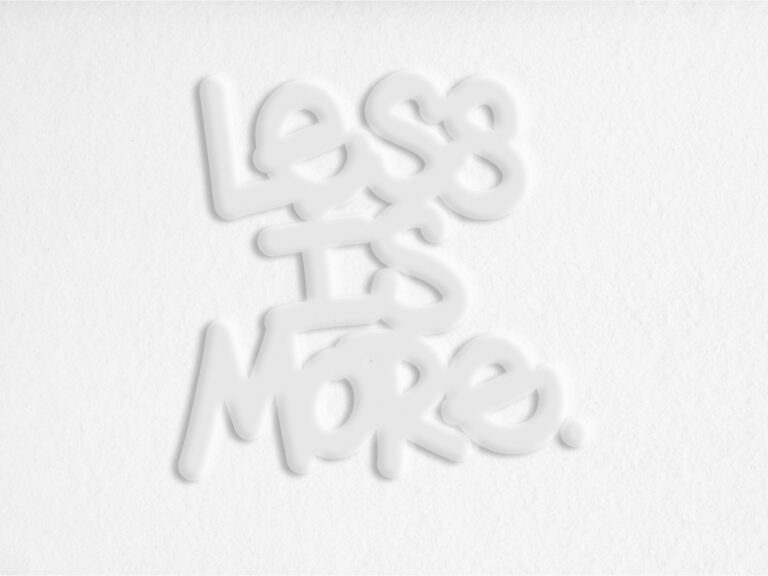
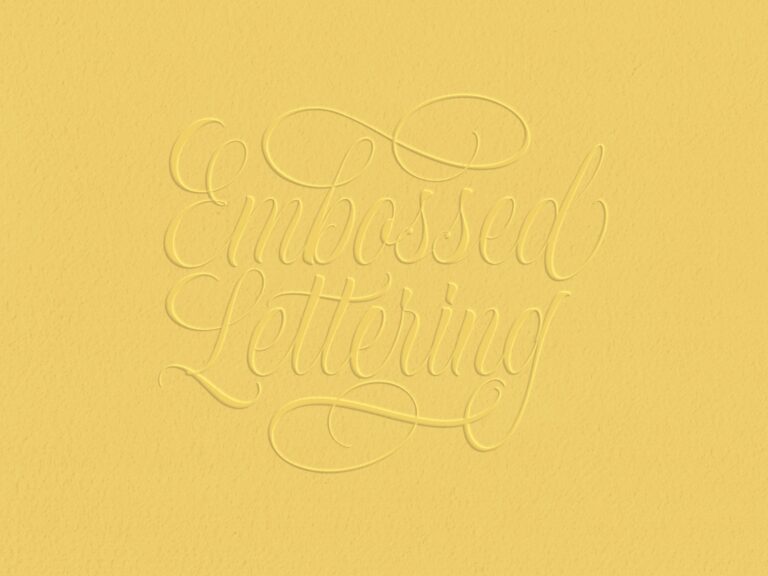
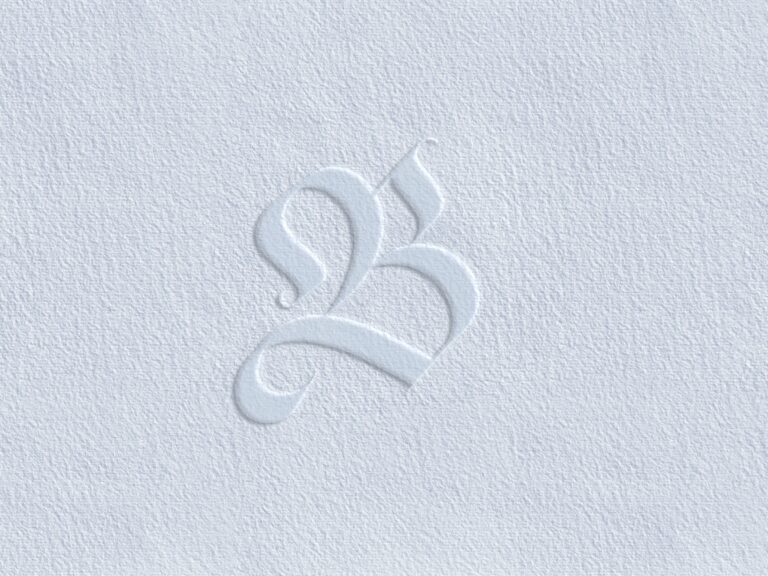
Here are a few other artworks that I have created using this method –


Final words
You can try out this effect with different colors and backgrounds.
If you end up creating something, shoot me a DM via Instagram with your work.
I would love to see what you end up creating, and I’ll also be happy to give you a shoutout on my stories.
Also, if you have any ideas or wishes for future tutorials, don’t hesitate to drop a comment below.
I hope you enjoyed this tutorial, and until the next one –
Stay AWESOME!
Pin me!

Stay updated with my tutorials and get instant access to the Lettering Crate –
A growing library of free lettering & calligraphy resources that includes –
About the author

Hey, I’m Max. I’ve been drawing and messing around with letters since 2011. I don’t have a formal art degree—my background is actually in the kitchen as a former chef and on the streets painting graffiti with my friends. Over the last decade, through a ton of trial and error, I somehow turned that obsession into a full-time gig. These days, I design custom logotypes for global brands and paint large-scale murals. I started Lettering Daily just to create the kind of honest, no-BS tutorials I wish I’d had when I was starting out. Stick around, and let’s draw some letters.