If you have ever sat down to practice calligraphy only to find that your lines are shaky, your hands feel stiff, and your shapes look wonky, you aren’t alone. For a long time, I knew about the concept of warming up, but it wasn’t until I actually implemented a dedicated routine into my practice that I noticed a massive shift in my work.
Warming up is essential. It’s the exact same reason athletes warm up before playing a sport or performing any motor skill task—you need to get the blood flowing to those tiny muscles in your arm and hand.
The best part? It takes less than five minutes, it costs nothing, and it will completely change your consistency. Here is the exact, easy warm-up routine I do before every lettering session.
In case you prefer to watch, I also made a YouTube video as well –

Step 1: The Scrap Paper Setup
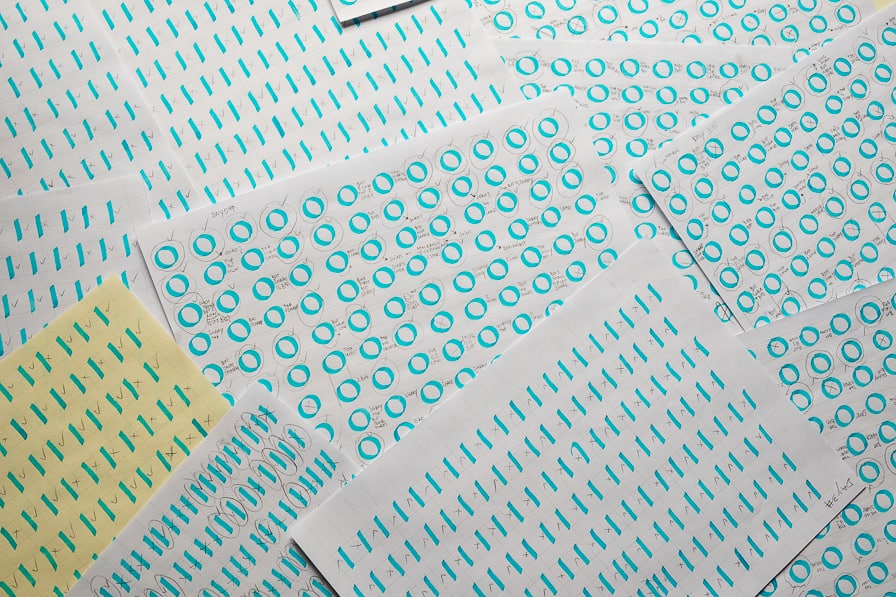
Don’t waste your expensive premium calligraphy pads on warm-up drills. If you practice calligraphy regularly, you likely have a “graveyard” of used-up pages . Flip them over and use the blank back sides. Because these drills are purely about muscle movement, it doesn’t matter how messy they look.

Step 2: The Full-Arm Freedom Drill (0-Constraint ovals)
I picked up this fantastic exercise from a workshop with my friend Adam (@theosone) in Dublin. It’s a great way to start because there are no rules, no guidelines, and no lines to stay inside of.
- The Goal: Focus on letting your hand glide across the page creating continuous ovals, loops, and waves.
- The Only Rule: No sharp corners, no sharp edges, and absolutely no stopping.
- The Technique: Lock your wrist and fingers completely in position. Use the full motion of your entire arm, driving the movement from your shoulder to let your hand glide freely.
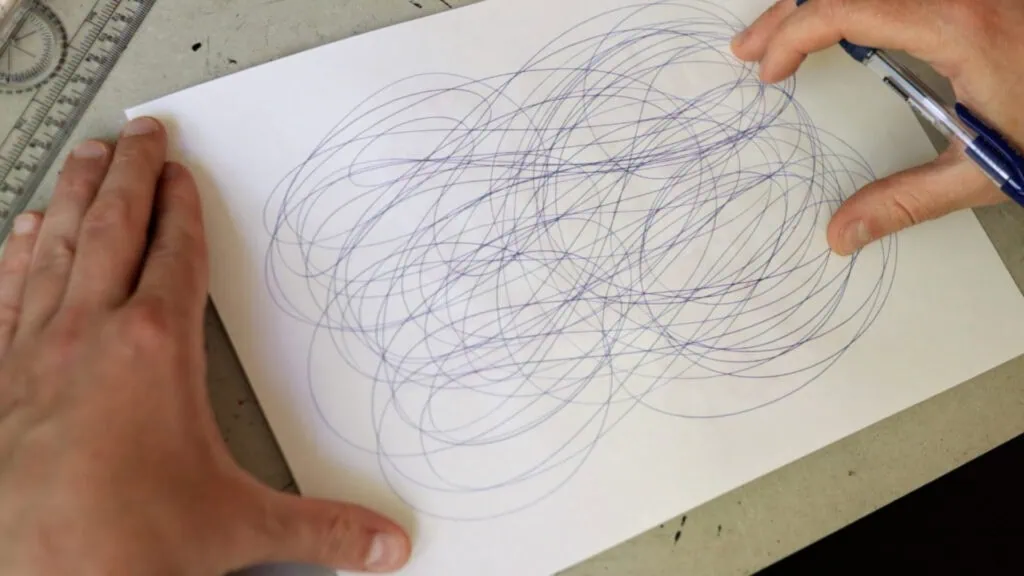
(Tip: I am using a regular ballpoint pen for this demonstration so it shows up clearly on camera, but you can use a standard pencil!)
Step 3: Muscular Forearm Drills (Visual Constraints)
Once your arm is moving freely, it’s time to add a bit of visual constraint to synchronize your hand-eye coordination. Grab a ruler and draw two straight parallel lines on a piece of scrap paper.
Unlike the full-arm movement above, we are going to switch to muscular movement using your forearm muscles. Keep the fleshy part of your arm resting on the table, lock the pen in your fingers, and use your forearm to guide the shapes.
The Drills:
- Counter-Clockwise Ovals: Fill the lines rhythmically with overlapping ovals, touching both the top and bottom visual constraints.
- Clockwise Ovals: Switch directions. Most people find one direction much harder than the other (clockwise is definitely tougher for me!), which is exactly why practicing both is so important.
- Tapered Ovals: Draw angled, converging lines with your ruler and practice decreasing the size of your ovals dynamically as you move along the page.
- Up-and-Down Zig-Zags: Practice tight, rhythmic up-and-down angled lines to build linear tracking control.
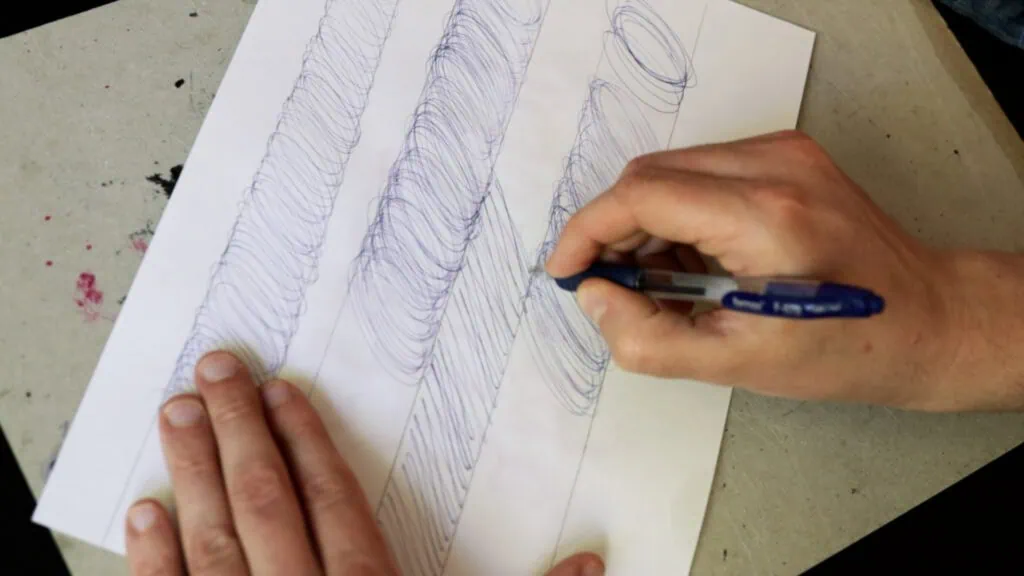
Avoid letting your wrist or fingers do the work here. If you use just your fingers, your lines will instantly look wonky and uneven. Focus entirely on a steady, repeating rhythm coming from the forearm.
Step 4: Style-Specific Drills
Spend about 3 minutes on the general drills above, and then move on to 1 or 2 minutes of specialized drills depending on the exact style you plan to practice that day.
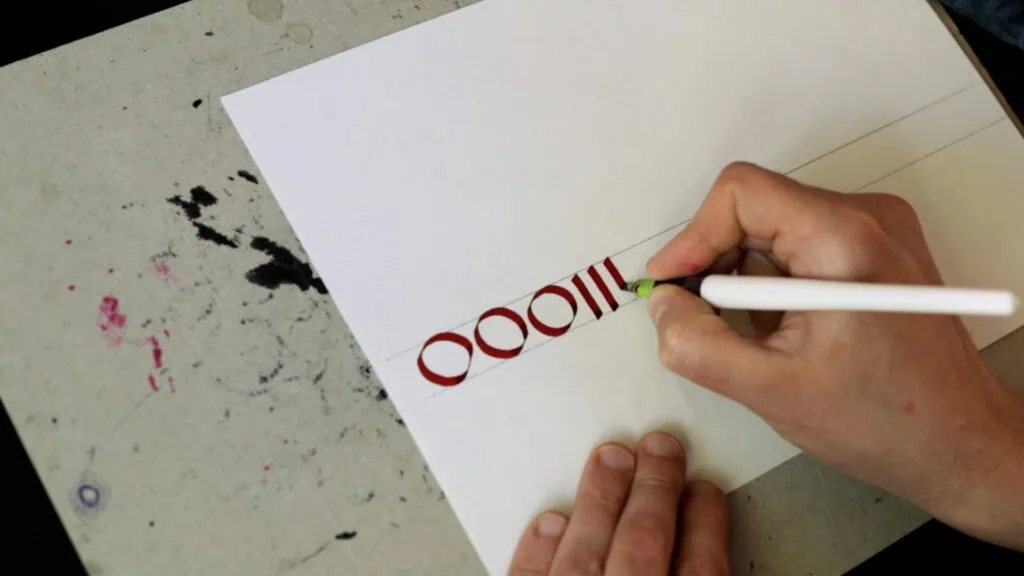
For Broad Edge Calligraphy (Gothic/Blackletter):
Grab your broad-edge tool (like a Pilot Parallel pen) and focus strictly on rhythm and consistency.
- Alternate between doing three perfect circles and three perfectly straight downstrokes.
- Focus entirely on keeping your spacing perfectly even between the elements. Your first row might look a little wonky, but by row three, your hand will be fully locked in.
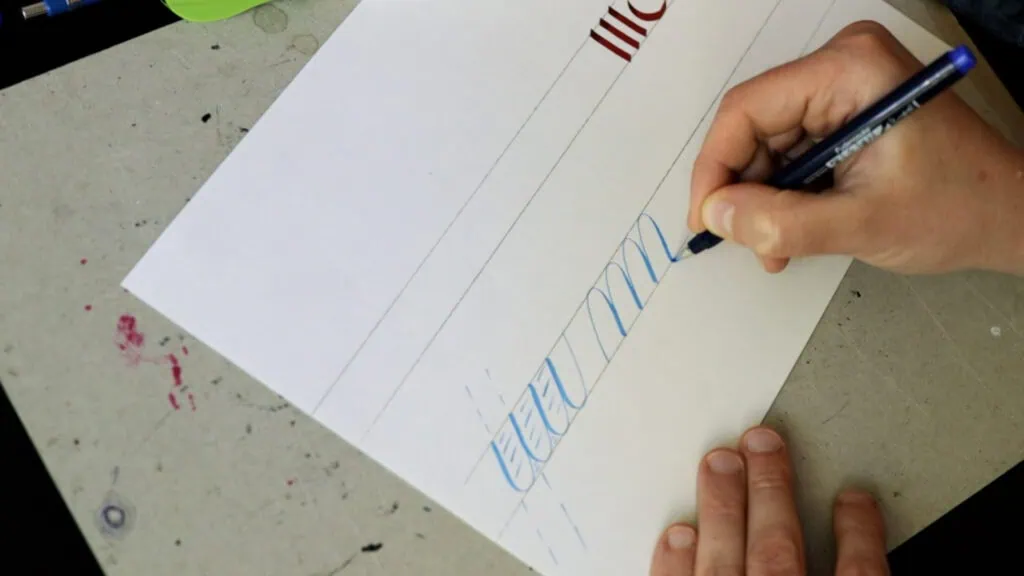
For Pointed Pen & Brush Calligraphy (Copperplate/Modern Script):
Grab a small-tipped brush pen (like a Tombow Fudenosuke).
- Practice a series of 3 to 5 repeating underturns and overturns.
- Your main focus here should be maintaining an absolutely identical slant angle on your downstrokes, and keeping the negative space inside the loops completely uniform.
Build the Habit
There are hundreds of complex drills out there, but you don’t need to overcomplicate it. Sometimes if I’m feeling a bit lazy, I skip the style-specific steps and just do the basic freehand ovals—and that’s completely fine!
The golden rule of calligraphy is that doing something is always better than doing nothing. Dedicate just 5 minutes to waking up your muscles before you dive into your actual lettering, and you will see an immediate improvement in your line control.
Grab a pen, give it a try, and remember: try, fail, and try again!
Ready to Take Your Practice Further?
If you want to move past general warm-ups and start mastering actual letters, words, and styles, a random blank piece of paper can only take you so far.
To help fast-track your progress, I created From Strokes To Style — A Brush Calligraphy Workbook.
This comprehensive digital workbook features over 50 pages of in-depth theory and 52 printable worksheet sheets designed specifically to walk you step-by-step from your very first basic strokes to developing your own beautiful, confident brush lettering style.
Master Brush Calligraphy
One Stroke at a Time
This 100+ page workbook walks
you step-by-step through brush
calligraphy basics to full style
development – no experience needed.

About the author
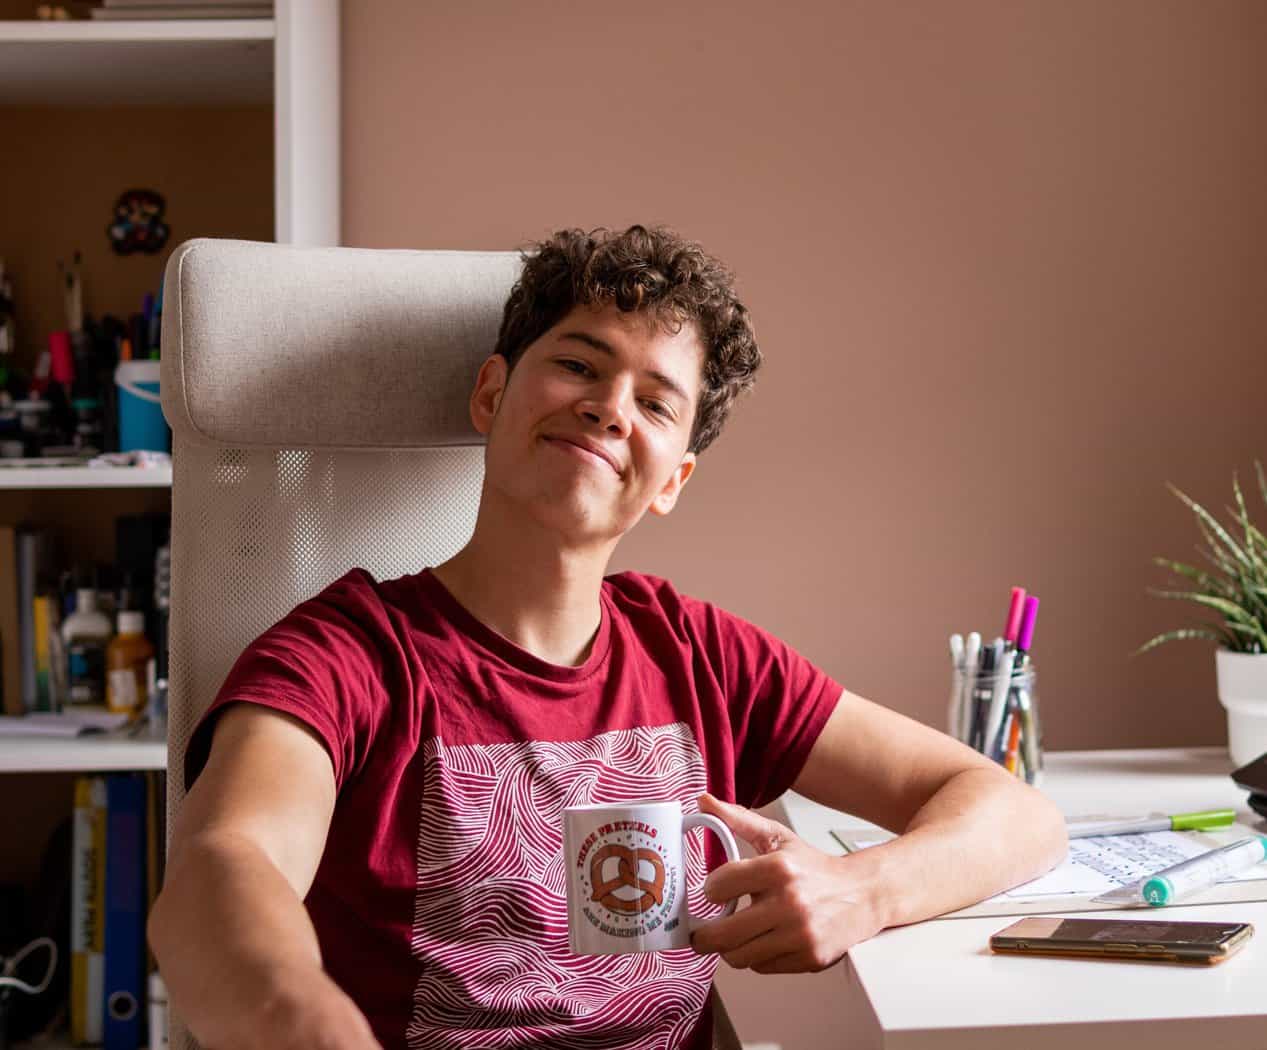
Hey, I’m Max. I’ve been drawing and messing around with letters since 2011. I don’t have a formal art degree—my background is actually in the kitchen as a former chef and on the streets painting graffiti with my friends. Over the last decade, through a ton of trial and error, I somehow turned that obsession into a full-time gig. These days, I design custom logotypes for global brands and paint large-scale murals. I started Lettering Daily just to create the kind of honest, no-BS tutorials I wish I’d had when I was starting out. Stick around, and let’s draw some letters.