Hello, everyone reading this tutorial!
My name is Rocío, I’m an English teacher from Chile who loves letters and lettering, and today I’ll be walking you through the step-by-step process of creating a beautiful hand-embossed lettering piece.
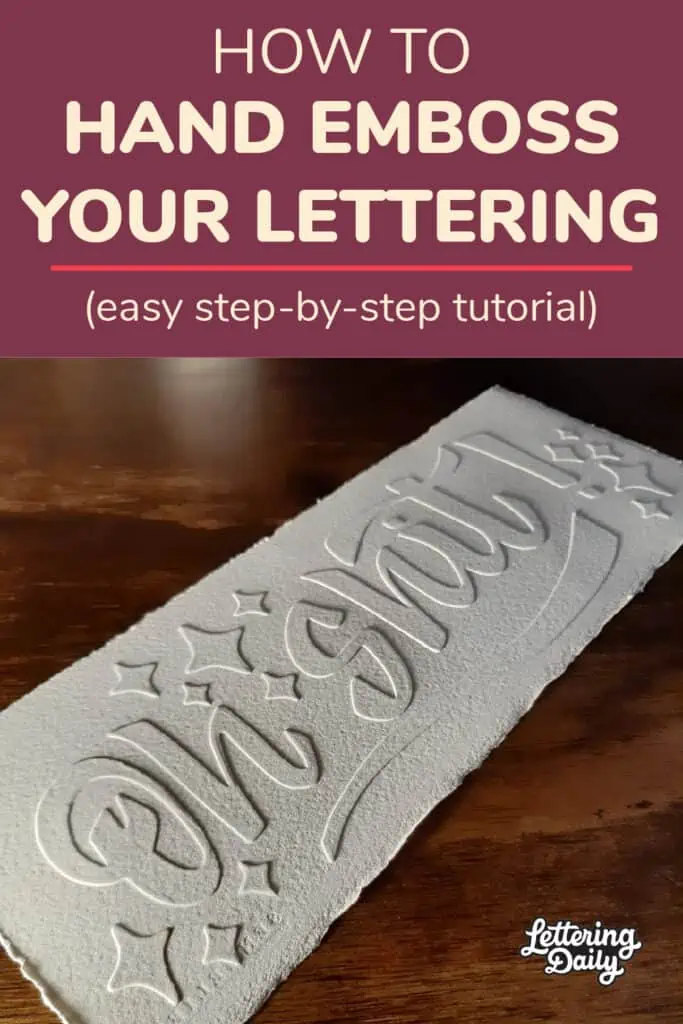
But what exactly is hand embossing (a.k.a. paper embossing, dry embossing)?
In very simple words, hand embossing or dry embossing is the raising of a design -in the case of this tutorial- on paper.
Let’s get started!
Tools and materials you’ll need to create a hand embossed lettering piece.
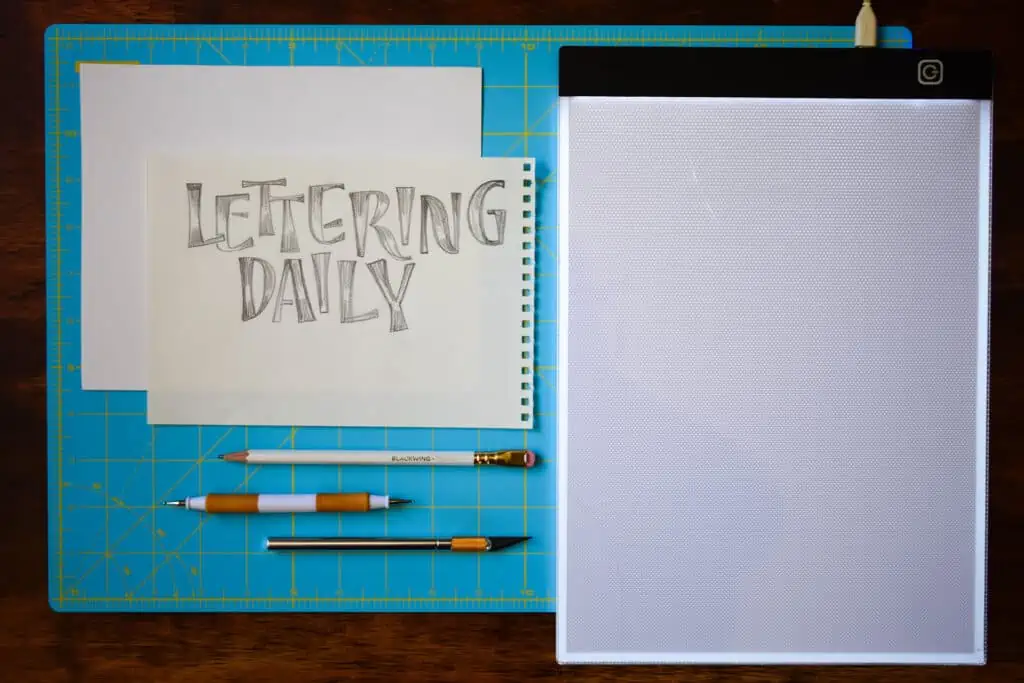
(All links to Amazon)*
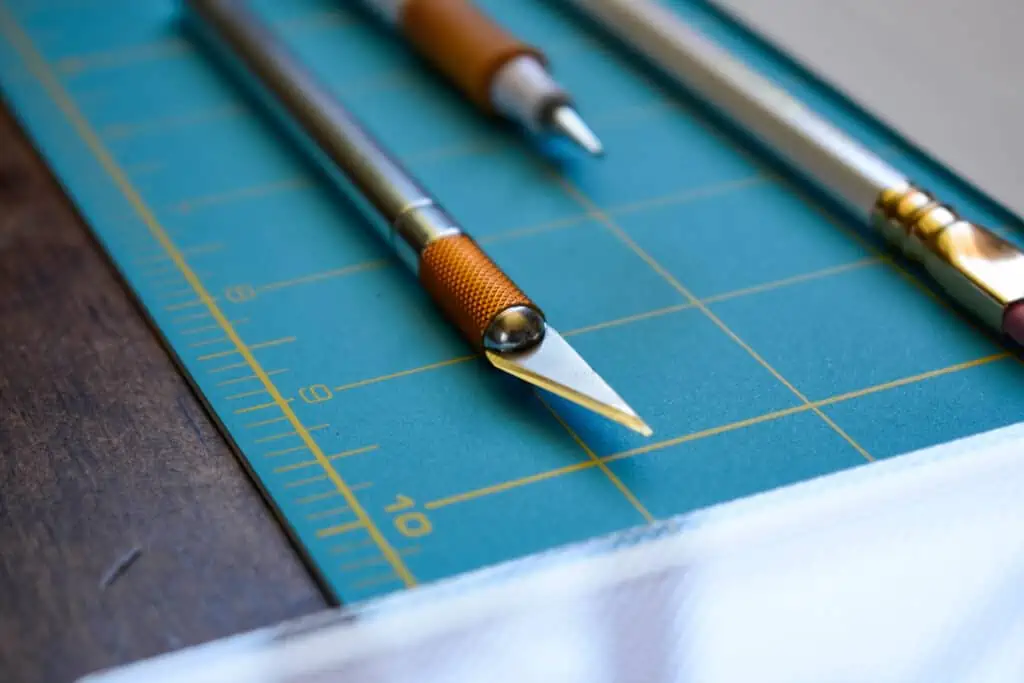
- Cutting mat
- Precision knife/craft knife (I gave a box cutter a try once, and it didn’t go very well, so I highly recommend getting your hands on a precision knife)
- 100-140 lb cardstock (for cutting out your stencil)
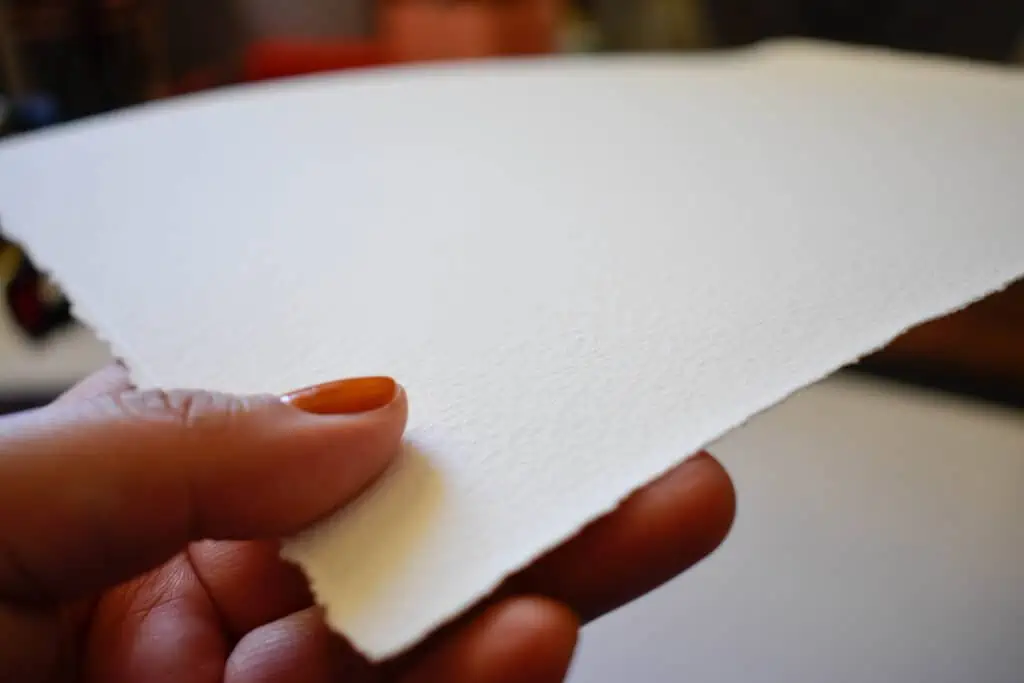
- 140 lb 100% cotton watercolor paper (for your final work). I feel the need to explain this one a bit! This is my preferred type of paper for my final hand-embossing works because I think it’s beautiful and adds an extra dimension of texture to the final result. Having said that, there are many types of paper and cardstock you can use for your final piece of work. So I’d recommend exploring a bit to find your favorite types of paper. The most important thing to consider is that the paper cannot be too light. Otherwise, you will probably damage it or tear through it with your embossing tool. To learn more about calligraphy papers, check out Max’s guide.
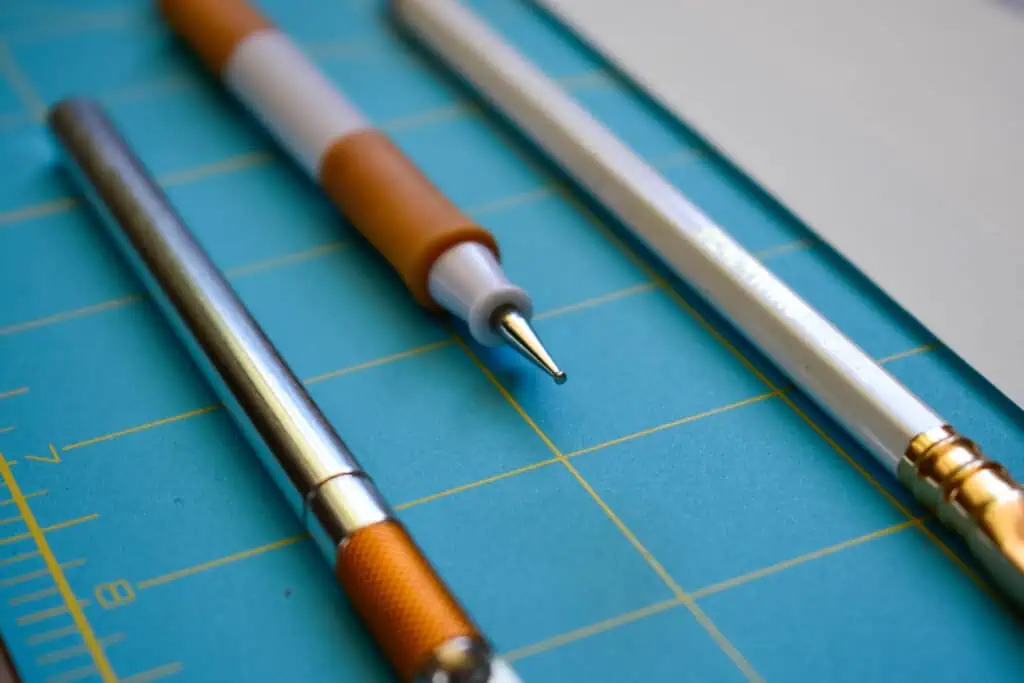
- Embossing stylus – If you don’t have one, you can use the back of a paintbrush or something similar that you think won’t damage the paper. Still, I highly recommend getting an embossing stylus because it does make a massive difference in the result and allows for more precision and a cleaner final look. Also, they’re generally not expensive at all!
- Lightbox – If you don’t have one, you can definitely use a window on a sunny day! I do recommend getting your hands on one, though, because they are sooo useful! I honestly don’t know why it took me so long to get one in the first place. Really good purchase.
- Masking tape.
Ok, so, get your tools ready, and let’s give this hand embossing thing a try =)
Hand embossing your lettering – step by step process
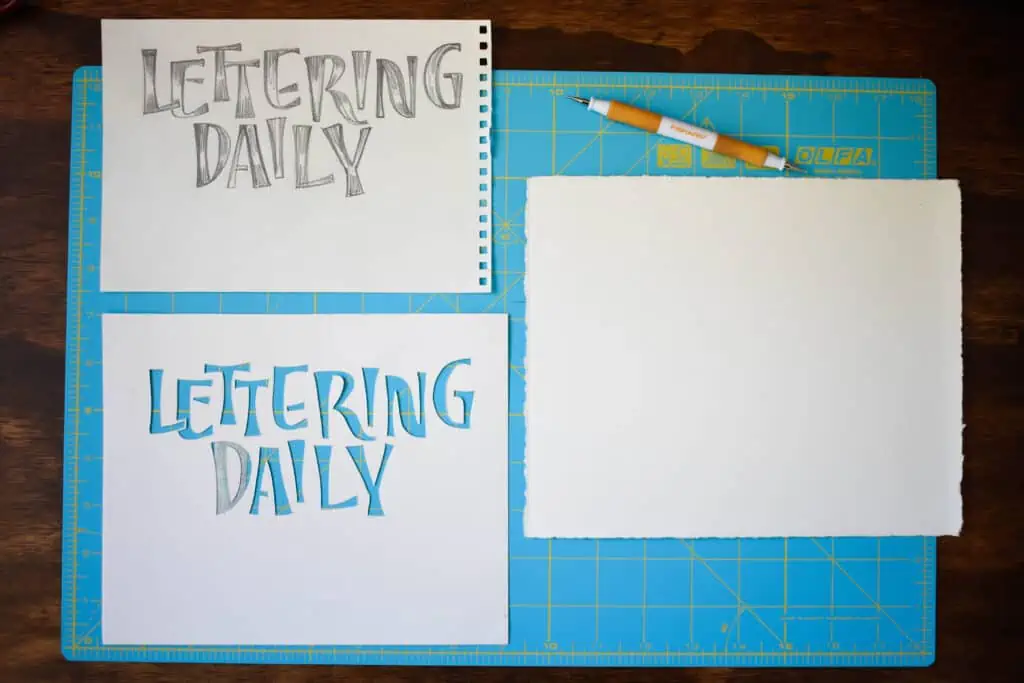
Step 1 – Come up with your lettering design!
If it’s your first-time hand embossing, I would recommend going for a simple design.
Try capital letters, maybe, and make sure they’re not too small because you’ll have to cut them out, and that part can be a bit difficult.
Also, keep in mind you’ll be tracing the inside edges of letters or your design, which means your final hand-embossed work will be a little smaller than your original design.
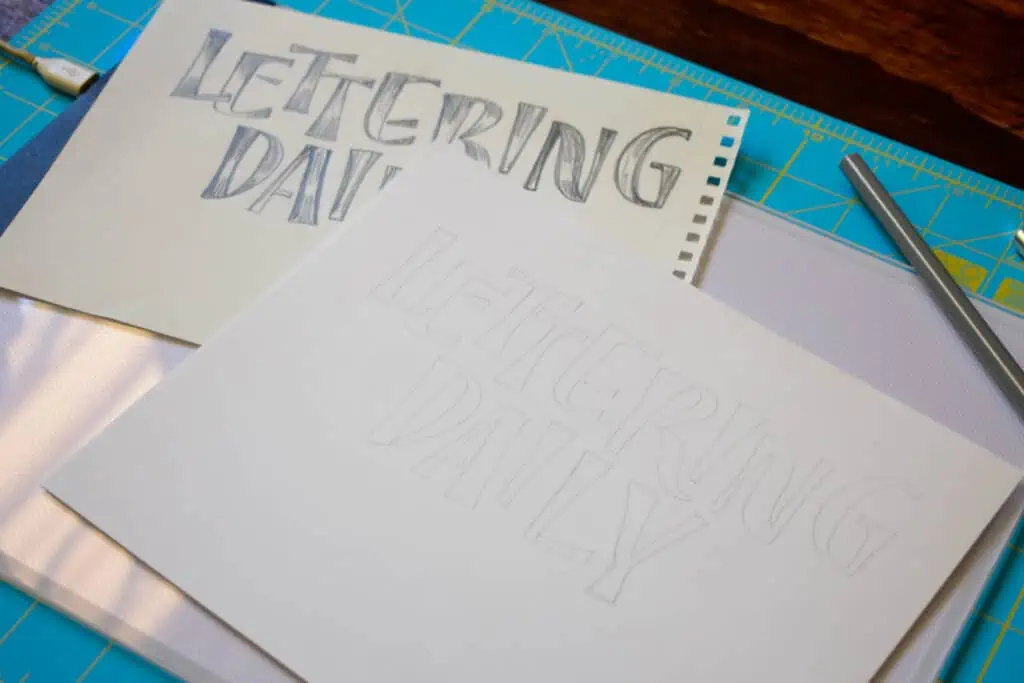
You can draw your lettering design on any type of paper you like to work on and then transfer it onto the piece of paper you’ll be cutting out using a lightbox or, if you don’t have one, using a window as a lightbox.
I imagine you could even use carbon paper to transfer your design onto the stencil paper (I haven’t used it, but I’m sure it would work).
If you create digital lettering designs, you can print them directly on the piece of cardstock you’ll be using to create your stencil.
Alternatively, you can draw your design directly on the piece of cardstock you’ll be cutting.
However you choose to approach this first step, you need to end up with your design on the piece of cardstock you’ll be using to cut out your stencil using your precision knife.
Step 2 – Time to cut your lettering into a stencil
After a few months of exploring this technique, I definitely think this is the most difficult and the most crucial part of the process.
Your final piece of work will only be as good as your stencil is, and practice is key.
Finding the right precision knife and the right cardstock for the stencil can also help, of course, but I do think the actual cutting part is what requires a lot of practice and patience.
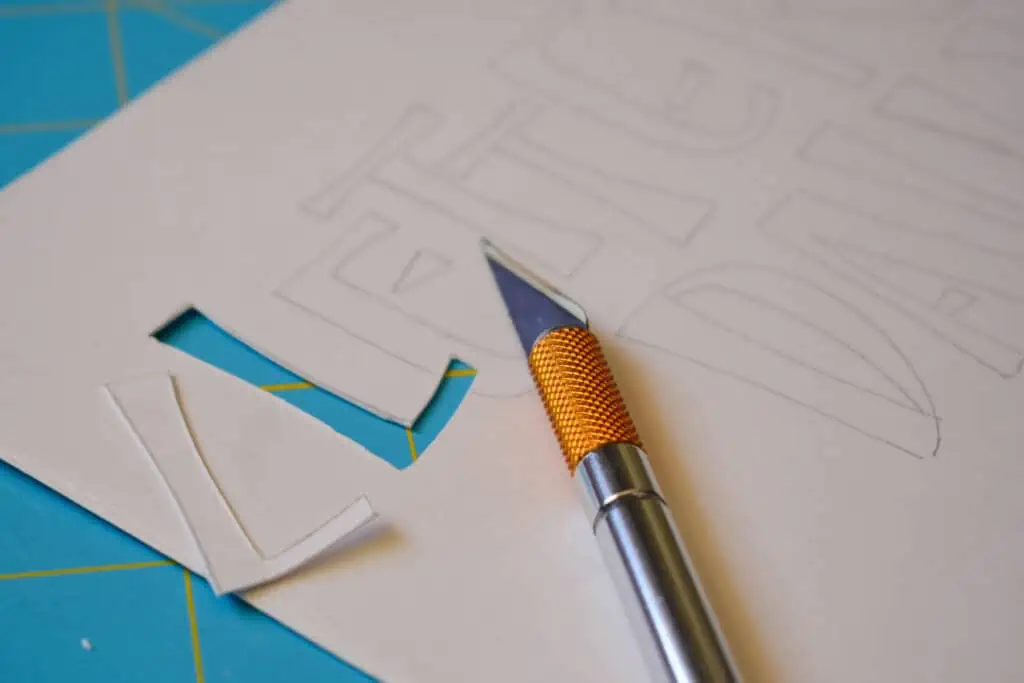
You’ll be using a very, very sharp knife and could very easily hurt yourself, so remember there’s no need to hurry.
Please also keep in mind you’ll be applying a lot of pressure when cutting, which can be a lot of work for your arm and wrist.
At some point last year, I was doing a lot of little hand embossing projects every week, and it took a toll on my wrist, so I had to slow things down a little and give my wrist and arm a rest.
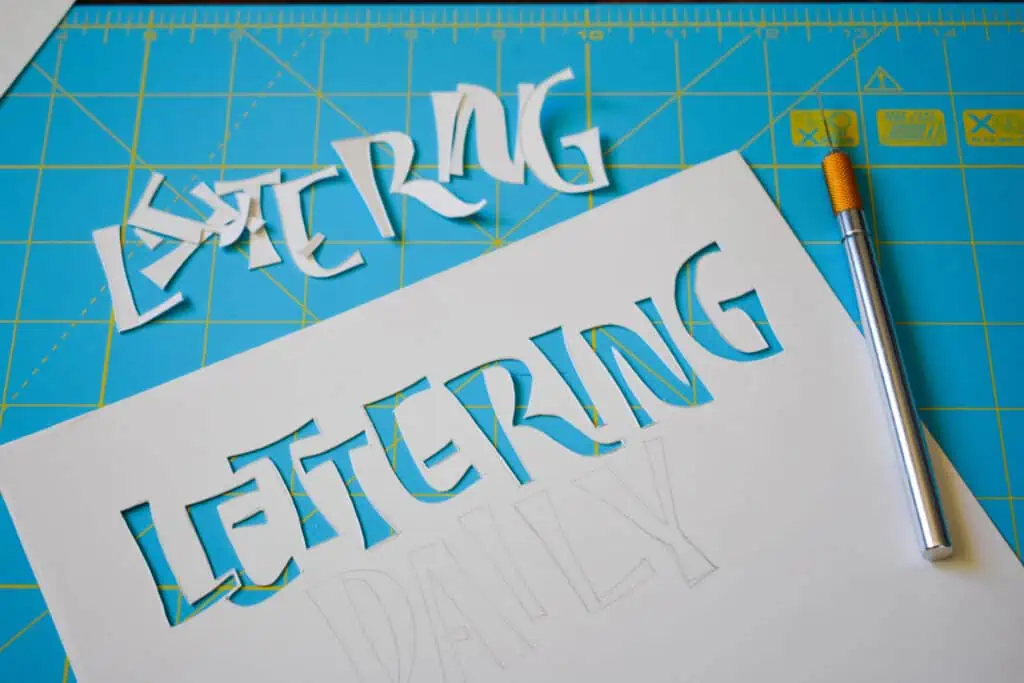
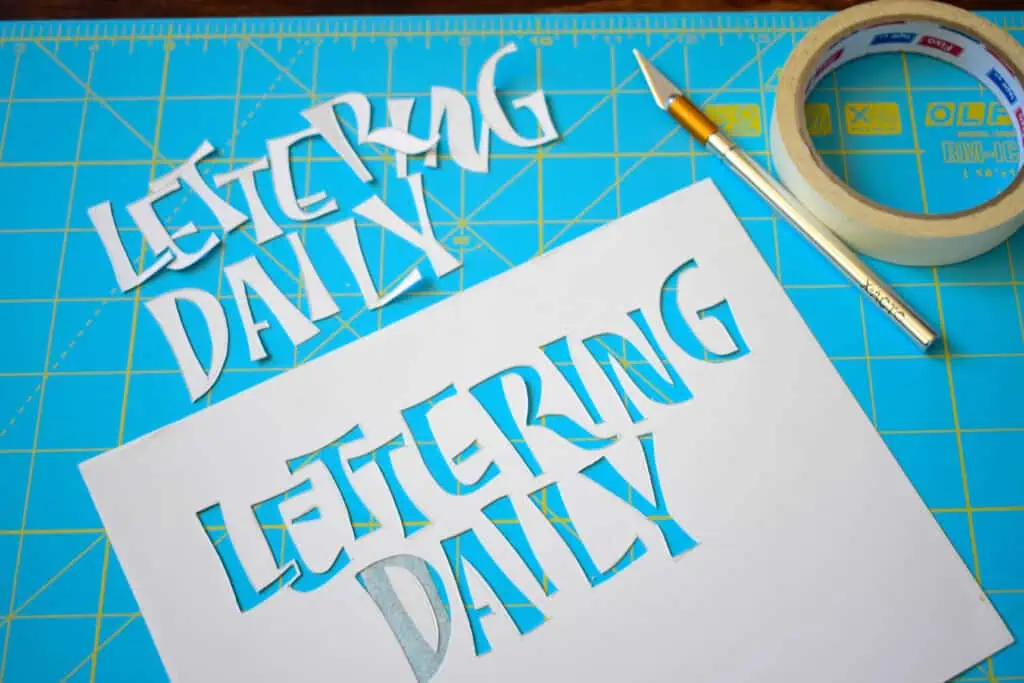
Step 3 – Fix your closed counters.
Very quickly after you have started cutting out your stencil, you’ll start coming across letters with holes in them, or closed counters, as they are actually called but, you know, holes!
Letters with closed counters include A, B, D, O, P, Q, R, a, b, d, e, g, o, p, and q.
If you cut out these white spaces in these letters, you’ll end up with nothing but the external shape of the letter.
You’ll have to decide, then, how to deal with these holes.
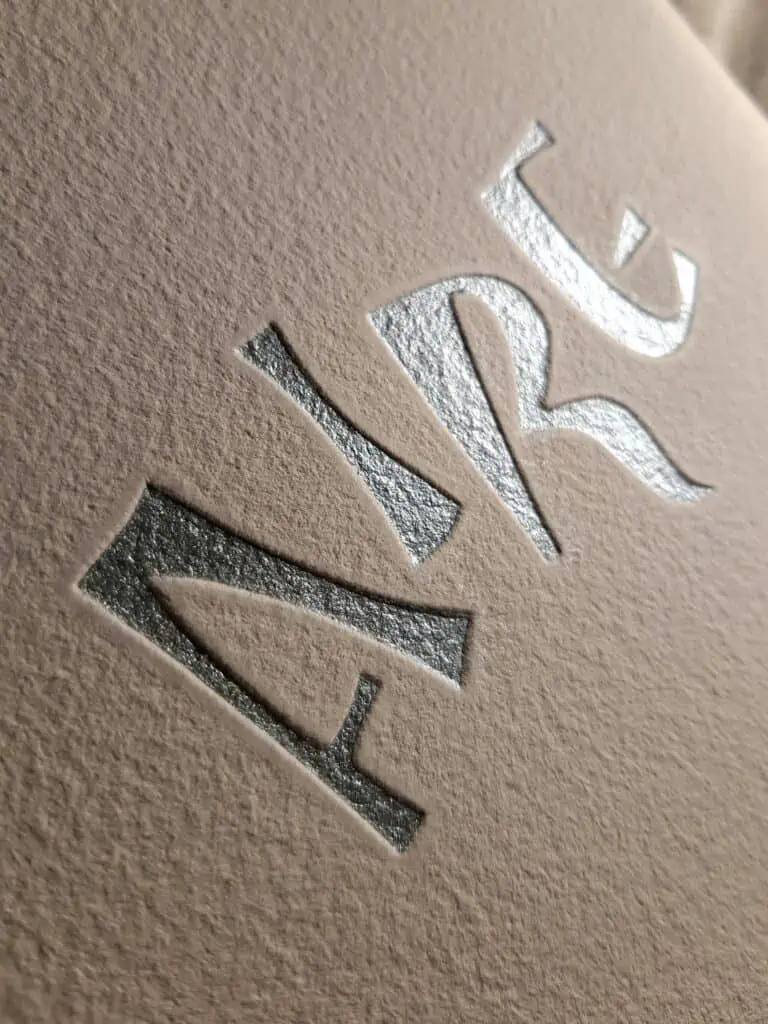
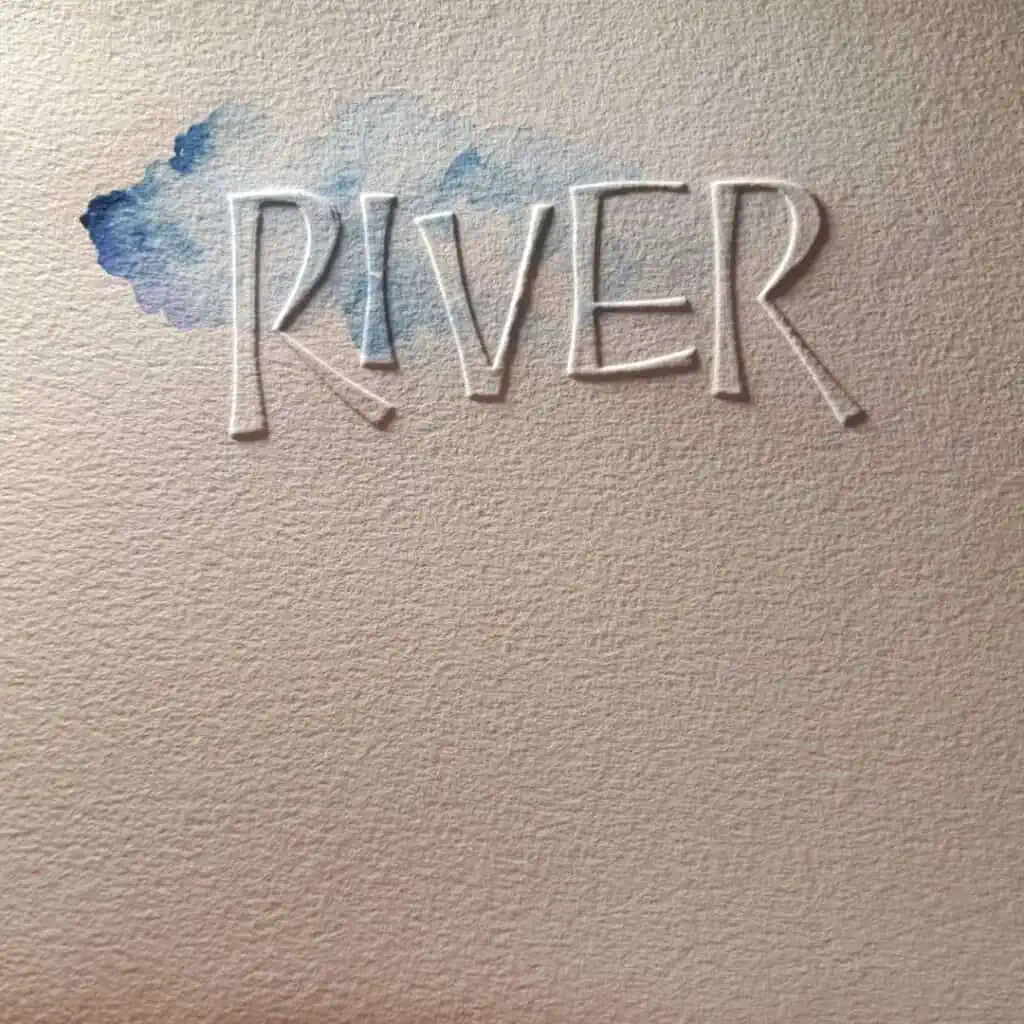
The first option is to be creative and avoid having negative spaces altogether.
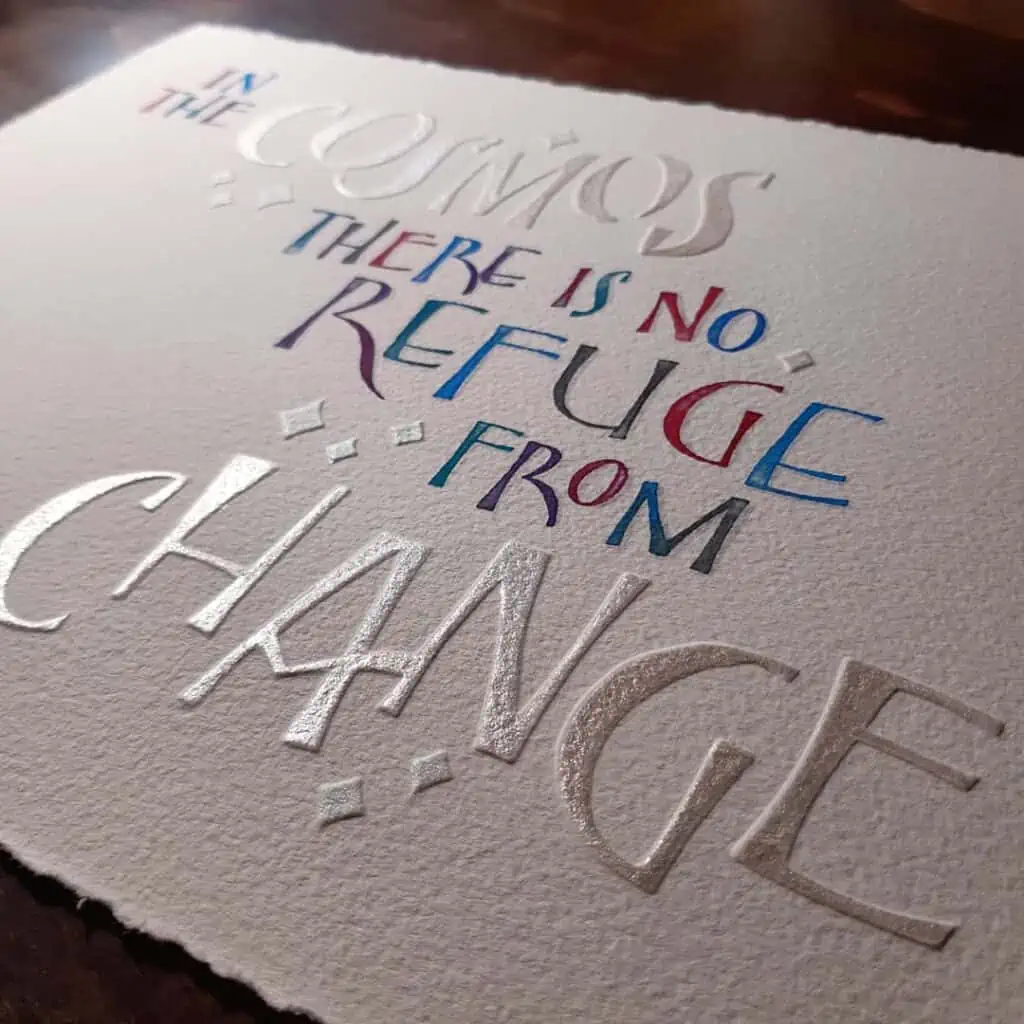
I do this a lot, actually, because I feel it suits the style of lettering I’ve been into most of this past year (see letter R in this project).
The second option is to just cut out the white spaces, being very careful not to alter their shape when cutting them.
Then, after you’ve cut them, place them in the letter and use masking tape to keep them in place (you can see the letter D in my project).
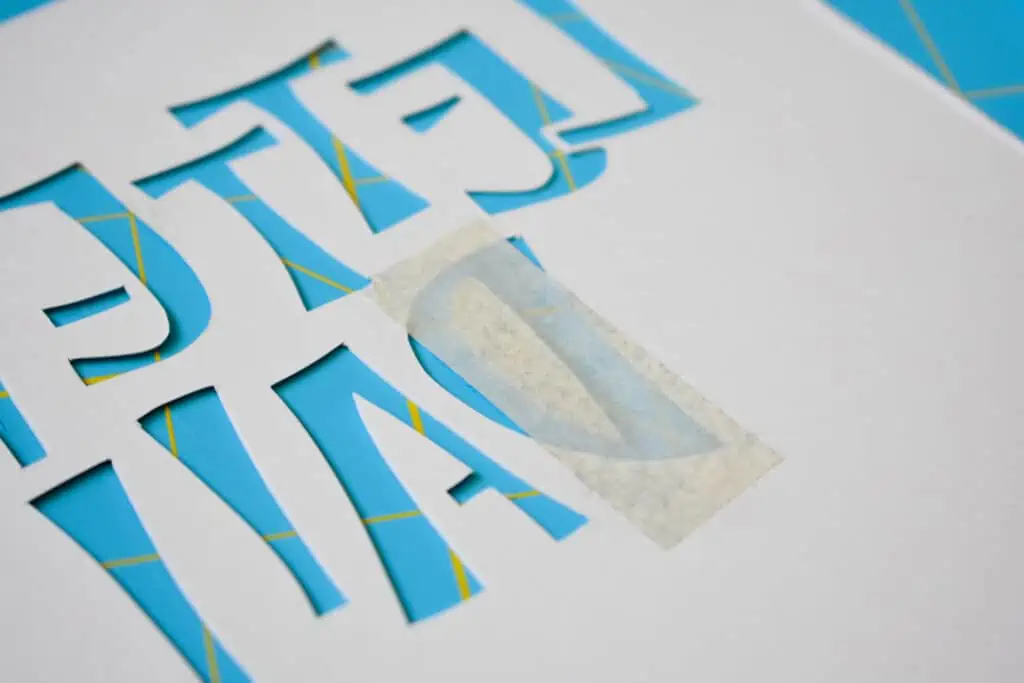
It’s very important that you use the tape on the back of your stencil.
Otherwise, it will stick to the piece of paper you’ll use for your final work when you trace your letters.
Because I don’t like it when the masking tape sticks to my lightbox too much, I try to remove some of the glue of the tape by sticking it to my clothes a few times before using it (which is why it looks like it’s dirty in the photo below).
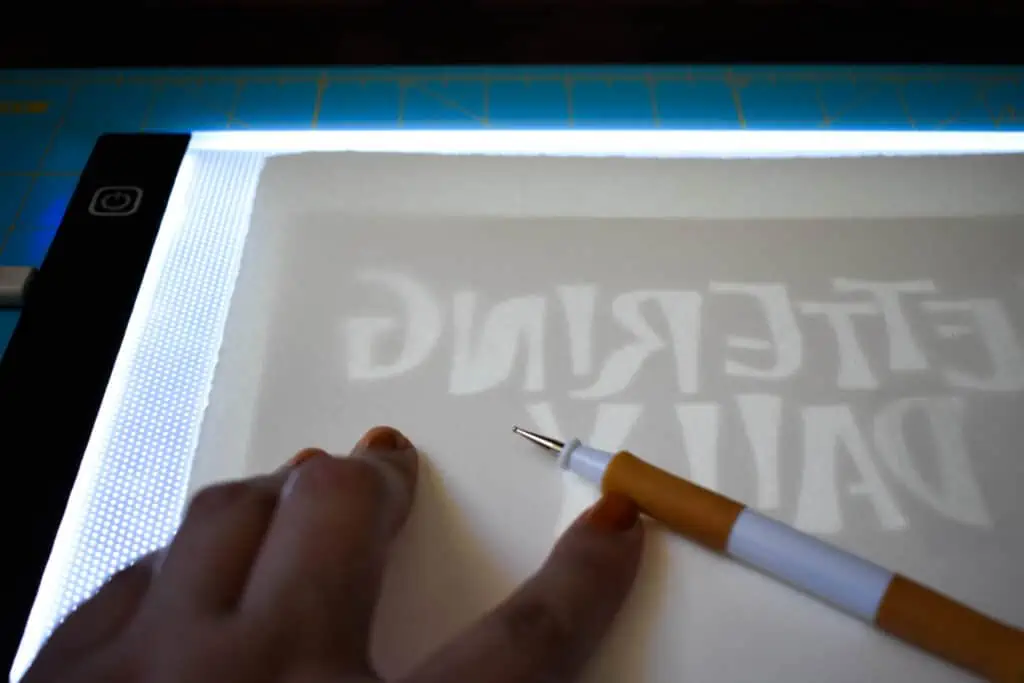
Step 4 – Get ready to trace your lettering!
So, you’re done with what I think is the difficult part of this process, yay!
You now have your beautifully cut stencil, and it is time to use your embossing stylus and start tracing.
To do this, you need to place your stencil facing down on your lightbox, and over it, you have to place the piece of paper or cardstock that you’ll use for your finished piece.
When you turn on your lightbox, you’ll see your stencil with your lettering design backward and the back of your piece of paper/cardstock (see picture below).
The reason for turning your paper backward is that you’ll be ‘pushing’ the paper to make your letters ‘pop out of the page.
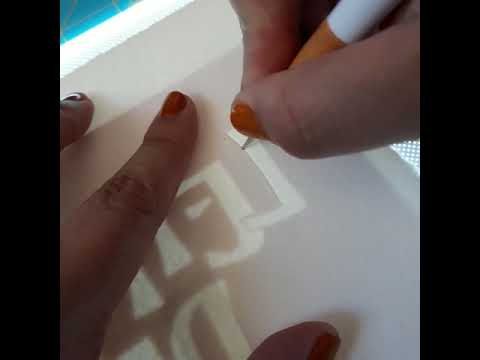
Step 5 – Time to make the magic happen (hand embossing)
Now that you have your stencil and piece of paper ready, it is time to trace.
Use your stylus and start carefully tracing the outline of your letters.
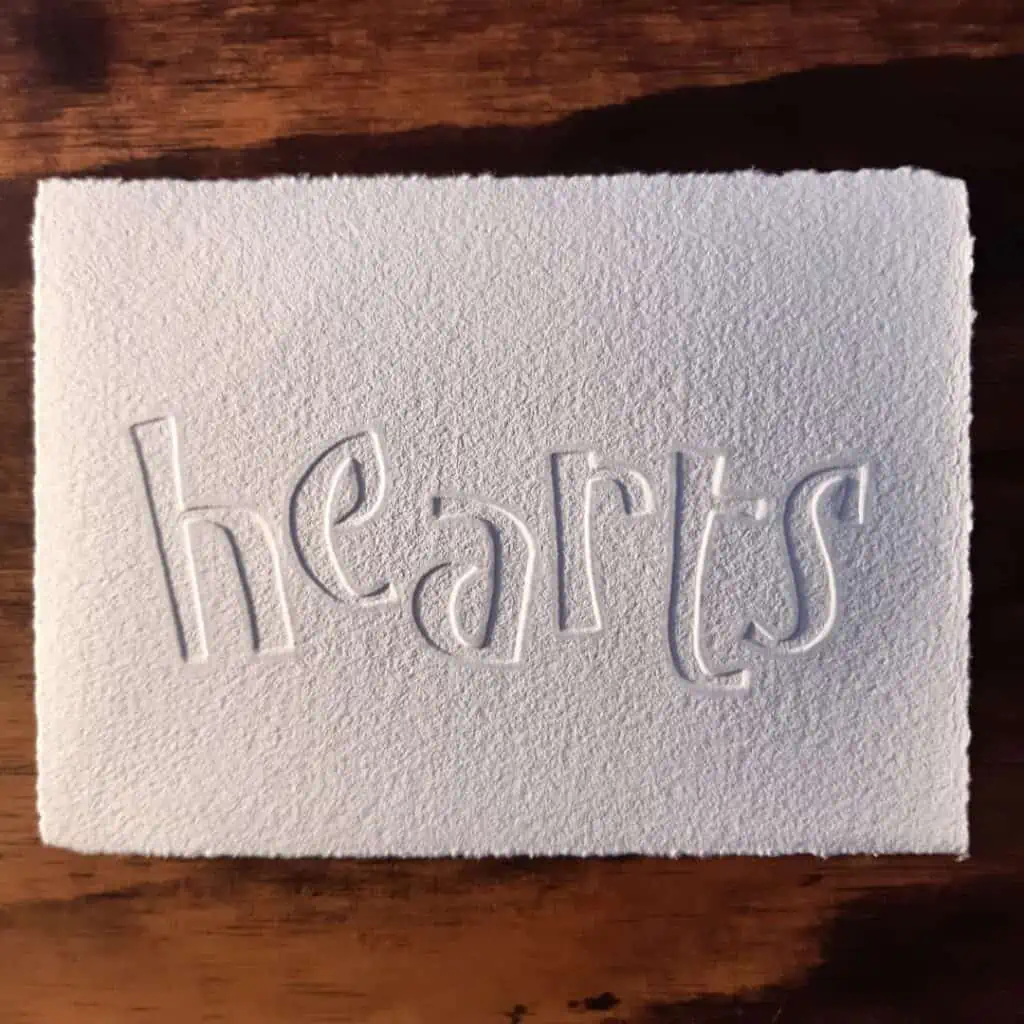
I personally only trace the outline of my letters, even though I know some people trace both the outline and the inside of the letters.
In my case, because I use highly textured paper, by tracing the inside of the letters, I would actually get rid of that beautiful texture I like so much.
The amount of pressure you’ll need to apply will depend on the type of paper you’re using.
I use heavy watercolor paper, which requires quite a bit of pressure with the stylus.
Here you can see a quick video demonstration of how I do the hand embossing process.
With practice, you’ll know how much tracing and pressure your paper takes without getting damaged.
The stylus that I use has two ends, each in a different size.
If your design is very small, a larger stylus will make tracing difficult or not possible, which is why it’s always better to start with bigger designs.
Once you get the hang of it, you’ll be able to better choose the stylus that will work better for the pieces you want to create.
Please note that when you start tracing your design, it’s very typical for your stylus to want to sort of leave the edge you’re trying to trace, even if you concentrate a lot and try to stick to the edges.
This happens to me every time I work on a hand embossing piece.
You might think that when this happens, you’ve ruined your work, but actually, if you haven’t applied a lot of pressure yet, these little lines outside the edges won’t be noticeable in your final work.

Step 6 – Revealing your hand embossed lettering
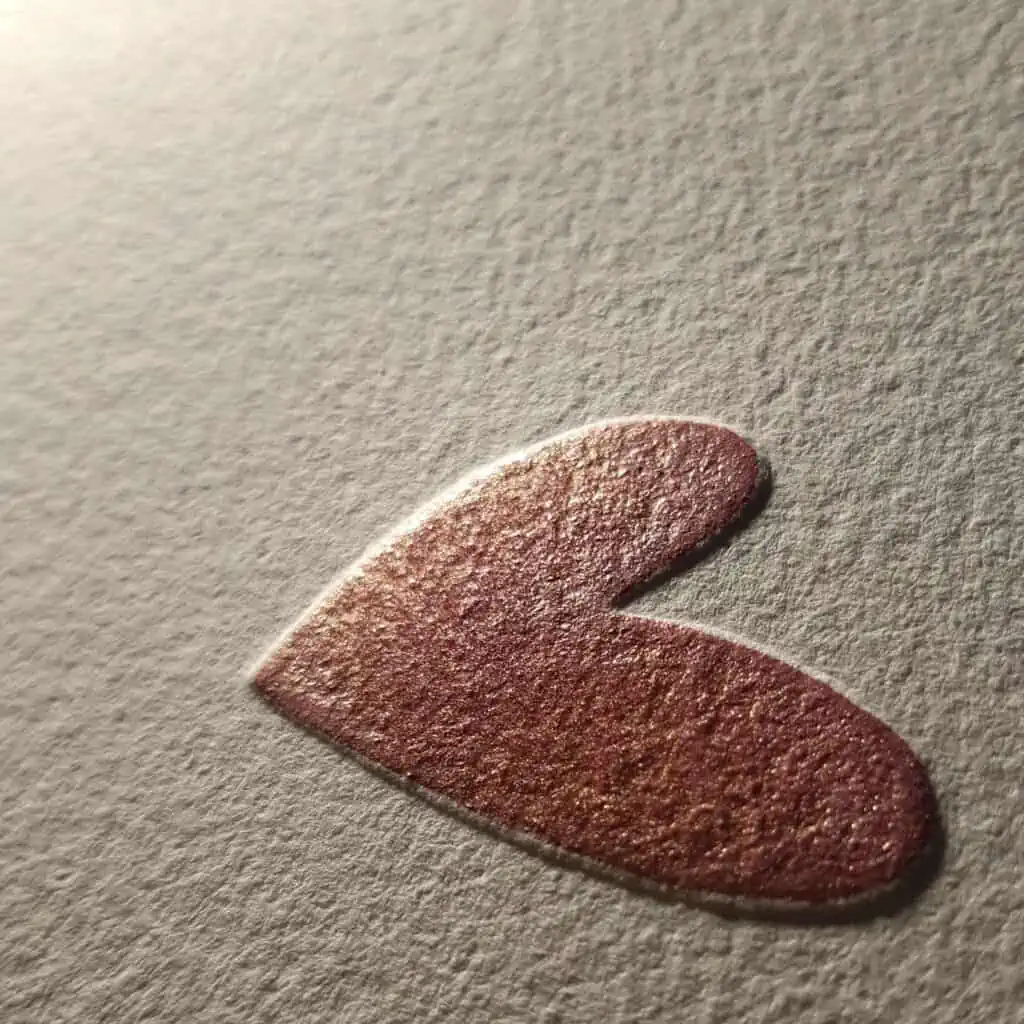
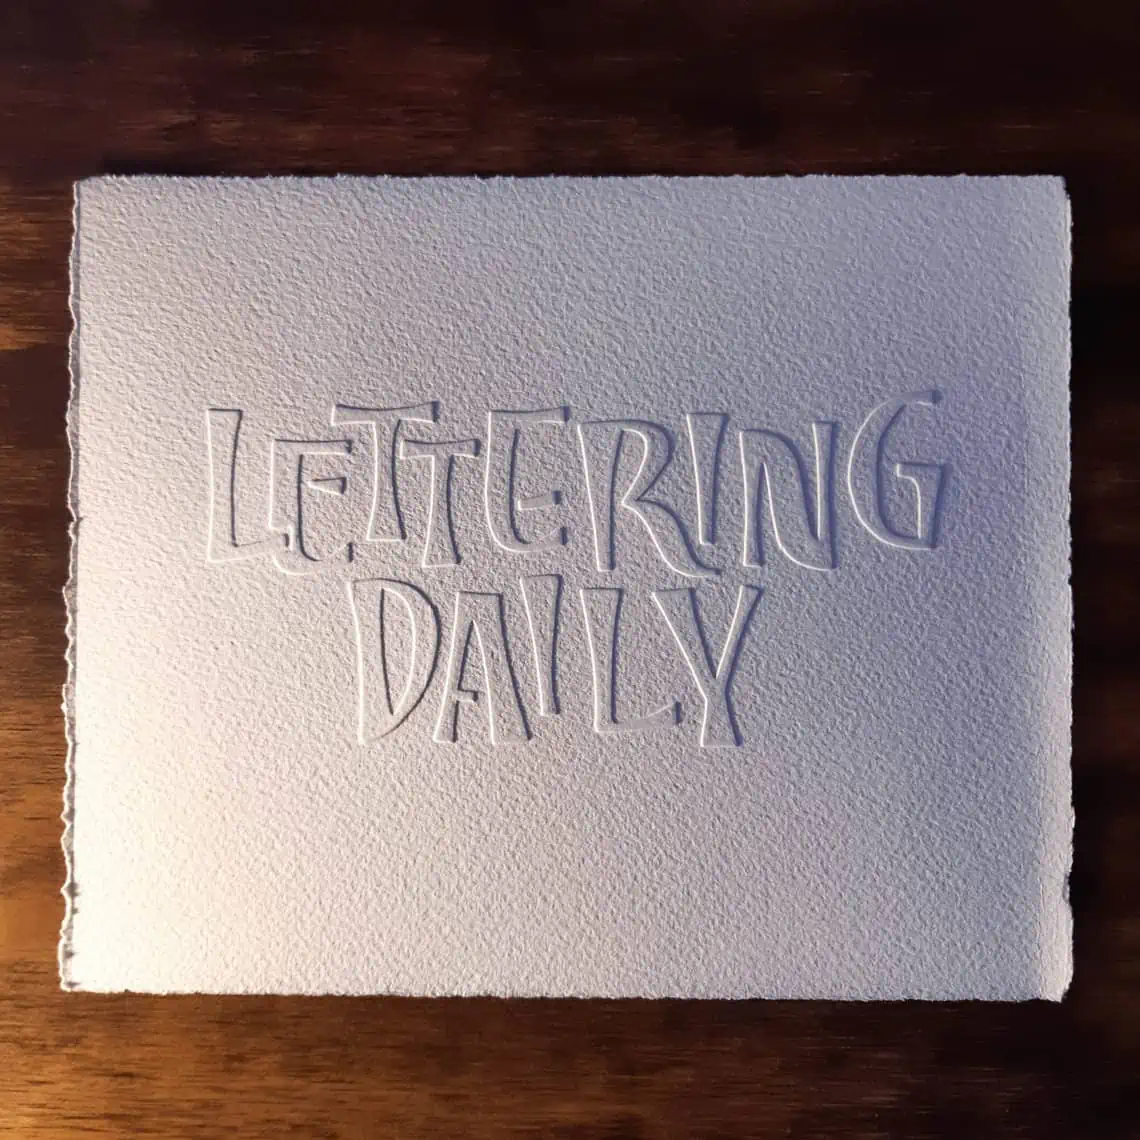
You’re done tracing now, and this is probably my favorite part: turn your piece of paper around and marvel at your beautiful hand-embossed design!
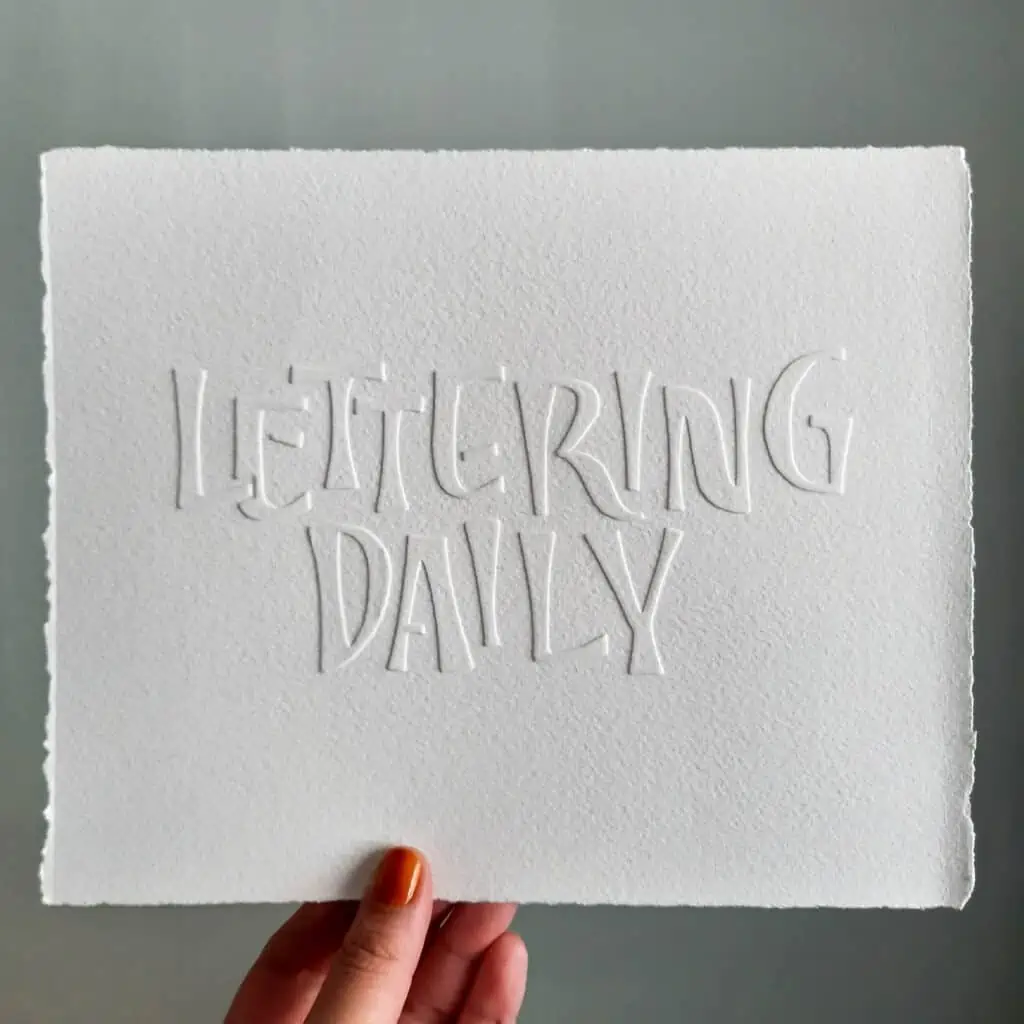
Here you can see also a short video clip of the revealing.
It’s not over yet.
This last step is perhaps not part of every hand embossing tutorial you come across, but I really think it should be.
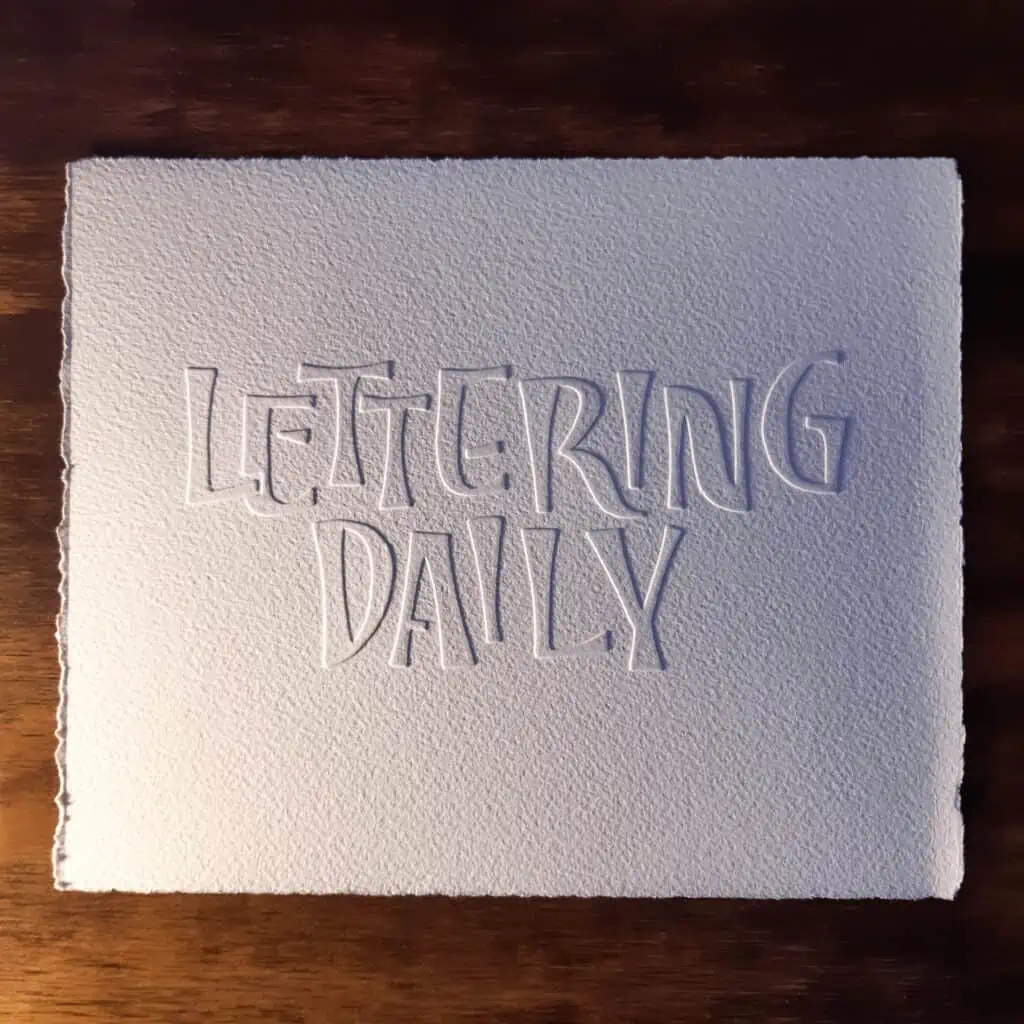
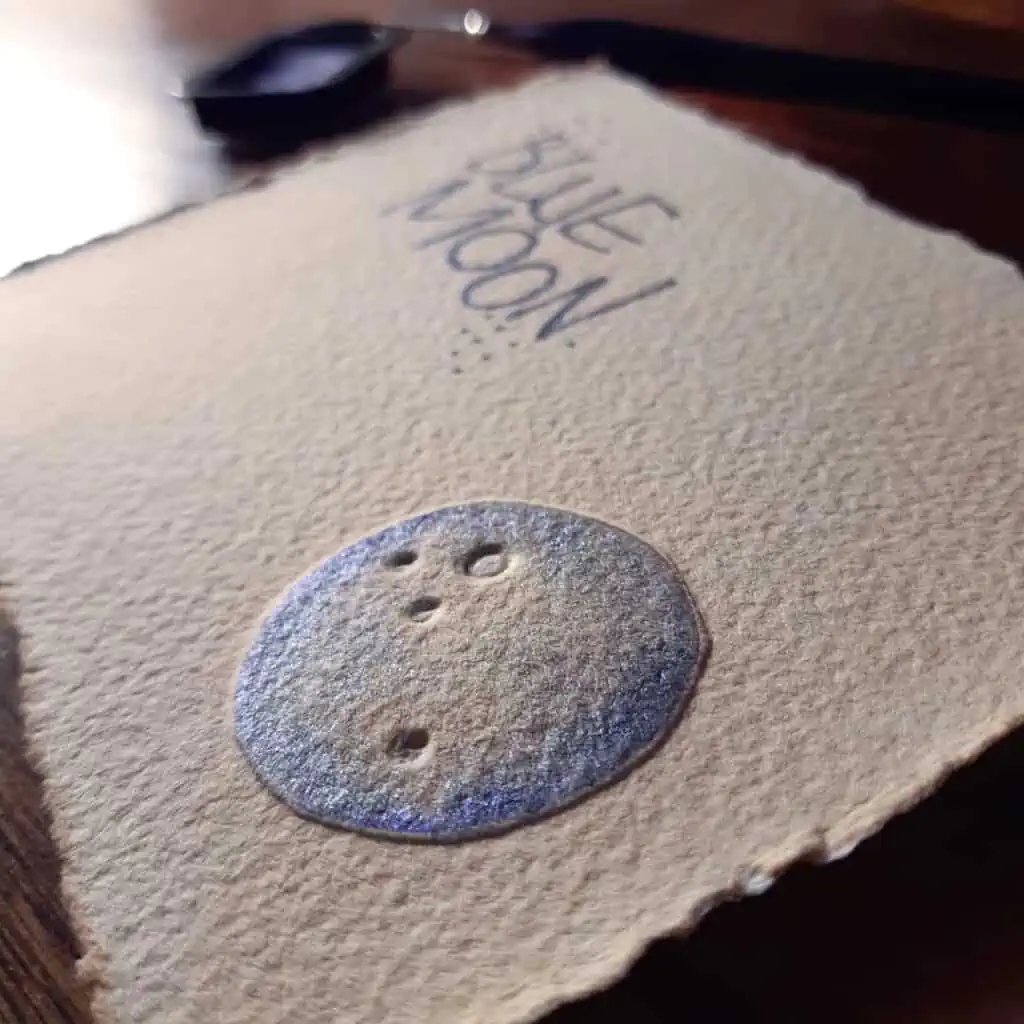
I’m talking about taking pictures of your hand-embossing piece.
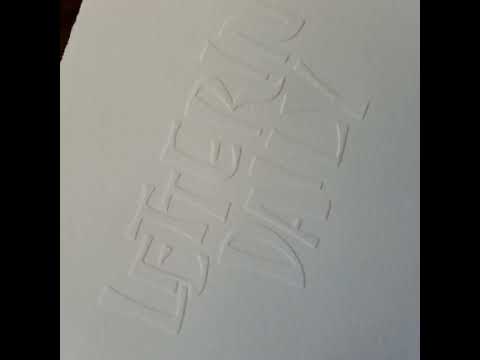
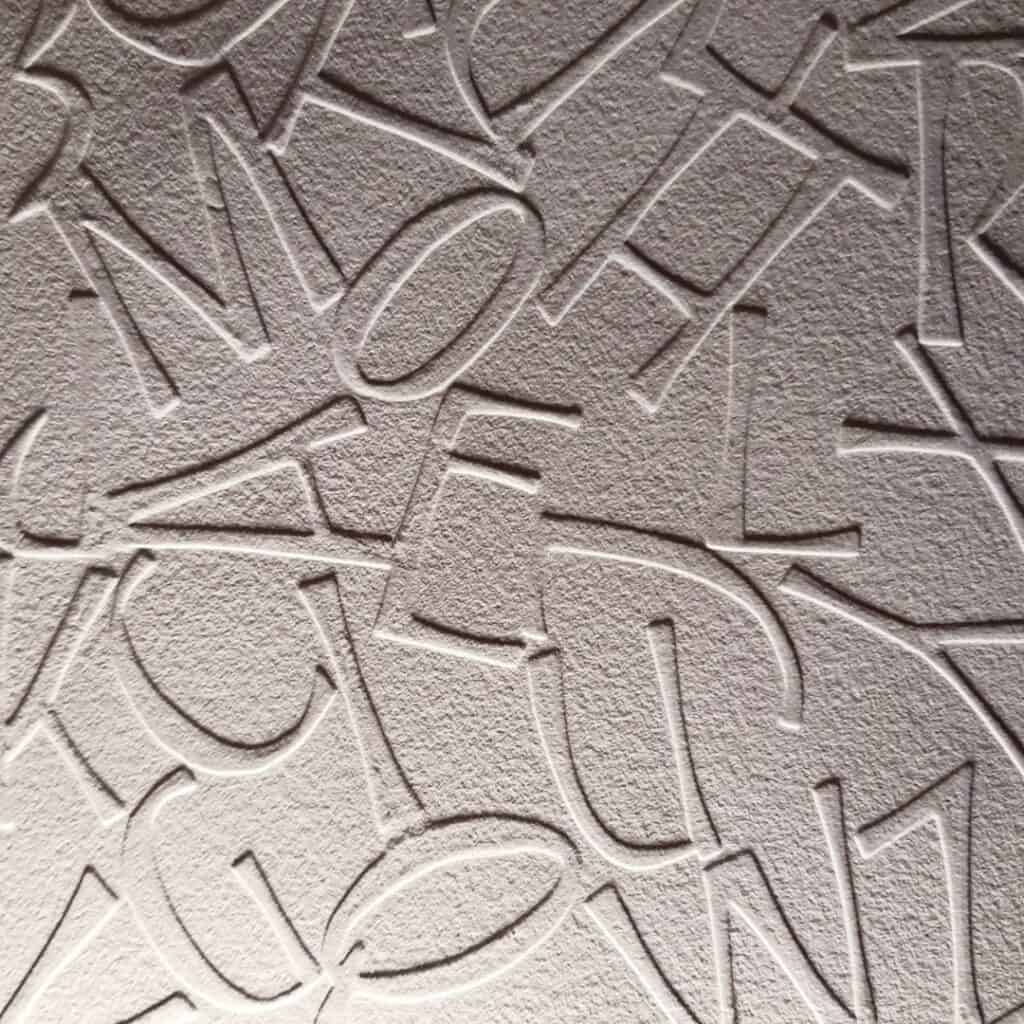
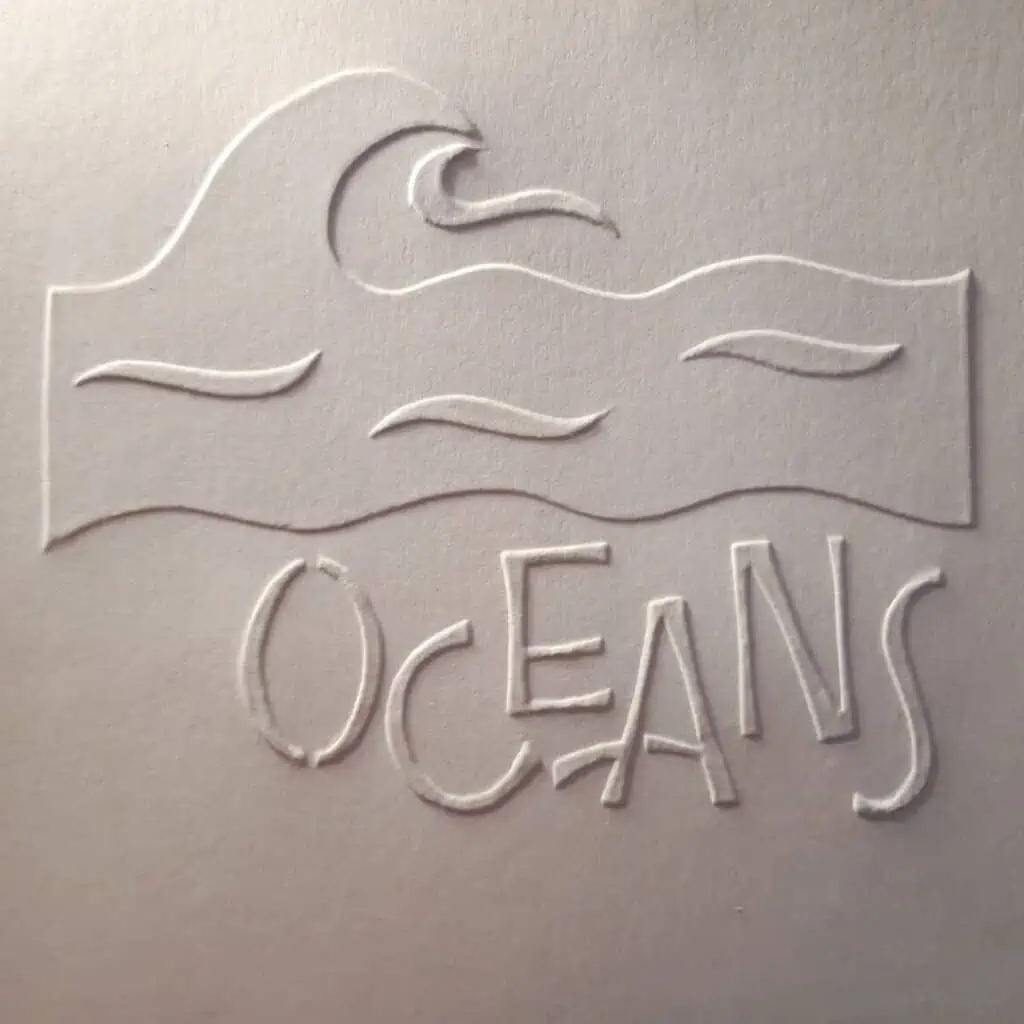
I really enjoy playing with the light and the shadows the raised design creates.
You can get really dramatic effects depending on where you place your light source.
You can use a desk lamp, a light ring, or the light coming from a window!
Hand embossing lettering tips – do’s and don’t’s
I said this before in the tutorial, but I’ll say it again.
Your final piece of work will only be as good as your stencil is!
And what I want to add now is that once you’ve cut out your stencil, something really cool is that you can use it as many times as you want.
For instance, you can create a simple present tag design, work on your stencil, and then you can use it as many times as you want!
If you were able to cut out your lettering design really nicely, you could use the cut-out letters to do hand debossing!
Debossing is when your design is imprinted into your piece of paper, creating a letterpress effect instead of a raised effect.
Instead of using a stencil, hand debossing requires you to use cut out letters or a cut-out design and trace it with your stylus in the same way you would do when embossing, but instead of tracing on the inside edges of your design, you trace the outside edges following the same steps this tutorial walked you through.
At first, I didn’t completely understand what side of my piece of paper the stencil had to go on.
I saw pictures of hand embossing and debossing, and I couldn’t figure out how they had been done.
Something that helped me a lot was understanding that the side of the paper that you’ll be working on with your stylus is always the back of the paper because If you look at the back of your finished work, you’ll notice it doesn’t look very pretty.
Don’t go over what you have already traced with your stylus if you have already moved your stencil and your piece of paper. If you decide you want to retrace your design because it doesn’t look good enough or the design doesn’t look as defined as you’d like, I’d recommend not doing it. You might think that if you place the stencil correctly, you’ll be able to go over your design on the exact same lines you have already traced for them to look more defined, but what has happened to me many times is that I have ended up with double lines or double edges, and I personally don’t like them.
What I do recommend is that you trace your design applying a good amount of pressure and that you go over it many times so that the edges of your letters are well defined, but once you’re done, just leave it be!
Don’t trace the inside of your letters or design. I have seen tutorials that do this, and I personally don’t think it’s necessary. If you firmly trace the edges of your design or letters, then you’ll achieve the beautiful raised effect of this technique. If you trace the inside as well and you’re using textured paper, then you’ll lose that texture. It’s also a bit difficult to trace the inside evenly using the stylus. It is ultimately, though, a matter of style. So perhaps give it a try to see if you like the final look!
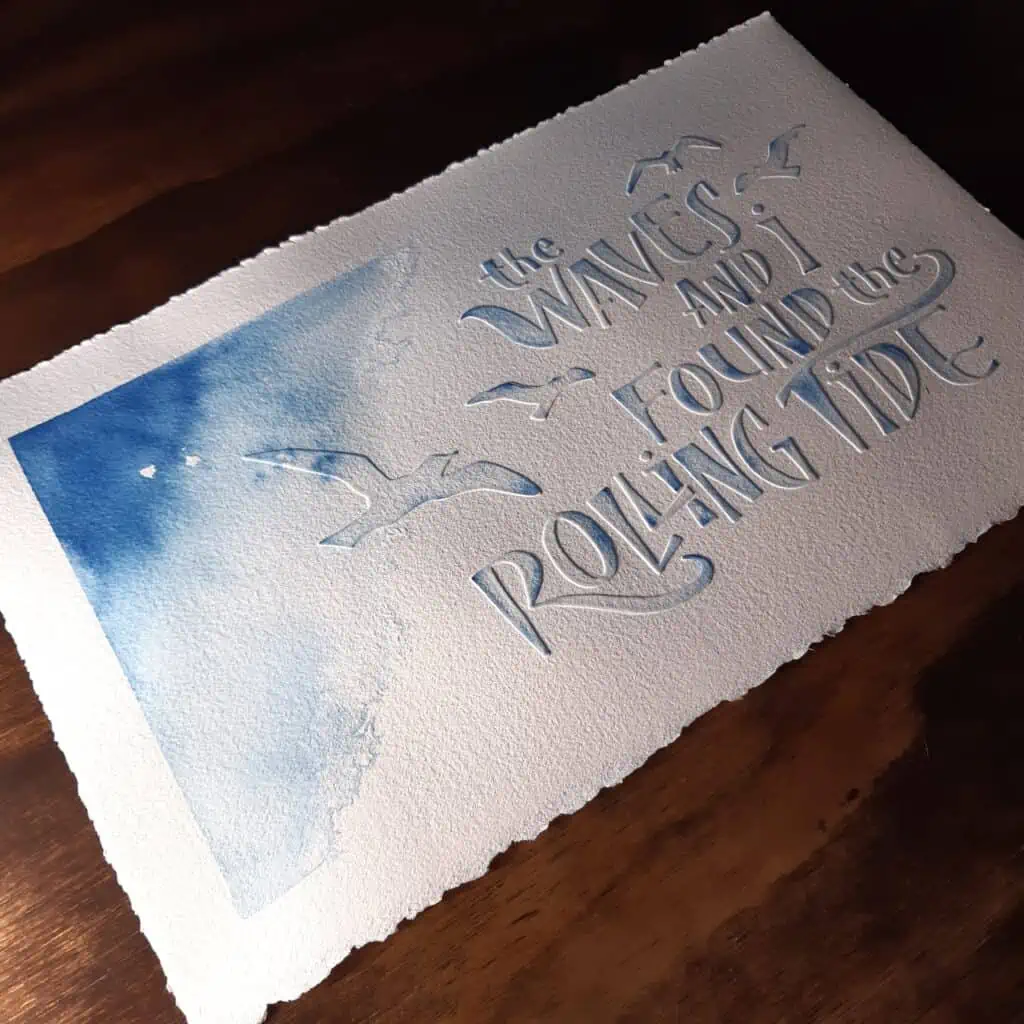
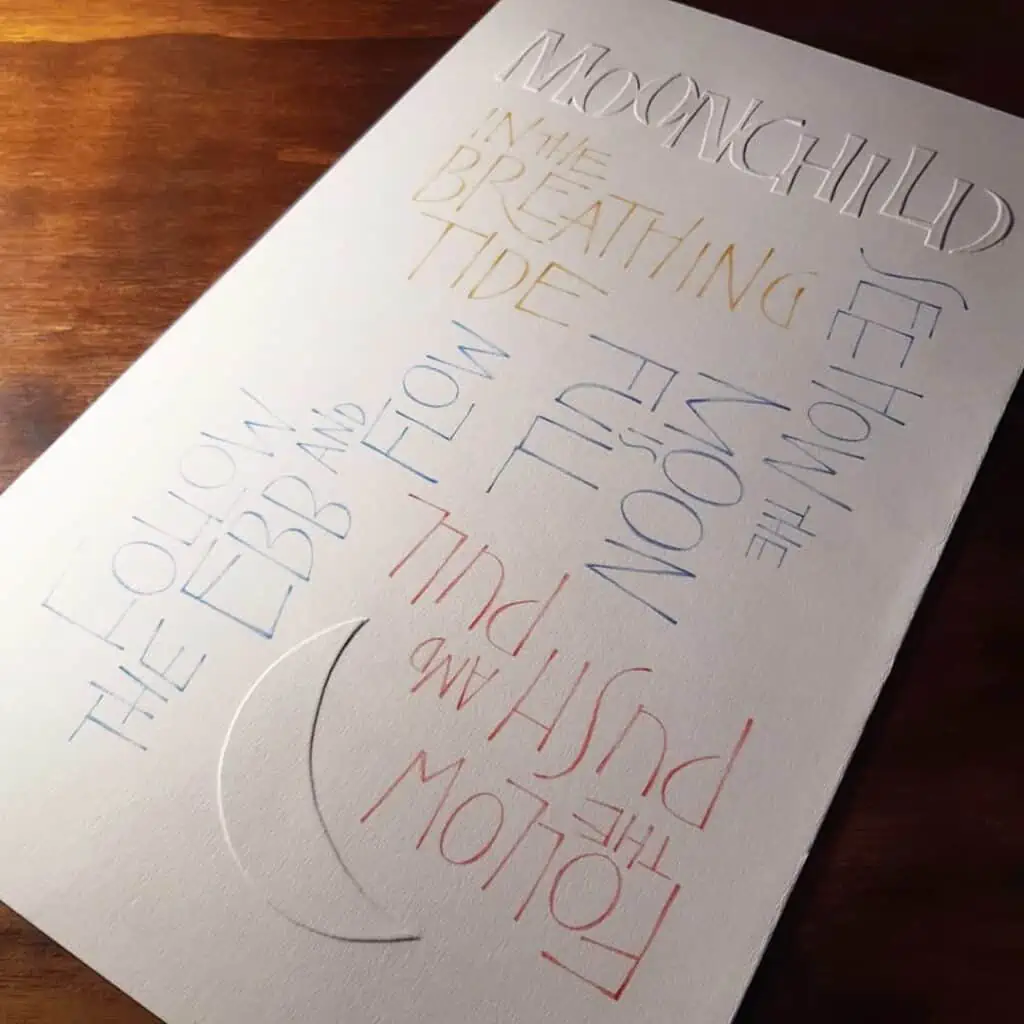
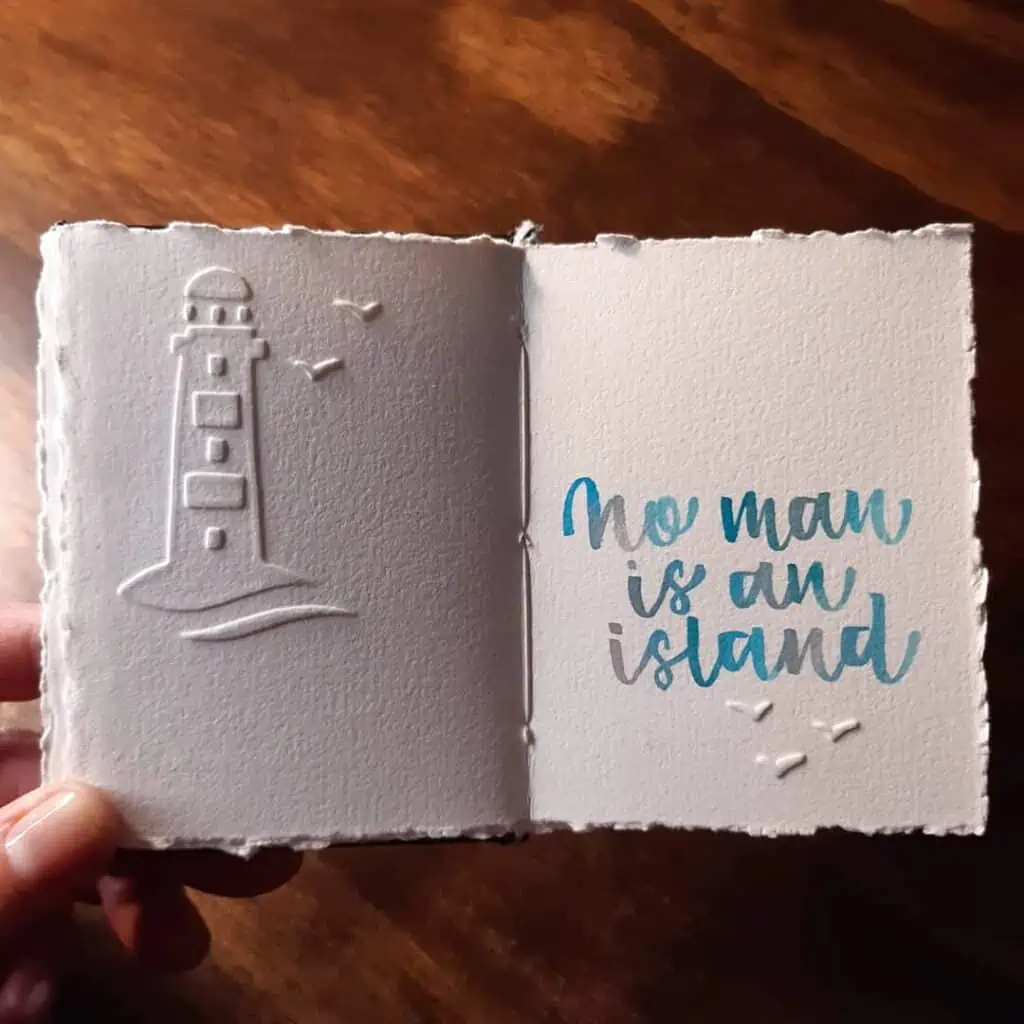
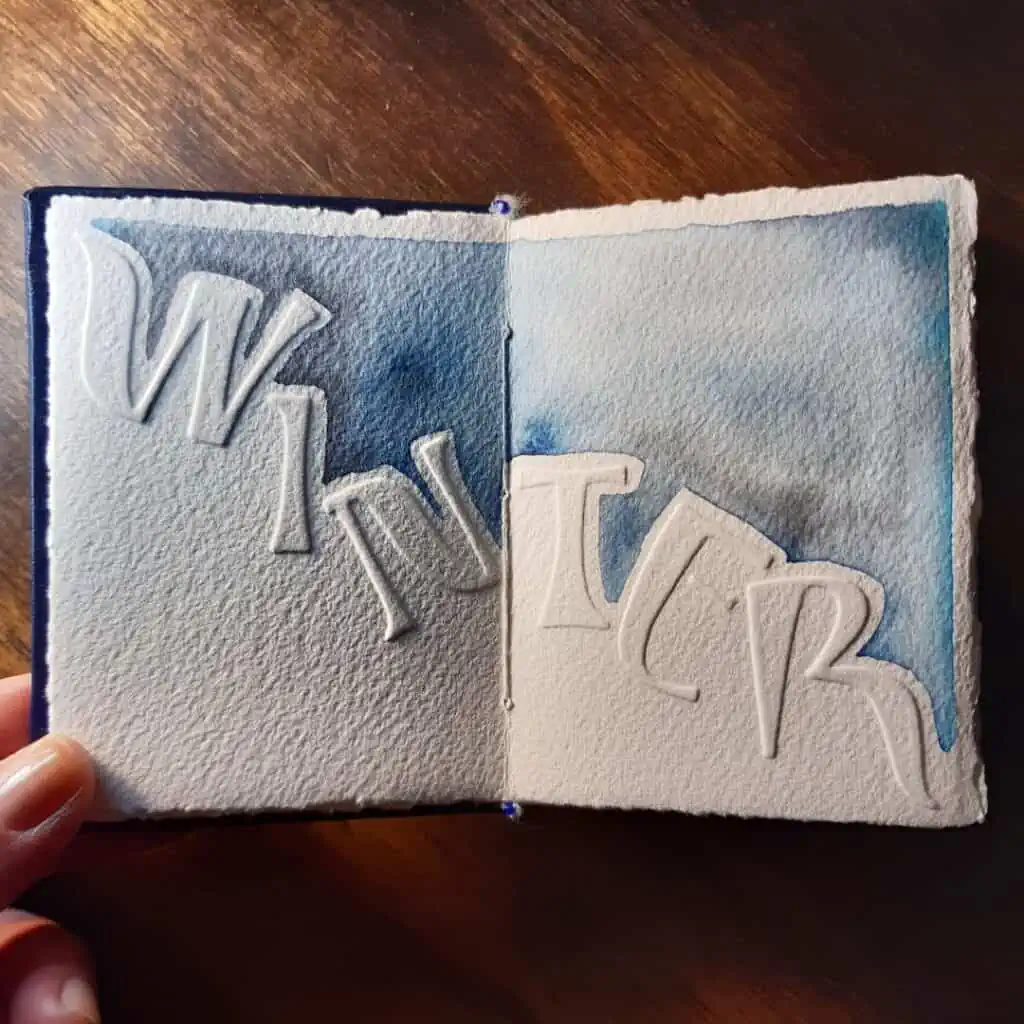
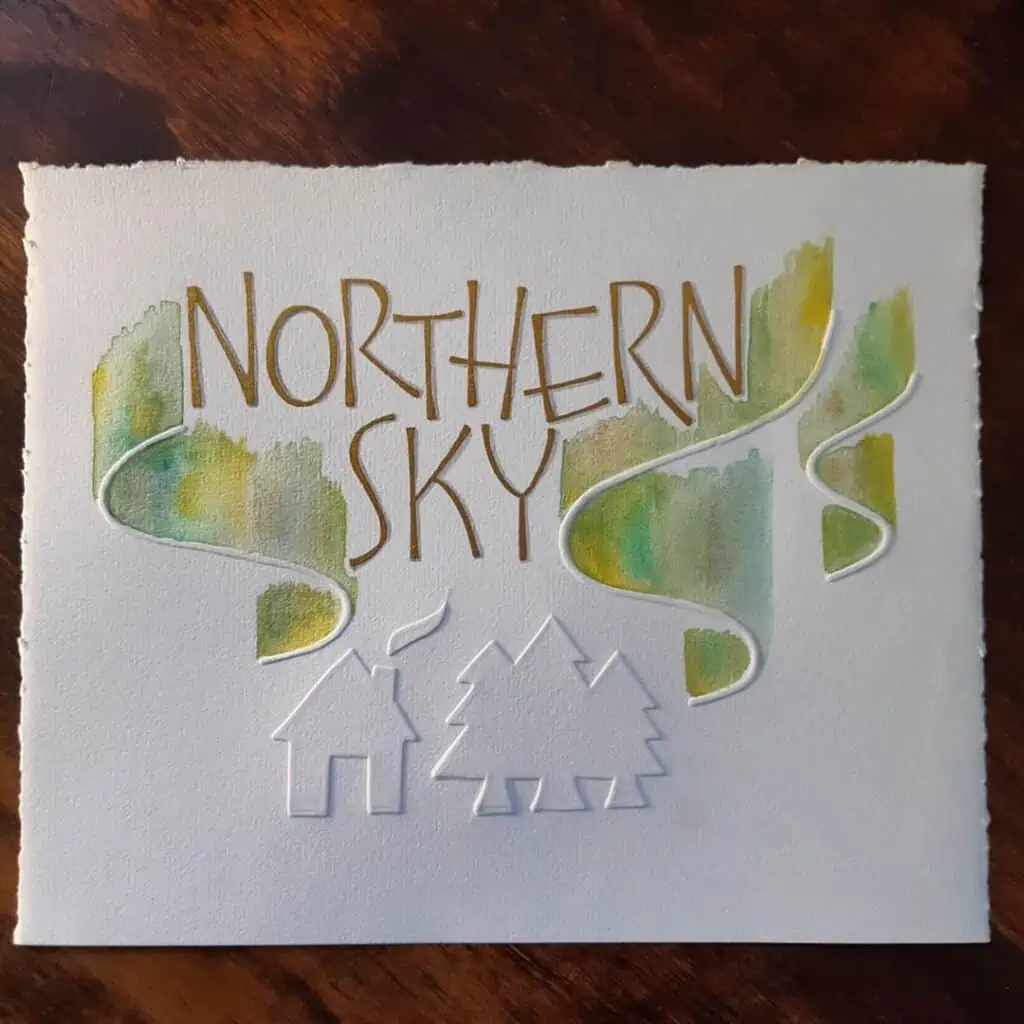
Do combine hand embossing with other techniques! I personally love spicing up my hand, embossing pieces with regular or metallic watercolor. You can directly paint your hand-embossed letters or paint around them for a beautiful result. You can also combine hand-embossed lettering with pencil or watercolor lettering.

Final words
Well, I hope this tutorial motivates you to work on your own hand embossing projects.
At first, it might seem like it’s a ton of steps, and that the process is too long, but I promise, it’s super rewarding once you’re done!
I recommend looking at past lettering designs you already have that you think would be good candidates for a hand-embossed version.
You can even start with single letters, just to become familiar with the materials and types of paper/cardstock, and practice with your precision knife.
As I mentioned at the beginning, I’ve only been exploring hand embossing for some months now, but I have some pieces you can look at that’ll hopefully inspire you to create your own.
Thanks so much for reading, and please do reach out to me on Instagram if you have questions =) I love answering them!
https://www.instagram.com/rose_letters/


Pin me!

Stay updated with my tutorials and get instant access to the Lettering Crate –
A growing library of free lettering & calligraphy resources that includes –
About the author

My name is Rocío Saldías, or Rose, as some of my friends call me, and I am an English teacher from Santiago, Chile. I started exploring the world of hand lettering back in 2018, when I took part in a brush lettering workshop I came across. However, it was in 2020, due to the pandemic and quarantine, that I started being able to dedicate more time to this personal interest, participated in a couple of online lettering courses, and started sharing my hand lettering creations on Instagram. It was only last year, though, that I started seeing some hand embossing posts on my Instagram feed here and there, and immediately fell in love with this eye-catching technique that I knew I had to explore. My first attempt at hand embossing was following a YouTube tutorial and since then I’ve practiced and learned a lot on my own.

Hi, I love how you shared your experience with us. I have a question concerning the weight of the paper. Over here in Germany weight is given in g/m². Would you mind telling your preferred weight in grams for Europeans? I have seen 180, 240 and 300. what do you suggest? Thanks a lot.
Hello! Rocío over here =) thanks a lot for your comment! I like to use 250 or 300 g/m² watercolor paper, cold pressed, ideally, because I love he texture. Heavy weight paper might be a little difficult to use for this technique at first, but it resists the repeated tracing really well!
Your work is beautiful and the process is explained so perfectly! Thank you for sharing. This will be a new project for me and I’m excited to try it!
Have you considered using mylar sheets for designing lettering or graphics?
A beatifull tutorial. I am very grateful to the people you make us enjoy and learn to selflessly create beauty.
thank you so much
Eva
Pingback: Project 2: Passport, A Cultural Icon – Arjin Tas
THANK YOU! for such an informative and well written description of this type of embossing. Super!
Your sense of design is heartbreakingly exquisite.
Your post inspired me to want to try this. It’s the easiest tutorial I’ve found. So, thank you very much.
I think I read somewhere that some people will lightly spritz their paper before doing the embossing, which makes it a little easier. What are your thoughts on that? Thanks again!
Hey Tracy, thank you so much for the comment. WHen you say spritz you mean spraying it a bit with water or?
Thank you so much for your detailed tutorial, Rocio!
Two months ago, I saw some amazing work from an old calligrapher which she used embossing technic. I got so obsessed with it and was searching for tutorial all over online. Yours is the best!!!
I’d just tried it out… for just one letter, I’ve almost killed my hand and shoulder. It seems my cardboard is too hard. Will try it again in a few days, need to rest a bit. Thanks a lot for sharing your know-how!
Sending you lots of love from Switzerland.
Glad to hear that you liked it, Grace! 🙂
Hi Grace! Thanks so much for your comment and for following the tutorial =) I was so intrigued by this technique when I first saw it on someone’s account on Instagram and became obsessed with learning how to do it as well ahahaha so it makes me really happy the tutorial was useful to you. And yes, definitly try with different types of cardboard to find the one that works best for you!
Having been poor and cheap, when I was younger I stumbled on two procedures that could be used on your embossing steps. For transfer of a design to another surface I used to use the “flat” side of a B6 pencil to rub a large carbon smudge on the back of my design paper, then after laying it on the paper I wanted to paint or cut out, carefully trace over the design with my “stylus” which was a used up fine point ball point pen. (Don’t throw them away when they are out of ink. They make good rolling styli.) From that point, painting the design with acrylic, or colored inks, or cutting out to make a stencil, is a breeze. After drying, any mistakes with extra pattern on the finished product erase away with a gum or kneaded eraser! Simple tools … cheap!
Great comment Gary! Thank you so much for sharing your experience 🙂
Hi Gary =) Thanks so much for your comment! I actually used this pencil technique all the time before I had a lightbox, it’s super useful! I also did the same with chalk when I wanted to transfer a design on to a chalkboard =)
Me encantoooooooooooooooooooó
muchas gracias
Thanks so much!
Could you use a cricut machine to make your stencil with paper? It will cut a variety of materials.
Hi! I don’t own a cricut machine and have never used one but it seems to me you could definitely use it to cut your stencil. However, even if you won’t be cutting your stencil by hand you should still pay attention to the size of your letters or design cause if they’re too small and you have an embossing stylus with a big tip then it’ll be hard to trace your design.
Hello, Rose;
Very impressive handiwork! The effect is so awesome! I wanted to ask a couple of things, in your tutorial, you show how you extended the base of the “L” and the tool left the mark beyond where you wanted it? Then we saw how wonderful the same work looked, how did you correct the extraneous mark?
Secondly, your paper looks so unique and sumptious, is it hand made? Thank you for showing us your talents, I’m going to try it myself, having just bought one embossing tool this week!
Hi Linda! Thanks so much for your kind words! Yes so those little marks beyond the edges of the letters, as I mention in the tutorial, I get those every time I work on a dry embossing piece and at first I thought I had ruined my work but then realized they are only visible on the other side if you are applying a lot of pressure with the stylus. In my experience, they are almost never visible in the finished piece if they have been traced with the stylus only once and you don’t really need to do anything. However, I have tried fixing them by going over them with the stylus the way you would do with an eraser, and I believe it sort of does the trick, but you should be careful and not do this applying too much pressure so that you don’t leave a bigger more noticeable mark on the side of the finished piece.
With regards to the paper, because I was into watercolor and ink lettering before I discovered hand embossing, I was familiar with watercolor paper and had fallen in love with the highly textured/rough grain kind. I mostly use 140 lb rough grain and cold-pressed Sennelier watercolor paper. Arches watercolor paper is also a good option!
Thank you Rocio. This could be an extension of my limited artistic talents. I will definitely follow your method. Thanks again.
Thanks so much, Maurice! I’m glad you’ll be giving this technique a try =)
Thank you for sharing this. I can think of so many ways to to use this technique and plan on trying them. I already have all the tools, so the sky’s the limit.
Yess, exactly! There are really many ways of putting this beautiful technique to use. I’m happy you be following the tutorial!
Thank y9u, Rocio! That was an awesome tutorial, and your samples are beautiful.
Thank you for your kind words, Sandy!
Great tutorial Rose & Max/ Lettering Daily. The process is loaded with full fun. I have learned this technique from Rose through her IG posts, she is very generous in helping.
Thanks again for sharing!
Hi, Raghu! Thank so much =) it makes me happy I get to share my love for this technique with others!