In this tutorial, you will learn how to make a calligrapgy pen at home.
Ruling pen calligraphy is super fun and expressive, and the best part is that you can create your very own pen by following these simple steps.
- The materials needed to create a calligraphy pen
- How to make a calligraphy pen
- How to hold your DIY calligraphy pen
- The five variables of use for a calligraphy pen
- What are ruling pens and folded calligraphy pens?
This is a fun and easy project, and the best part is that it can be done with tools that most people have lying around their homes.
You’ll find this tutorial — and many more like it — inside the Calligraphy Hub, where I’ve organized everything to support your calligraphy journey.
Materials needed to make a calligraphy pen
It’s easy to become enamored by fancy writing tools, but what if you’re a calligrapher on a budget? Perhaps you want to dabble and experiment first before you take the plunge and invest in expensive writing tools. Join me in this tutorial where I show you how to make your very own cost-effective folded pen.
What you will need
- Aluminum can
- Marker
- Knife or scissors
- Ink
- Tape
- Something to create a handle (this can be cut up lengths of dowel, popsicle sticks, or even pencils)
- Paper
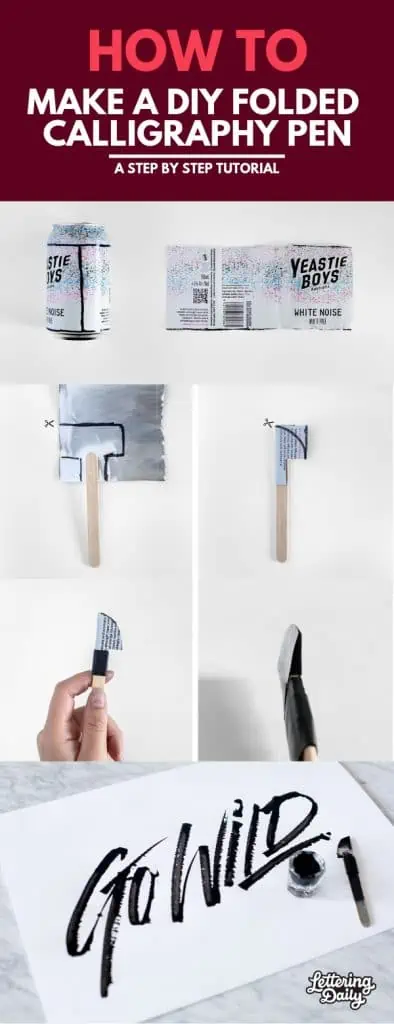
How to make a calligraphy pen
First, pick your favorite beverage that comes in a can and fuel up by guzzling it down.
I’m using a beer can that I saved because I liked the design.
We’ll be using the aluminum from the empty can to make our folded pen nibs.
Begin by marking outlines around the circumference of the top and base.
Mark a single line down the body of the can.
Using a knife or scissors, carefully cut along your guidelines until you have a rectangular piece of metal.
Flatten out the sheet as best you can, the edges will be sharp so be careful as you handle this.

Mark out a blocky nib shape with a neck.
The neck part of the metal will wrap around your wooden handle so make sure it’s sized proportionately.
Laying your handle down as you draw will help you.
You don’t want it too thin or the head of your nib will snap off.
Too wide and it won’t wrap your handle correctly.
Once cut out, fold the metal in half, enveloping your handle and mark a curve for your nib shape.
I would suggest beginning with a shape similar to the folded pen mentioned above with a slightly flatter curve at the top.
This will allow for a nice contrast in your writing.
Using scissors, cut your folded piece of metal along the curve you’ve just marked out.

Secure the neck in place by wrapping tape around that area several times, making sure everything is taped down to the handle.
You don’t want this moving when you’re writing.
The curved edges of your nib should sit touching side by side, this creates a reservoir for your ink to collect when you dip into your inkwell.
Do not tape the curved edge closed, you need to keep them separated for the ink to flow through when you’re writing.
If the edges are too far apart your ink will completely fall through the gap.
Use your fingers to press the edges together if they are sitting too far apart.

How to hold your DIY calligraphy pen
Before we dip our pen into our ink, we need to consider how to hold it.
A folded pen requires more support and stability since your movements will be heavier-handed.
Take the pen into your hand, nestle the neck of the nib between your thumb and forefinger as you let the rest of your fingers wrap around the handle.
Be careful not to put too much pressure on the nib because it will buckle and bend out of shape!
I’ve made this mistake many times being overzealous with pressure.
Start off with a lighter touch until you determine how strong your nib is.
However, the best position is one that is most comfortable for you.

Roll up your sleeves because now we’re going to start writing!
Using an inkwell or a small container with walls that come up to a similar height to your nib will help evenly load your nib with ink.
Dip your pen into the ink, align the nib horizontally, tilting close to the page, and drag it down the paper to create a thick stroke.
To create a thin upstroke, tilt the nib so only the point touches the paper.
These are the same principles as using a brush pen.
Practice downstrokes and upstrokes a few times to get comfortable with the motion.
The five variables of use for a calligraphy pen
There are five variables that I like to consider when it comes to using a folded pen: angle, speed, ink, paper, and the shape of your nib.
1. Angle
First, let’s play with the angle.
Previously held the nib angled down closer to the paper to give us a smooth stroke, now let’s tilt it away from the paper so it’s more upright whilst we draw our line.
The edge of the nib becomes more abrasive as we drag it against the paper and you’ll notice a bit of jitteriness as the ink disperses.
This is how we achieve that lovely gritty texture and ink splatter!
Hot tip: Lay down newspaper underneath your work and don’t wear any clothing you don’t want to be ruined because you WILL get ink all over you.

2. Speed
I’ve always loved using ink because it feels like it’s an extension of yourself.
Your movements directly affect the flow of ink and this is evident when we vary the speed at which we write.
A slow and steady approach gives a strong and stable look to our letterforms, whereas a swift motion can give a great sense of motion.
As increase the speed of your writing, it becomes harder to maintain the consistency of your letters, resulting in looser letterforms.
You might like this effect if you want something that feels casual.
If you’re adopting the upright angle, writing faster will give you elongated ink drops in your splatter.
The faster you move, the harder it will be to maintain consistency in the look of your strokes.

3. Paper
If you’re not having much luck holding the pen upright, or you find it too unwieldy, another great way to achieve a gritty look is to use paper with a bit of a tooth.
These are generally higher-quality papers with lots of paper fibers to create an uneven surface.
As you drag your pen over the toothy surface, the ink will fall into the nooks at random.
This kind of paper will absorb more ink so it won’t go as far.
Smooth or glossy papers are great for when you want your pen to glide over the surface.
Your ink will sit on the surface for longer which means a longer drying time.
Your strokes will have a streaky look to them since the nib is scraping wet ink across the page.
A cool dripping effect can be achieved this way, but unless you want this, don’t pick up your paper until your ink is completely dry!

4. Ink
I like to use Moon Palace Sumi Ink because it’s a rich black ink that holds its shape and dries waterproof.
There’s a slight sheen when it dries, this is something to keep in mind if you prefer matte finishes.
I like to let the ink dry out a little in the inkwell to achieve and heavier body, I find this to be a little bit easier to work with.
Experiment with watering down the ink slightly.
A lighter, wetter ink will give you more splatter on toothier paper because it’s not as weighed down.
You can almost achieve a watercolor look from the variation in ink particles.

5. Nib shape
Now that you’re acquainted with your first curve, it’s time to get experimental!
Use the remaining aluminum to create a set of nibs of varying curves and sizes.
Below are some examples to try out.
Be wary of how big you make your nib, too big, and the sheet of aluminum will buckle.
Play around to see what effect the shape has on the distribution of ink.
The more you experiment the better understanding you’ll have of what size and shape work for you.
If you don’t like the pen you’ve made, just make another one!

What do you notice about these shapes?
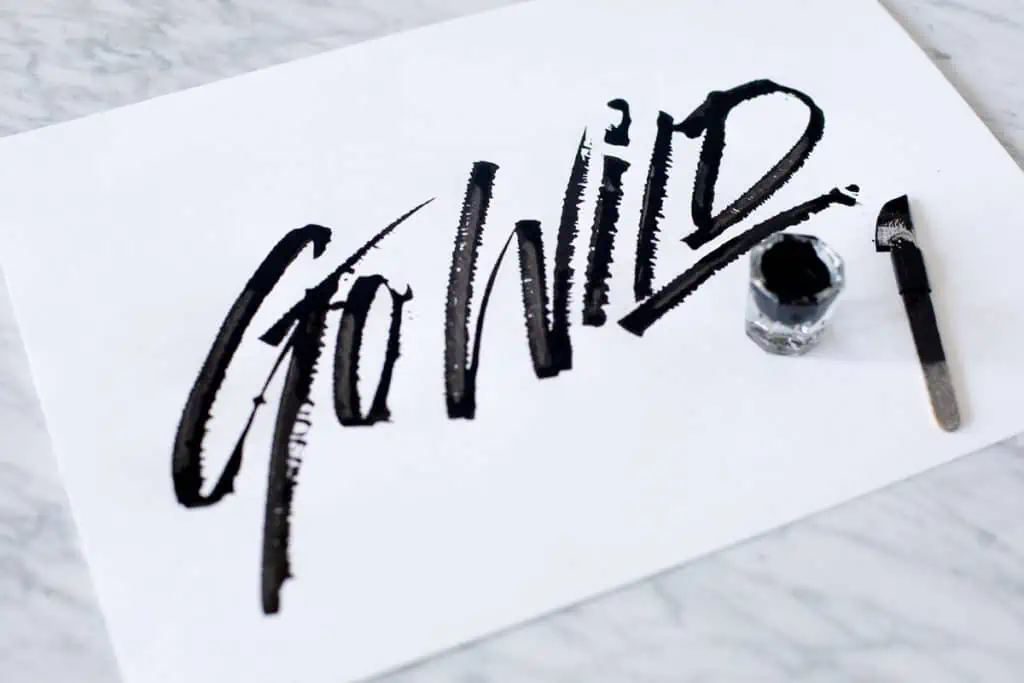
Go wild
Now you’ve gone through the process of making your own pen and getting to know how they work.
Why not get wild and throw all the rules out the window?!
Take a leaf out of Ralph Steadman’s book, ignore all the calligraphy rules and just go nuts.
Throw the ink down onto the page and over your work to see what effect that gives you.

What are ruling pens and folded calligraphy pens?
Ruling pens and folded pens are my weapons of choice when I want to create expressive lettering.
In this tutorial, we will touch on what these tools are, how to inexpensively create your own and how to use them for expressive lettering.
Ruling pens were first used to create straight lines.
The nib is comprised of two pieces of metal creating a jaw, held by a screw.
Tightening the screw constricts the opening of the jaw and the flow of ink resulting in a thinner line whilst loosening the screw creates thicker lines.
Folded pens are straightforward folded metal nibs, which can come in various shapes.
Introduced at Letterforum in 1995, this little innovation is a long-standing hit.
Because we’re such crafty types, calligraphers have long figured out that these pens were not just useful for ruling lines, but are great as writing tools.
Dragging the nib vertically down the page, rather than horizontally across the page, creates gritty textures and sometimes unpredictable splatters.
Some of my favorite ruling pens are:

Conclusion
Ruling and folded pens are great tools to create expressive pieces.
They allow you to maneuver ink in ways that can delight us with unexpected surprises.
A lot of us strive for perfection in our work, this method allows us to break free of that feeling.
I touch on this topic in this short documentary about the philosophy of embracing the mistakes I make.
You might feel frustrated at first with how unpredictable the behavior of the ink is with the ruling pen.
This is normal when you try anything for the first time, but persevere and in no time you’ll feel like the pen is an extension of your hand.
Don’t overthink it too much, just have fun and learn to love the ink!

Stay updated with my tutorials and get instant access to the Lettering Crate –
A growing library of free lettering & calligraphy resources that includes –
Pin me!
About the author
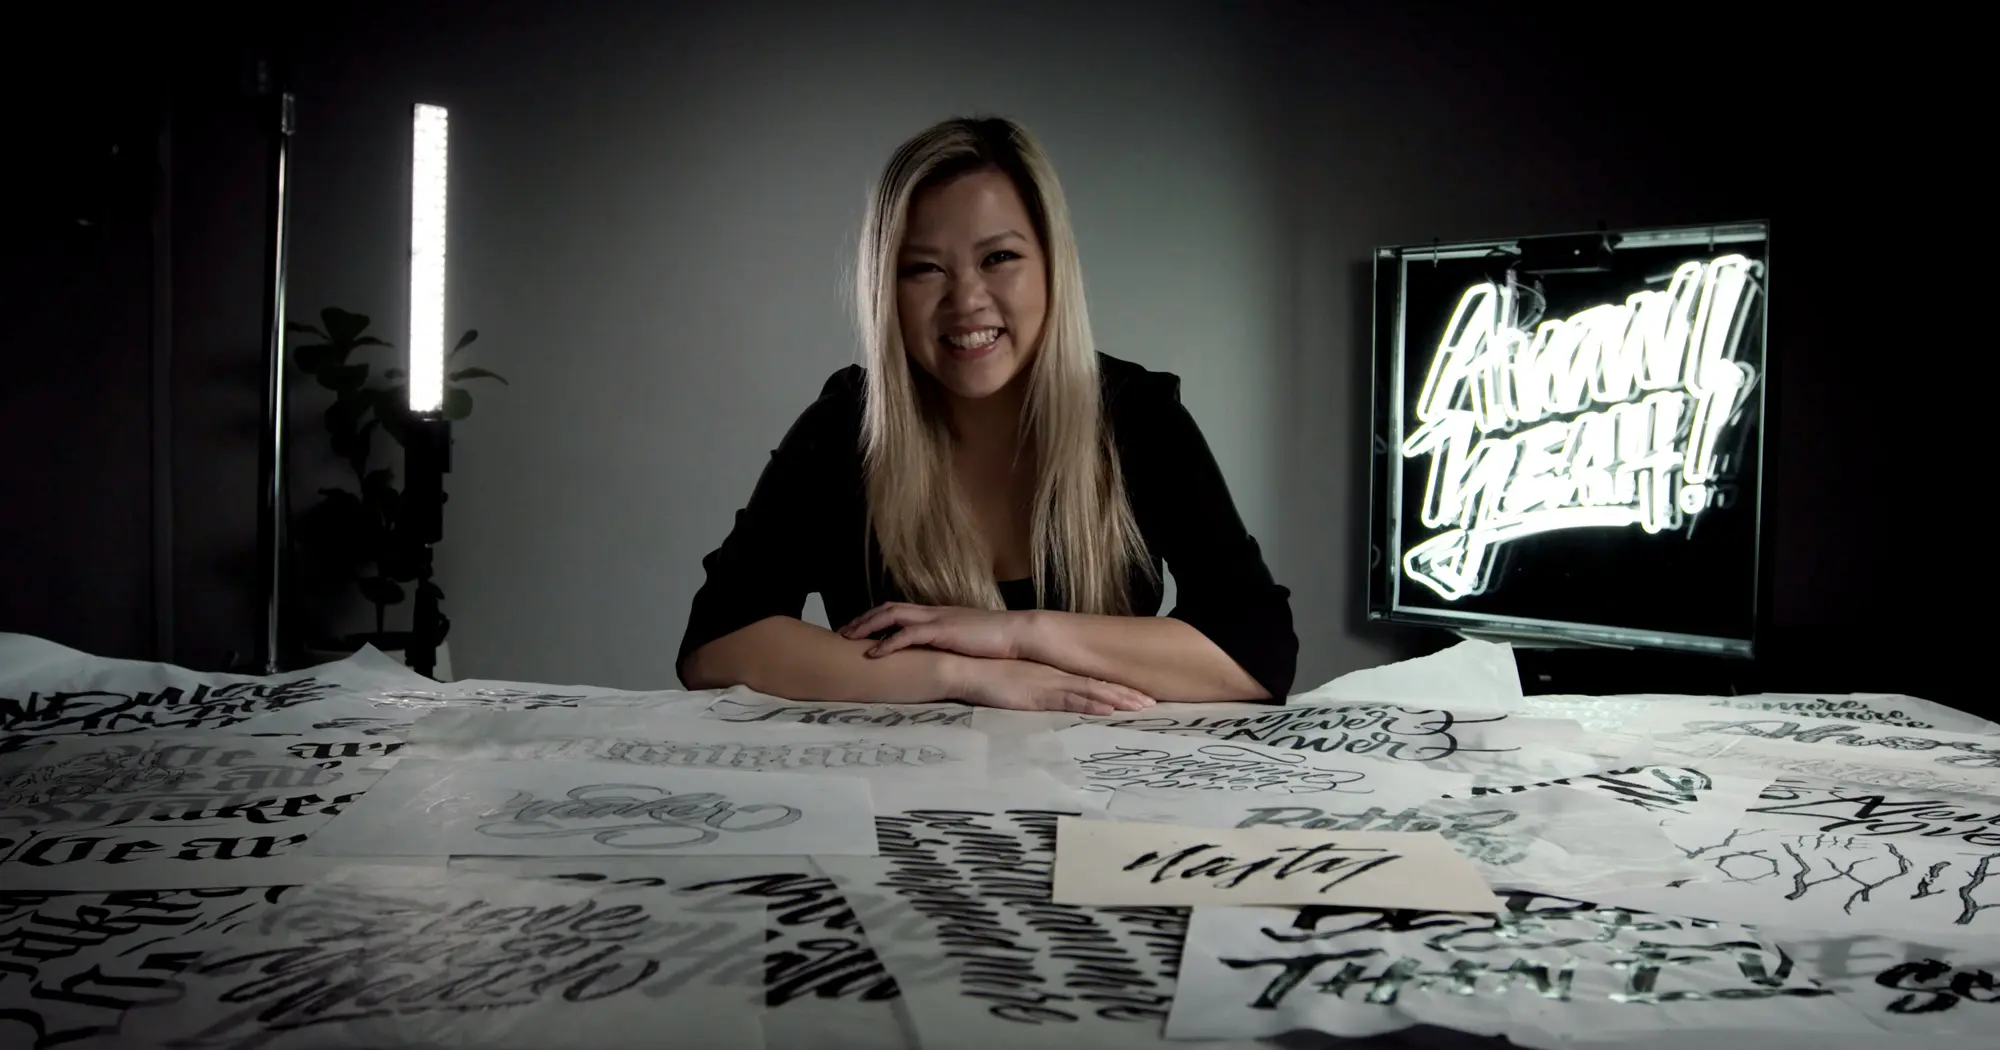
Melissa So is a lettering artist from Sydney who works under the moniker Quite So (@quiteso). She’s an alum of the Type@Cooper program NY and a multi-disciplinary designer with a focus on letters. Her work spans from expressive, gritty calligraphy to smooth vectors to hand painted murals.

I have a calligraphy competition in two days and no calligraphy pens or ink. I freaked out when I saw my teacher’s announcement. I quickly searched the internet for how I can make calligraphy pens because I know I have no hope of buying some any soon.
And I found this lifesaving webpage. I thank every single person who helped create this website and webpage, most importantly: Melissa.
I will comment again after my competition reviewing my experience with these DIY calligraphy pens. 😊
Awesome comment 😀 So glad to hear that, thank you 🙂
I really like your work, and how you analyze the many factors that let the calligrapher use this pen in new and expressive ways. Thanks for making this so clear.
Thank you, Margaret 🙂 I really appreciate your kind comment.
How will this work for a lefty?
Hey Pam, unfortunately, im not a lefty so i can’t really provide you with any helpful feedback. I saw some artists teaching themselves to write their letters vertically or even upside down, and by that avoiding any ink smears. We will definitely try to collaborate with some experienced left-handed artists in order to provide some helpful tips on how to deal with this issue.